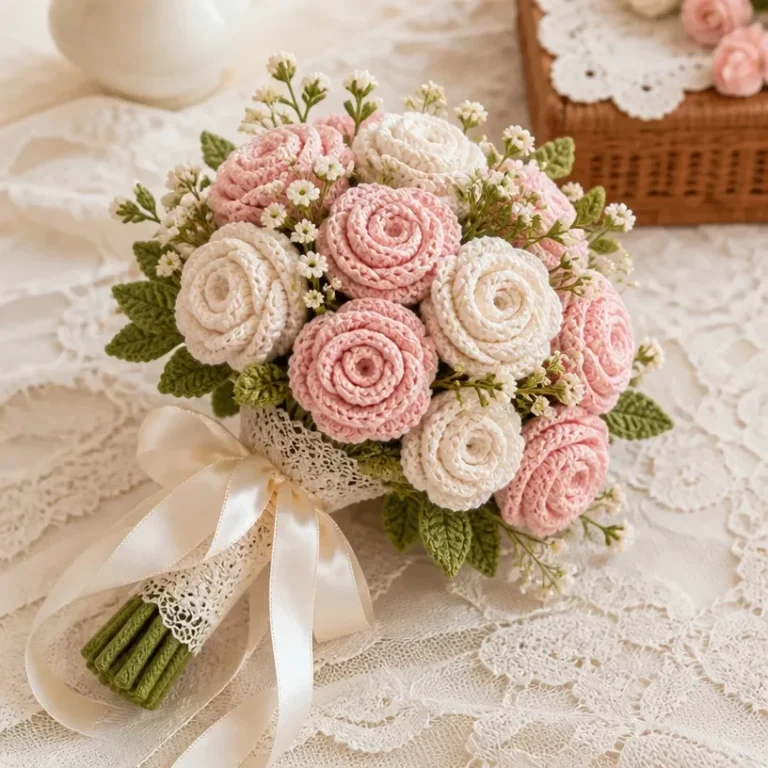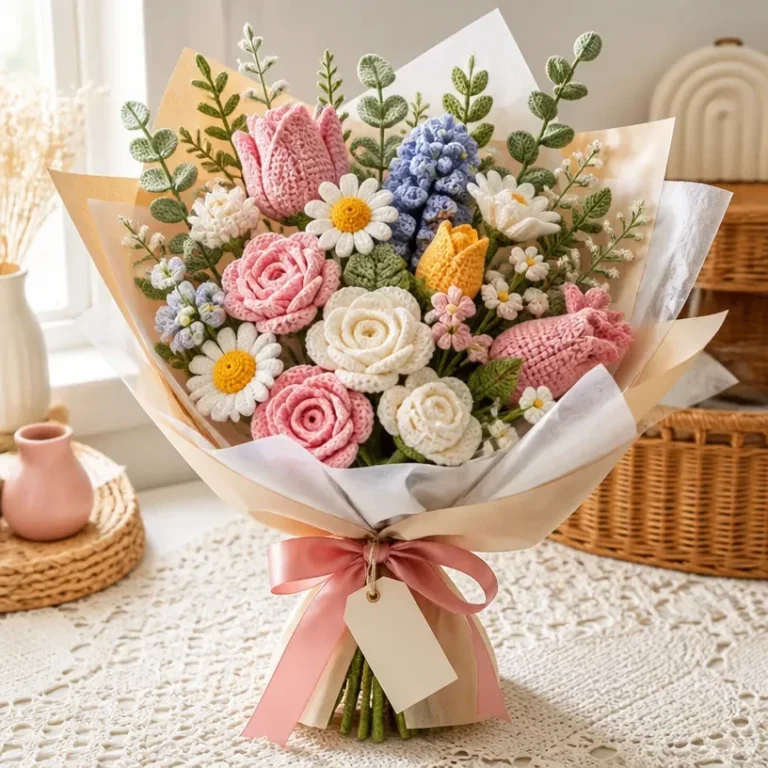
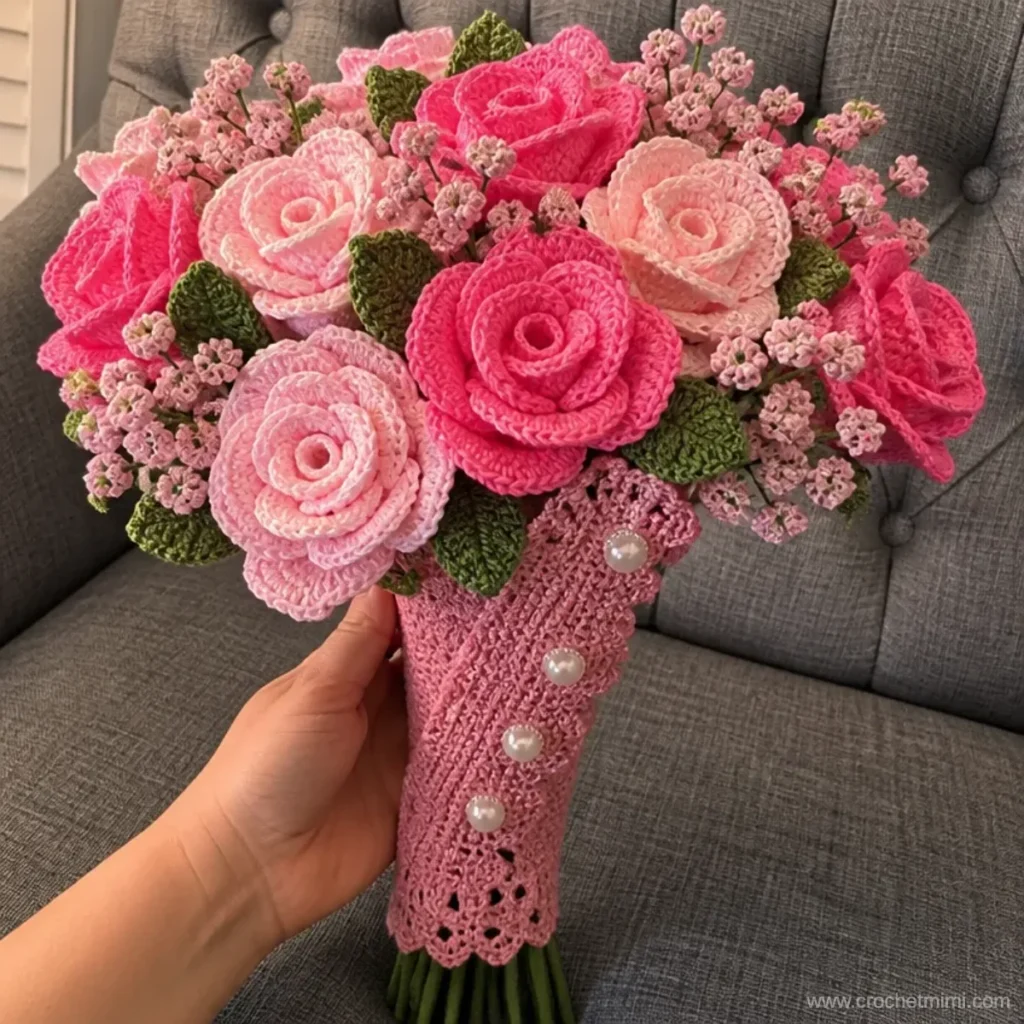
A delicate crocheted wrap adds a polished, handmade finish to a wedding bouquet, keeps stems neatly gathered, and creates a lovely keepsake after the ceremony. This Crochet Bridal Bouquet Wrap Pattern uses warm rose thread, a simple half-double crochet foundation, and a decorative lace edge with built-in buttonholes. It is a focused project for crocheters who enjoy elegant accessories, handmade gifts, and floral styling. Pair it with a crochet bridal rose bouquet, fresh flowers, or a silk arrangement for a coordinated presentation.
Why You’ll Love This Crochet Project
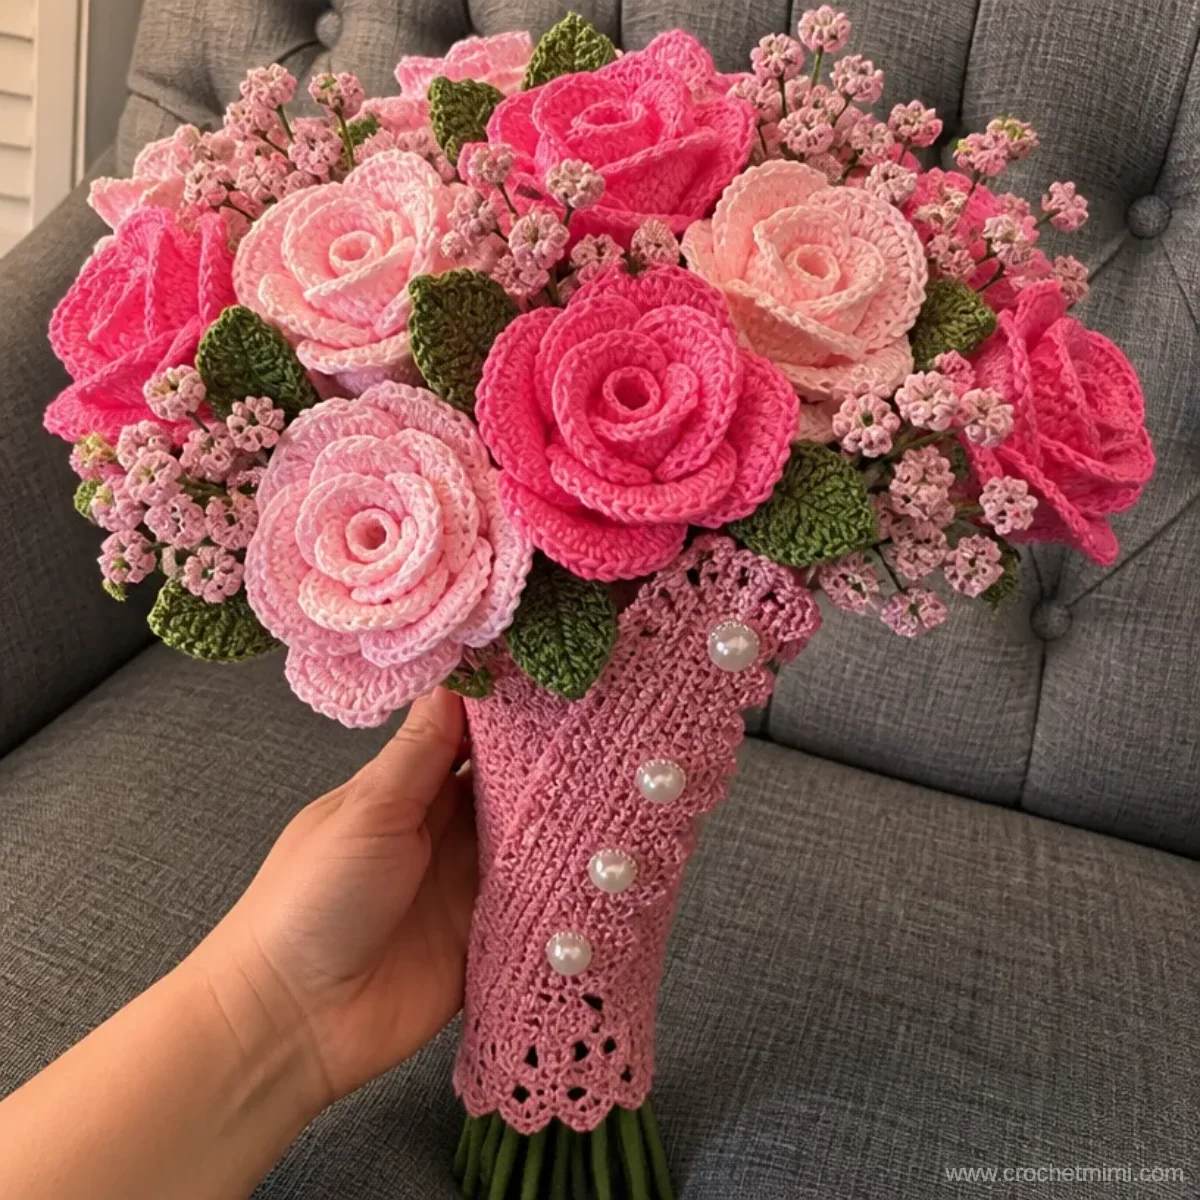
- It adds a handcrafted finishing touch. A crocheted wrap can make a bouquet feel more personal without overwhelming the flowers.
- The main fabric is straightforward. Rows of half-double crochet create a sturdy, flexible base while giving you practice with consistent row tension.
- The lace edge brings decorative detail. Shell-like groups, chain spaces, and small arches create an attractive border without requiring separate motifs.
- It can be used beyond a wedding. Wrap a presentation bouquet, anniversary flowers, or a special arrangement for a handmade gift.
- The button closure is practical. Buttons and lace-edge openings allow the wrap to fasten around bouquets of different fullness.
Crochet Mimi Tip: Before sewing the buttons permanently, position the wrap around the actual bouquet so the closure is comfortable and the lace edge sits where you want it.
Before You Start Crocheting
This pattern creates one rectangular bouquet wrap. The project begins with 29 half-double crochets across the foundation chain, continues through Row 28, and then changes to a decorative lace edge for Rows 29 and 30. After crocheting, the wrap is arranged around a bouquet, buttons are sewn opposite the openings created by the lace edge, and the yarn ends are woven in.
The pattern uses US crochet terminology. A few abbreviations used below are:
- ch: chain
- hdc: half double crochet
- sc: single crochet
- dc: double crochet
- rep: repeat
Pay close attention to which turning chain counts as a stitch. Row 1 identifies the beginning chain-2 as a half double crochet, while Row 29 identifies the beginning chain-3 as a half double crochet and chain-1 combination. Row 30 begins with a chain-3 that counts as a double crochet.
Materials You’ll Need
- Aunt Lydia’s® Fashion Crochet Thread, Size 3: 1 ball, 775 Warm Rose
- Susan Bates® Crochet Hook: 3.5mm [US E-4]
- Yarn needle
- Buttons: Four ½” (12 mm)
The thread supplies the delicate fabric and lace detail, while the four buttons create the closure points opposite the lace-edge openings.
Step-by-Step Crochet Instructions
Before beginning, review the stitch abbreviations and keep your stitch count easy to check at the end of each row. Work the wrap in its original sequence, beginning with the wrong side.
Wrap
Row 1 Wrong Side
Ch 30, hdc in third ch from hook (beginning ch-2 counts as hdc) and each ch across; turn 29 hdc.
The starting chain provides the foundation for the wrap. When you reach the end, confirm that the row contains 29 half-double crochets before turning.
Rows 2–28
Ch 2, hdc in second hdc and each hdc across; turn 29 hdc.
Repeat this instruction for Rows 2 through 28. Keep the fabric relaxed as you work so the wrap remains flexible enough to curve around a bouquet.
Lace Edge
The next two rows create the decorative edge. Work carefully into the indicated chain spaces and maintain the listed skips so the lace pattern stays balanced.
Row 29
Ch 3 (counts as hdc, ch-1), skip next hdc, sc in next hdc,
*skip 2 hdc, (2 dc, ch 2, 2 dc) in next hdc, skip 2 hdc, (sc, ch 3, sc) in next hdc;
rep from * twice, skip 2 hdc, (2 dc, ch 2, 2 dc) in next hdc, skip 2 hdc,
sc in next hdc, ch 1, skip next hdc, hdc in top of ch-2; turn.
The chain-3 at the beginning functions as both a half-double crochet and a chain-1 space. The repeated groups form the openwork edge, so count the skipped half-double crochets carefully.
Row 30
Ch 3 (counts as dc), 2 dc in next ch-1 space,
*(sc, ch 3, sc) in next ch-2 space, (2 dc, ch 2, 2 dc) in next ch-3 space;
rep from * twice, (sc, ch 3, sc) in next ch-2 space,
3 dc in last ch-3 space. Fasten off.
The final row alternates single-crochet arches with double-crochet groups. Fasten off after completing the last 3 dc in the last ch-3 space.
Finishing
Arrange Wrap around a bouquet to determine button placement.
Sew buttons opposite holes created by Lace Edge.
Weave in ends.
Place the wrap around the bouquet before marking the button locations. This lets you adjust for the bouquet’s diameter and prevents the buttons from being sewn too tightly or too loosely.
Ways to Display Your Finished Crochet

- Wedding bouquet wrap: Use it to gather the stems of a bridal bouquet and add a coordinated textile detail.
- Keepsake arrangement: After the event, place the wrapped bouquet in a vase or display box where the lace edge remains visible.
- Gift presentation: Wrap a bouquet of flowers before giving it for an anniversary, engagement, birthday, or bridal shower.
- Table centerpiece: Position a wrapped floral arrangement in a low vase so the buttoned edge faces outward.
- Coordinated crochet bouquet: Combine the wrap with flowers in complementary shades; a crochet bouquet color planning guide can help you build a balanced palette.
- Seasonal styling: Warm rose works well with romantic displays, while a bouquet featuring crocheted daisies can create a lighter, garden-inspired look; see this crochet daisy bouquet idea for inspiration.
Caring for Your Crochet Project
Because this wrap is made with crochet thread and includes a lace edge and sewn buttons, handle it gently during use and storage.
- Dust the wrap with a soft, dry cloth or a clean, soft brush.
- For a small mark, use cautious spot cleaning rather than soaking the entire piece.
- Allow any damp area to dry completely before storing.
- Avoid excessive heat, which may distort the lace edge or affect the thread’s shape.
- Store the wrap flat or loosely rolled in a clean, dry place.
- Keep it away from sharp jewelry, rough floral stems, and hardware that could catch the openwork.
- Check the buttons occasionally, especially if the wrap is used repeatedly, and reinforce a loose button before it pulls against the lace.
Tips for Better Results
- Keep the foundation chain even. A tight starting chain can make the first row narrower than the remaining fabric. Use a relaxed tension without making the chain loose.
- Check the Row 1 count. The completed foundation row should contain 29 hdc, including the beginning chain-2 as specified.
- Maintain 29 hdc through Row 28. Counting at the end of each row helps catch an accidentally skipped stitch before beginning the lace edge.
- Track the turning-chain meanings. The beginning chain-2 in the wrap and the chain-3 in Row 29 do not have the same written function, so follow each row’s instruction exactly.
- Count the lace repeats. Row 29 says to repeat the starred section twice, and Row 30 repeats its starred section twice. Marking each completed repeat can help prevent an extra shell or arch.
- Work into chain spaces cleanly. Insert the hook into the center of the specified ch-1, ch-2, or ch-3 space rather than splitting individual chain stitches.
- Test the placement before sewing. Arrange the wrap around the bouquet and determine where the buttonholes naturally fall before attaching the four buttons.
- Weave in ends securely. Pass the yarn needle through nearby stitches on the wrong side, avoiding the visible lace openings so the finishing remains neat.
Color and Styling Variations
The approved pattern uses Aunt Lydia’s Fashion Crochet Thread in Size 3, color 775 Warm Rose. The following are optional styling ideas and do not change the written instructions:
- Choose a bridal palette. Warm rose can complement ivory, cream, blush, burgundy, or soft green flowers.
- Coordinate the buttons. Use buttons that blend into the thread for a subtle finish, or choose a contrasting neutral to make the closure decorative.
- Match the bouquet flowers. A monochromatic rose-toned bouquet creates a romantic appearance, while white or cream flowers make the wrap stand out.
- Create a garden look. Pair the wrap with crocheted daisies, leafy accents, and a simple glass vase.
- Use a seasonal arrangement. Combine warm rose with deeper reds and oranges for an autumn display, or with pale pinks and greens for spring.
- Try another thread color. Changing color is the simplest customization. If you substitute a different thread or yarn, the fabric’s thickness, drape, dimensions, and yarn requirements may change.
- Change the hook only intentionally. A larger hook may produce a looser, more open wrap, while a smaller hook may create firmer fabric. Either change can affect the finished fit around a bouquet.
Frequently Asked Questions
Is this pattern suitable for a beginner?
It can be a useful focused project for a crocheter familiar with chains, half-double crochet, single crochet, double crochet, turning rows, and fastening off. The lace edge requires careful reading and counting.
What yarn is recommended?
The supplied pattern calls for one ball of Aunt Lydia’s® Fashion Crochet Thread, Size 3, in 775 Warm Rose. Using the specified thread helps preserve the intended lace scale and fabric character.
What hook size should I use?
Use a Susan Bates® Crochet Hook, 3.5mm [US E-4], as specified. A different hook size may alter the wrap’s size, density, and drape.
How many crochet components does this project include?
The pattern makes one wrap. It is worked as one continuous piece, beginning with the rectangular wrap section and ending with the lace edge.
How are the buttons attached?
First arrange the wrap around a bouquet to determine button placement. Then sew the four ½” (12 mm) buttons opposite the holes created by the lace edge.
Can I change the thread color?
Yes. Changing the color is an optional styling choice, but keep the same thread size and hook when possible if you want similar fabric behavior.
Can I use another yarn?
You may experiment with another yarn or thread, but substitution can change the wrap’s thickness, drape, dimensions, lace definition, and amount required. Make any substitution as an optional adaptation rather than treating it as the original specification.
How should I keep the wrap from shifting?
Arrange it evenly around the bouquet and use the button closure to secure it. Positioning the buttons after the wrap is placed on the actual bouquet helps create a more stable fit.
How do I preserve the lace edge?
Store the wrap away from pressure and snagging objects. Keep it loosely arranged rather than compressed, and reshape the lace gently by hand if it becomes distorted.
Conclusion
This Crochet Bridal Bouquet Wrap Pattern combines an easy half-double crochet foundation with a graceful lace edge and practical button closure. It can finish a wedding bouquet, elevate a handmade floral gift, or become part of a lasting keepsake arrangement. For another reference, compare the Aunt Lydia’s bridal bouquet wrap pattern or browse additional bouquet wrap pattern ideas as you plan your project.