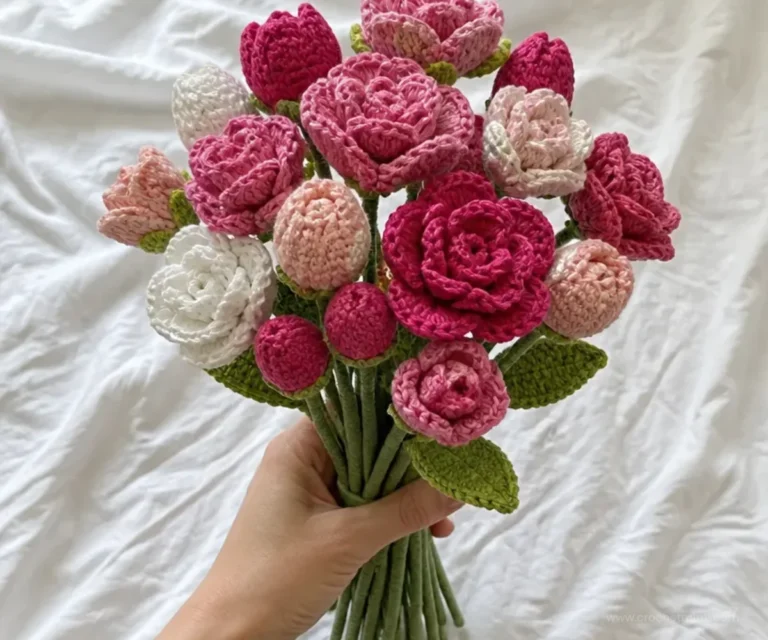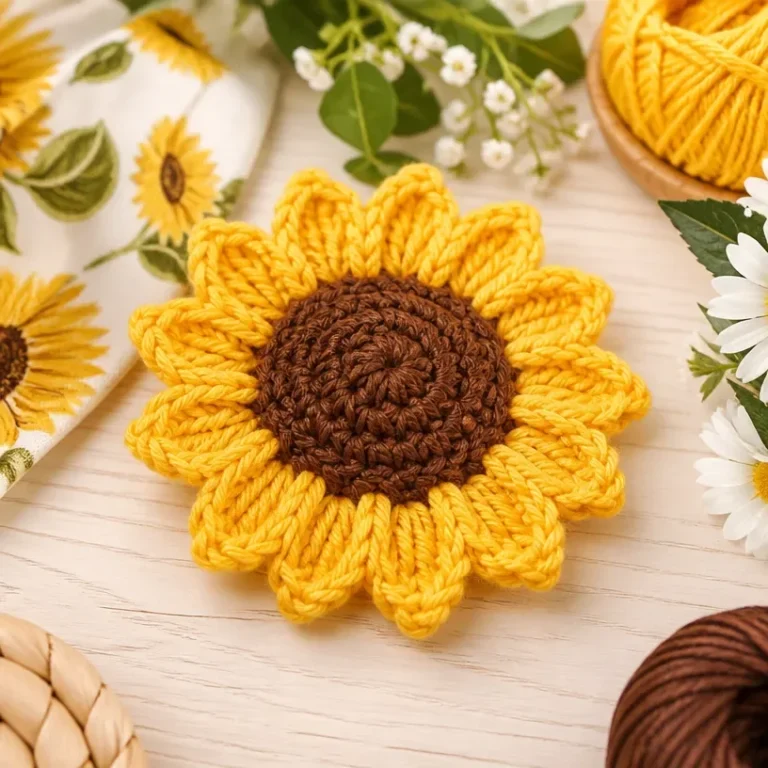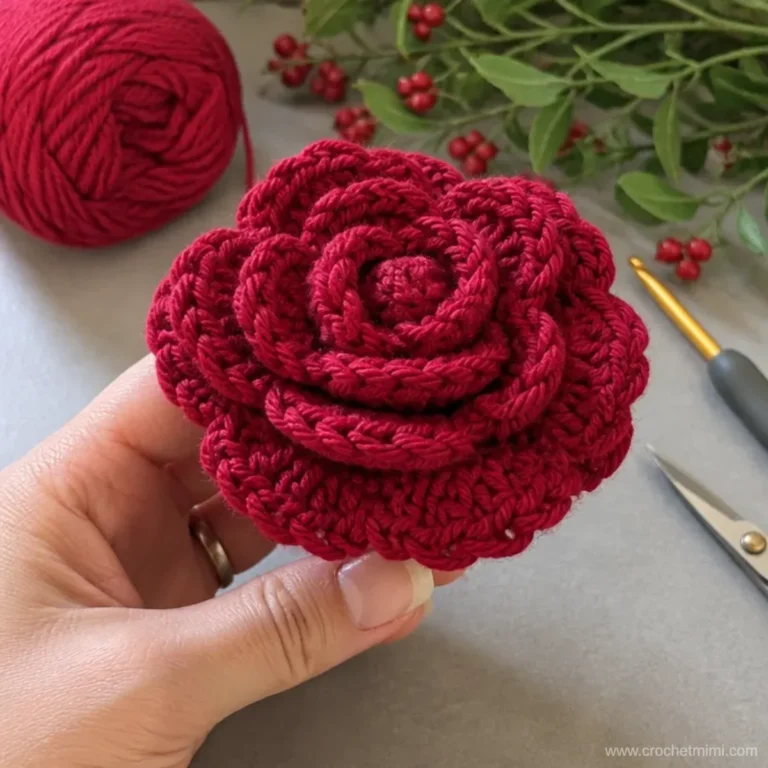
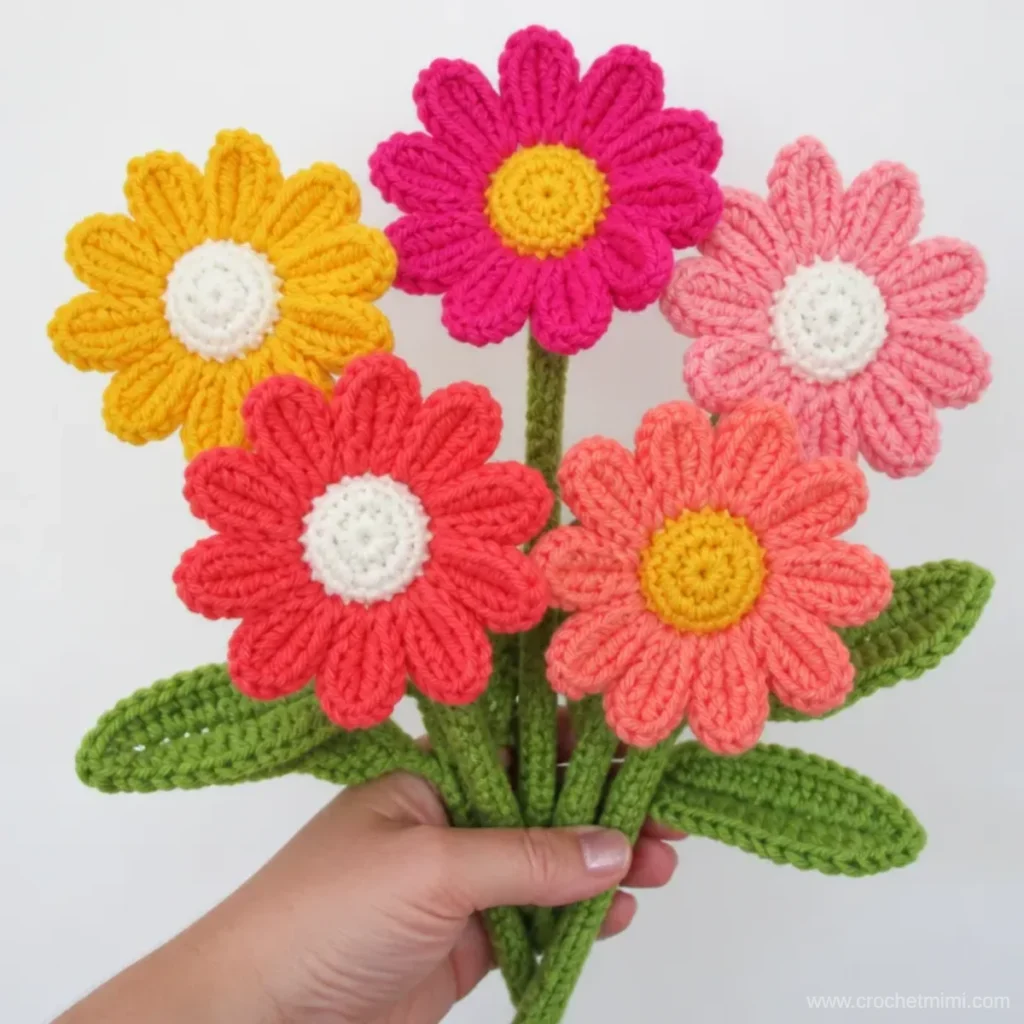
A cheerful arrangement of five colorful daisies makes this Crochet Daisy Bouquet Pattern a bright, lasting alternative to fresh flowers. Each daisy has layered petals, a softly stuffed center, a sturdy crocheted stem, and a pair of leaves. The combination of white, gold, pink, persimmon, coral, and spring green creates a playful bouquet that works as home décor or a handmade gift. Beginners who are comfortable with basic US crochet stitches can enjoy building the flowers one component at a time. For another bouquet-focused project, explore this crochet daisy bouquet idea.
Why You’ll Love This Crochet Project
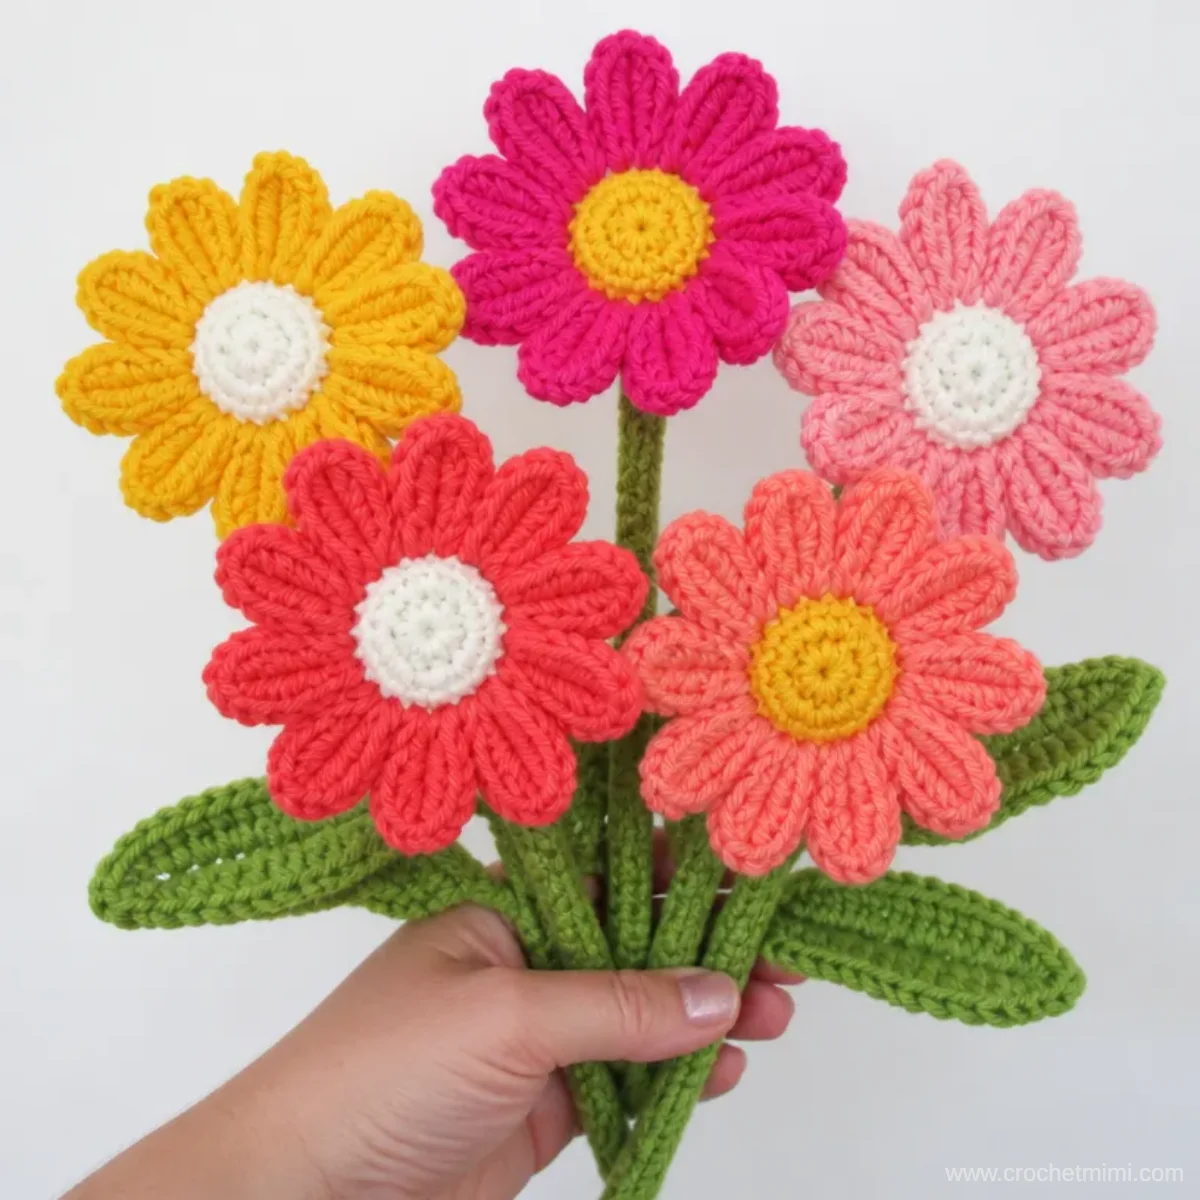
- It creates a permanent floral display. Unlike fresh flowers, these daisies can brighten a room season after season.
- The color arrangement is built into the pattern. Five specified color combinations create variety while keeping the bouquet coordinated.
- It practices useful shaping techniques. You will work flat leaves, layered flower pieces, chain petals, and stuffed forms.
- The stems are structured for display. Crocheted stems combined with floral wire allow the finished flowers to stand in a vase and be gently arranged.
- It makes a thoughtful handmade gift. A completed bouquet suits birthdays, spring decorating, desk displays, and floral-themed gifts.
Crochet Mimi Tip: Keep the five flower color pairings together in separate small bags while crocheting so the correct Color 1 and Color 2 combinations are easy to identify.
Pattern Overview
This easy crochet pattern makes five daisies. For each daisy, you will make:
- Two matching leaf pieces, joined into one leaf
- Two matching stem pieces, joined around one leaf
- Four lengths of floral stem wire held together inside the stem
- Two matching daisy pieces, joined around light stuffing and the top of the stem
The construction sequence is important. Make and join the leaf first, make and join the stem, insert the floral wire, then crochet and assemble the two daisy pieces. The final daisy joining round attaches the flower to the stem while the center is stuffed.
The pattern uses single crochet, half double crochet, double crochet, treble crochet, chain stitches, and slip stitches. It is marked Crochet I Skill Level: EASY.
Helpful Abbreviations
- ch: chain
- sc: single crochet
- hdc: half double crochet
- dc: double crochet
- tr: treble crochet
- sl st: slip stitch
- rnd: round
- RS: right side
- WS: wrong side
- rem: remaining
Materials You’ll Need
The yarn amounts below are for 5 flowers.
- Red Heart® Super Saver® (7 oz/198 g; 364 yds/333 m):
- Contrast A Soft White (0316): 1 ball or 70 yds/64 m
- Contrast B Gold (0321): 1 ball or 190 yds/173 m
- Contrast C Shocking Pink (0718): 1 ball or 125 yds/114 m
- Contrast D Pretty ’n Pink (0722): 1 ball or 125 yds/114 m
- Contrast E Persimmon (0220): 1 ball or 125 yds/114 m
- Contrast F Coral (0726): 1 ball or 125 yds/114 m
- Contrast G Spring Green (0672): 1 ball or 290 yds/264 m
- Size U.S. J/10 [6 mm] Susan Bates® Silvalume® crochet hook or size needed to obtain gauge
- Susan Bates® stitch markers
- Polyfil stuffing
- Floral Stem Wire, 20 x 18″ [45.5 cm] long
The spring green yarn forms the leaves and stems. The floral wire reinforces each stem, while Polyfil gives the daisy pieces enough body to hold their petal shape.
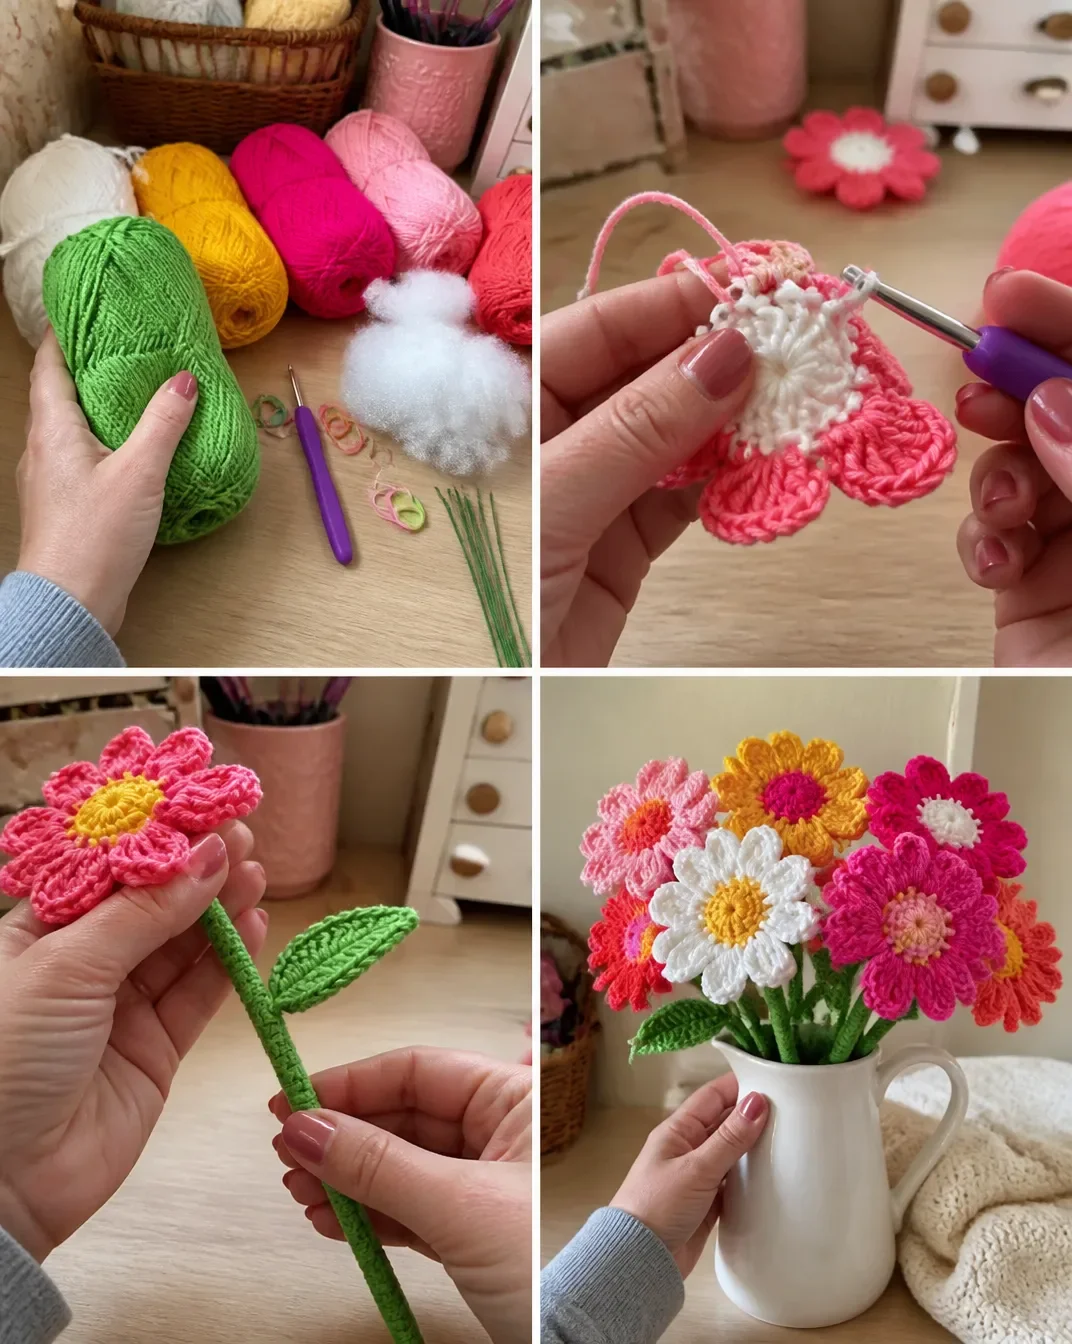
Step-by-Step Crochet Instructions
The approved pattern instructions are retained below in their complete construction order.
Leaves
Leaf make 2 pieces alike for each Daisy
With 2 strands of G, ch 11.
1st rnd
1 sc in 2nd ch from hook.
1 hdc in next ch.
1 dc in next ch.
2 dc in next ch.
1 tr in next ch.
2 tr in next ch.
2 dc in next ch.
1 dc in next ch.
1 hdc in next ch.
(1 sc. Ch 1. 1 sc) in last ch.
Working into opposite side of foundation ch into rem loops:
1 hdc in next ch.
1 dc in next ch.
2 dc in next ch.
2 tr in next ch.
1 tr in next ch.
2 dc in next ch.
1 dc in next ch.
1 hdc in next ch.
3 sc in last ch.
Join with sl st to first sc. Fasten off.
Joining Leaf
Join 2 Leaf pieces into 1 joined Leaf.
Do not fasten off 2nd Leaf. Leave yarn attached for joining rnd.
Place WS of 2 Leaf pieces facing each other with sts aligned, having 2nd Leaf where yarn is still joined at back.
Using yarn from 2nd Leaf and working through both thicknesses, sl st loosely in each st around other edge of Leaf. Join with sl st to first st. Fasten off.
Stems and Leaf Attachment
Stem make 2 pieces alike for each Daisy
With 2 strands of G, ch 43.
1st row (RS)
1 dc in 4th ch from hook (counts as 2 dc).
1 dc in each ch to end of chain.
41 dc.
Fasten off.
Do not fasten off 2nd Stem. Leave yarn attached for Stem joining row.
Stem Joining Row + Attaching Leaf
Place WS of 2 Stem pieces facing each other with sts aligned, having 2nd Stem where yarn is still joined at back.
Using yarn from 2nd Stem and working through both thicknesses, sl st loosely in each st around other edge of Stem to last 13 sts.
To join Leaf, place ‘fasten off’ end of Leaf inside 2 Stem pieces, encasing all yarn ends into Stem.
Join Leaf to Stem while working next 4 joining sl sts through ALL thicknesses, taking care to encase Leaf securely.
Sl st in rem 9 sts to complete joining row. Fasten off.
Insert Floral Stem Wire into Stem
Using 4 lengths of Floral Stem Wire held tog, fold one end up 3″ [7.5 cm].
Insert folded end into Stem opening and push down into total length of Stem.
The folded end should not ‘catch’ into stitches and will be easier to push down Stem.
Daisy Pieces
Daisy make 2 pieces alike for each Daisy
Make Daisy pair with specified colors:
- Make 1 Daisy with A as Color 1 / B as Color 2.
- Make 1 Daisy with B as Color 1 / C as Color 2.
- Make 1 Daisy with A as Color 1 / D as Color 2.
- Make 1 Daisy with B as Color 1 / E as Color 2.
- Make 1 Daisy with A as Color 1 / F as Color 2.
Base
Color 1
With 2 strands of Color 1, ch 4. Join with sl st to first ch to form a ring.
1st rnd (RS)
Ch 3 (counts as dc). Work 15 dc in ring. Join with sl st in top of ch 3.
16 dc. Fasten off.
Center-to-Petals
Color 1 to Color 2
2nd rnd
Ch 1.
2 sc in each dc around.
Join with sl st to first sc.
32 sc. Fasten off.
Begin Petals
3rd rnd
Join 2 strands of Color 2 with sl st in any sc of 2nd rnd.
Ch 1.
1 sc in same sp.
Ch 7.
1 sc in 2nd ch from hook.
1 sc in each of next 5 ch.
1 sc in each of next 4 sc of 2nd rnd.
Rep from * 6 times more, then from * to ** once.
1 sc in each of last 3 sc of 2nd rnd.
Join with sl st to first sc.
8 Petals.
Petal Edging
4th rnd
*Working into rem loops of next Petal chain:
1 sc in next ch.
1 hdc in next ch.
1 dc in each of next 2 ch.
2 dc in next ch.
3 dc in last ch.
Then working down side of Petal:
3 dc in next sc.
2 dc in next sc.
1 dc in each of next 2 sc.
1 hdc in next sc.
1 sc in next sc.
Skip next 2 sc of 3rd rnd.
1 sc in next sc of 3rd rnd.
Skip next sc of 3rd rnd.*
Rep from * around.
Join with sl st in first sc. Fasten off.
Joining the Daisy Pieces
Do not fasten off 2nd Daisy. Leave Color 2 yarn attached for joining rnd.
Place WS of 2 Daisy pieces facing each other with Petals aligned, having 2nd Daisy where Color 2 yarn is still joined at back.
Using Color 2 yarn from 2nd Daisy and working through both thicknesses, sl st loosely in each st around other edge of Daisy until 2 last Petals are un-joined.
Work around 14 sl sts of next Petal.
Pull up a loop loop in last sl st.
Stuff Daisy lightly, using blunt end of crochet hook to push stuffing into each Petal.
Attaching the Stem
Place top of Stem inside 2 Daisy pieces, encasing all yarn ends into Daisy.
Join Stem while working next 9 joining sl sts (at end of current Petal and beg of last Petal) through ALL thicknesses, taking care to encase Stem securely.
Complete joining rnd, at same time adding stuffing into last Petal as you work.
Join with sl st to first st. Fasten off.
Finishing and Completion
All pieces: fasten off as specified above in each section.
Insert Floral Stem Wire into Stem openings as specified.
Join Leaf + Stem + stuffing + close Daisy during Daisy joining rnd as specified.
Ways to Display Your Finished Crochet
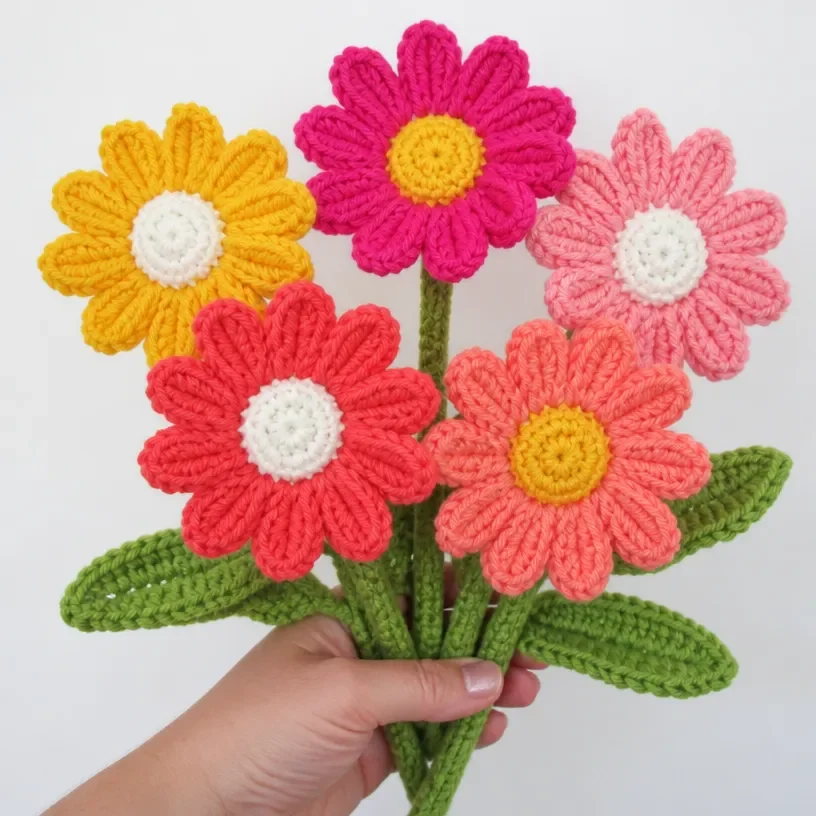
- Arrange all five flowers in a narrow vase for a colorful desk or shelf display.
- Use the bouquet as a spring centerpiece on a dining table or entryway table.
- Give the finished flowers as a long-lasting handmade birthday or housewarming gift.
- Display the daisies in a small ceramic pitcher, glass jar, or rustic container.
- Bend the wired stems gently to create a varied bouquet silhouette instead of keeping every flower at the same height.
- Pair the bouquet with other handmade floral decorations; a coordinated palette can be planned with this crochet bouquet color planning guide.
Caring for Your Crochet Project
Because each flower contains floral stem wire and Polyfil, avoid machine washing, soaking, or placing the bouquet in water.
- Dust the petals, leaves, and stems gently with a soft, dry cloth or a clean makeup brush.
- For a small spot, use a barely damp cloth and dab carefully without saturating the crochet.
- Allow any spot-cleaned area to air-dry completely before reshaping or storing.
- Reshape petals and leaves gently with your fingers rather than pulling on individual stitches.
- Keep the bouquet away from excessive heat, open flames, and prolonged direct sunlight.
- Store it upright in a dry container or wrap it loosely in clean tissue paper so the petals do not become crushed.
- Handle the wire-supported stems carefully, especially when repositioning them in a vase.
Tips for Better Results
- Work with two strands carefully. Keep both strands together as one working yarn so the leaves, stems, and flower pieces have consistent thickness.
- Track the flower color pairings. Label each daisy as you work: A/B, B/C, A/D, B/E, or A/F.
- Count the base stitches. The first daisy round must have 16 dc, and the next round increases to 32 sc.
- Keep the petal chains even. Each petal begins with ch 7, followed by 1 sc in the 2nd chain from the hook and 1 sc in each of the next 5 chains.
- Work into the specified loops. The 4th round begins by working into the rem loops of the petal chain, then continues down the side of the petal.
- Join loosely. Loose slip stitches make it easier to align the two leaf, stem, and daisy pieces without puckering.
- Stuff gradually. Add Polyfil after most of the daisy joining round is complete, then fill each petal lightly with the blunt end of the hook.
- Secure the stem through all thicknesses. During the nine joining slip stitches, make sure the top of the stem and enclosed yarn ends are captured securely.
- Use care with floral wire. Fold and insert the wire as directed, keeping the folded end from catching in the stitches.
- Shape only after assembly. Once the flower is joined and the wire is inserted, gently adjust the petals, leaf, and stem into their final positions.
Color and Styling Variations
The approved color combinations create the five-flower bouquet as written, but these optional ideas can help personalize the finished arrangement:
- Use the original white-and-gold flowers as the brightest focal points and place the pink, persimmon, and coral flowers slightly around them.
- Arrange the pink shades together for a soft monochromatic display, or alternate them with the warmer persimmon and coral flowers.
- Choose a vase that contrasts with Spring Green while complementing the flower colors, such as cream, clear glass, terracotta, or pale blue.
- For a coordinated bridal-inspired arrangement, use mostly Soft White with small accents of Gold or a pale pink shade. A related crochet bridal rose bouquet can provide additional floral styling inspiration.
- If substituting yarn, remember that a different yarn weight or fiber can change the stitch gauge, finished proportions, petal texture, wire fit, and yarn requirements. Adjustments are optional and are separate from the approved instructions.
- Changing the hook size may alter the size and firmness of the leaves, stems, and flowers, so use the specified U.S. J/10 [6 mm] hook or the size needed to obtain gauge for the intended result.
Frequently Asked Questions
Is this crochet daisy bouquet suitable for beginners?
The pattern is labeled Crochet I Skill Level: EASY. Beginners should be comfortable with basic US stitches, working into a foundation chain, joining rounds, and following repeated instructions.
How many flowers does the pattern make?
The yarn amounts and color instructions are for five daisies. Each daisy requires two matching flower pieces, two leaf pieces, and two stem pieces before assembly.
What yarn is recommended?
The pattern uses Red Heart® Super Saver® with the listed colors and quantities. Substituting yarn is possible, but it may affect gauge, texture, dimensions, structure, and yardage.
What hook size should I use?
Use a Size U.S. J/10 [6 mm] Susan Bates® Silvalume® crochet hook or size needed to obtain gauge.
Can I change the flower colors?
Yes. The listed color pairings are the approved arrangement, while alternate colors can be used as an optional customization. Keep track of which shade is Color 1 and which is Color 2 because they are worked in different sections.
How are the stems strengthened?
Each stem is made from two crocheted pieces. During finishing, four lengths of Floral Stem Wire are held together, one end is folded up 3″ [7.5 cm], and the folded end is inserted into the stem opening.
When should I add the stuffing?
Lightly stuff the daisy after working around 14 slip stitches of the joining round. Use the blunt end of a crochet hook to push stuffing into each petal, then add stuffing to the last petal while completing the joining round.
How should I care for the finished bouquet?
Do not machine wash, soak, or submerge the bouquet because it contains floral wire and stuffing. Dust it gently, spot-clean sparingly, keep it dry, and store it away from heat and crushing.
Conclusion
This Crochet Daisy Bouquet Pattern combines colorful petals, shaped leaves, stuffed flower centers, and wire-supported stems into a cheerful handmade arrangement. Follow the assembly order carefully, then adjust the stems for a natural display or gift the finished bouquet to someone special. For more daisy-inspired crochet ideas, compare this project with the Crochet Daisy Free Pattern and Daisy’s Bouquet crochet square pattern.