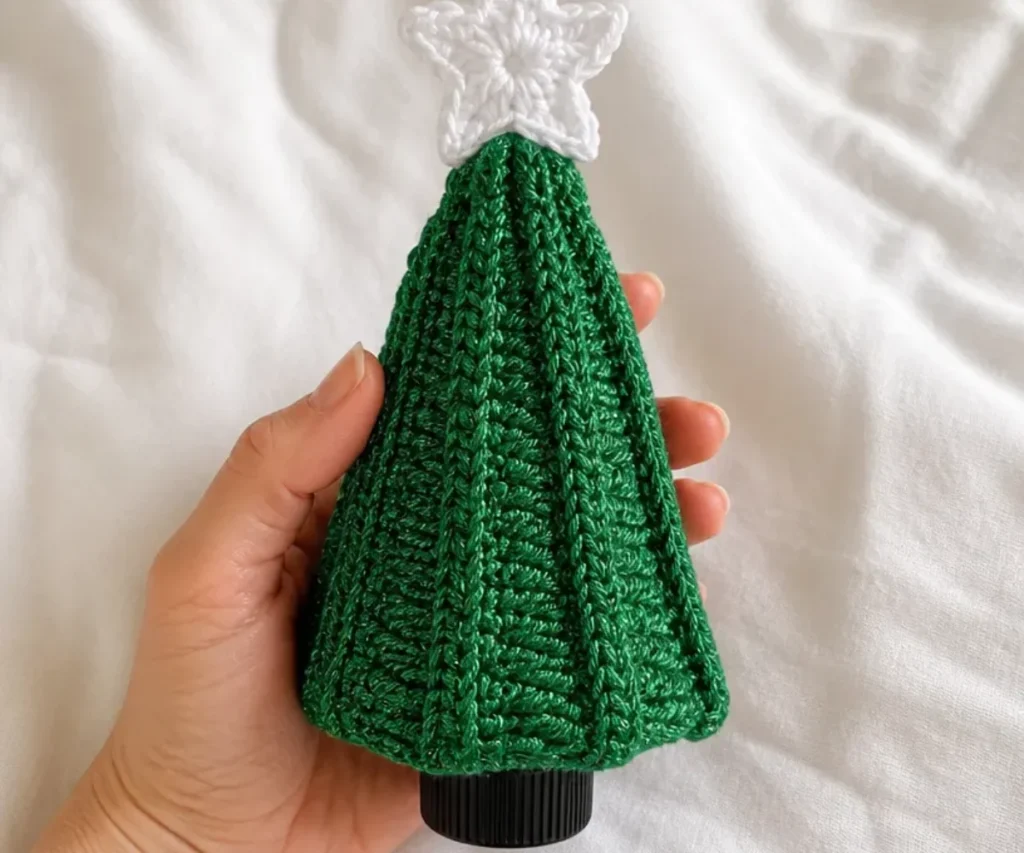
A crochet Christmas tree bottle topper is a charming way to dress up a wine or beverage bottle for a holiday gathering, hostess gift, or festive table. This sideways-worked tree has ridged shaping, a cinched top, and a small white star for a polished seasonal finish. The project uses sparkly holiday yarn and approachable techniques, making it enjoyable for crocheters who want a decorative project with practical gift-giving potential. For another bottle-themed idea, compare it with this DIY crochet bottle topper project.
Why You’ll Love This Crochet Project
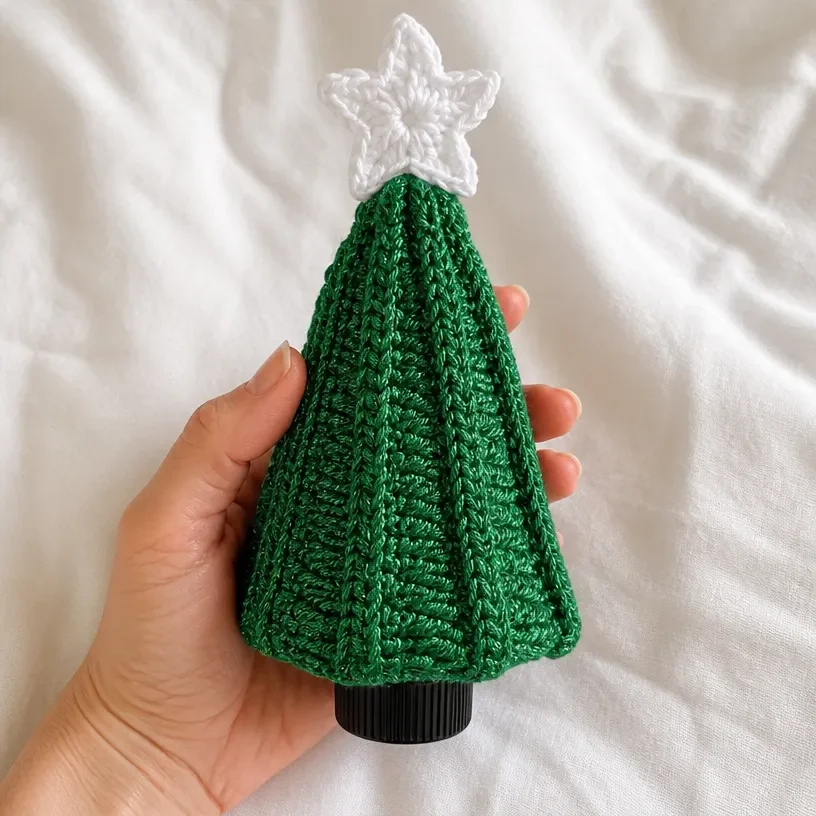
- It creates a useful seasonal decoration. The finished tree slips over a bottle, turning an everyday item into part of your holiday presentation.
- The sideways construction is interesting. Instead of building the tree from the base upward, the pattern forms nine wedges across rows, then joins and cinches the piece into shape.
- The ridges add dimension. Working into front loops and later crocheting through the remaining back loops creates defined lines that resemble layered branches.
- The star provides a bright finishing detail. Twinkly white contrast yarn makes the topper easy to coordinate with other Christmas decorations.
- It makes a thoughtful handmade gift. A bottle topper can accompany a bottle of wine, sparkling juice, flavored syrup, or another packaged holiday treat.
Crochet Mimi Tip: Keep the tree slightly relaxed while seaming so the ridges remain visible rather than compressing them too tightly. You may also find Beginner Friendly Crochet Pattern Red Roses useful.
Before You Start Crocheting
This pattern creates one bottle topper made from two crocheted components: a green tree and a small white star. The tree is worked sideways, beginning with a chain of 37 and progressing through rows of mixed-height stitches. The pattern forms one wedge in Row 2, then uses repeated rows to make a total of nine wedges.
After the tree is finished, ridges are crocheted along the remaining back loops. The foundation chain and final row are sewn together, and the top is threaded and cinched closed. The star is made separately with the smaller hook and sewn to the top of the tree.
The pattern uses US crochet terminology. Helpful abbreviations include:
- ch: chain
- sc: single crochet
- hdc: half double crochet
- dc: double crochet
- tr: treble crochet
- dtr: double treble crochet
- sl st: slip stitch
- RS: right side
- MC: main color
- A: Contrast A
- beg Tr5tog: begin treble five together
Materials You’ll Need
- Bernat® Happy Holidays™, 3.5 oz / 100 g; 240 yds / vgs / 219 m:
- Main Color (MC) Glittery Green (31711): 1 ball
- Contrast A Twinkly White (31709): Approx 10 yds / 9 m
- U.S. F/5 (3.75 mm) crochet hook
- U.S. 7 (4.5 mm) crochet hook, or size needed to obtain gauge
One ball of the main color will make 2 Bottle Toppers. Use the larger hook for the tree and the smaller hook for the star.
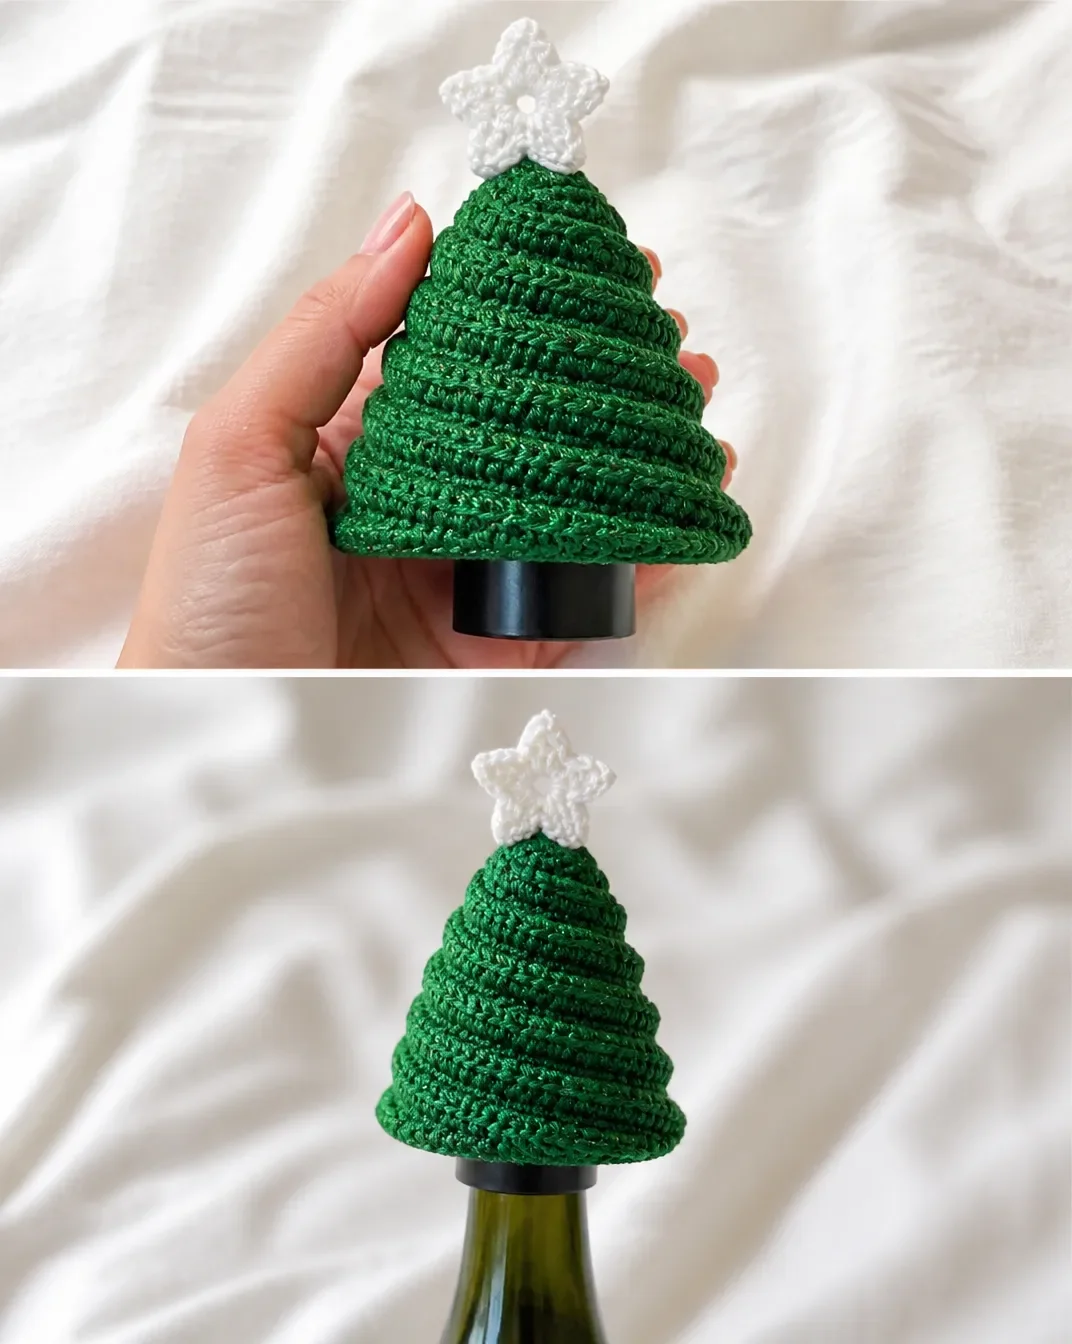
Step-by-Step Crochet Instructions
Tree
Note: Tree is worked sideways.
Starting Chain
With larger hook and MC, ch 37.
1st Row
(RS).
1 sc in 2nd ch from hook.
1 sc in each of next 8 ch.
1 hdc in each of next 9 ch.
1 dc in each of next 9 ch.
1 tr in each of next 8 ch.
(4 tr. 1 dtr) in last ch.
40 sts. Turn.
Set-Up for Subsequent Rows
From this point on, work all sts into front loop only.
2nd Row
Beg Tr5tog.
1 tr in each of next 8 tr.
1 dc in each of next 9 dc.
1 hdc in each of next 9 hdc.
1 sc in each of next 5 sc.
1 sl st in each of next 4 sc.
36 sts.
One Wedge made.
Turn.
3rd Row
Ch 1.
1 sc in each of next 9 sc.
1 hdc in each of next 9 hdc.
1 dc in each of next 9 dc.
1 tr in each of next 8 tr.
(4 tr. 1 dtr) in last tr.
40 sts. Turn.
4th Row
As 2nd row.
Rep last 2 rows 7 times more.
9 Wedges.
Fasten off.
Ridges
With RS facing and beg at bottom (wider edge) of Tree, join MC with sl st to rem back loop at center of any Wedge.
Ch 1.
1 sc in each rem back loop to end of row.
Fasten off.
Rep for each Wedge around.
Seaming and Cinching
Sew foundation ch and last row of Tree tog.
Thread yarn through sts at top of Tree, catching last st of each Ridge row and cinch tightly.
Star
With smaller hook and A, ch 4.
Star 1st Round
9 dc in 4th ch from hook
(skipped ch-3 counts as dc).
Join with sl st to top of ch-3.
10 dc.
Star 2nd Round
Ch 5. 1 sc in 2nd ch from hook. 1 hdc in next ch. 1 dc in next ch. 1 tr in next ch. Skip next dc. Sl st in next dc.
Rep from * around.
Fasten off.
Attach
Sew Star to top of Tree.
Ways to Display Your Finished Crochet
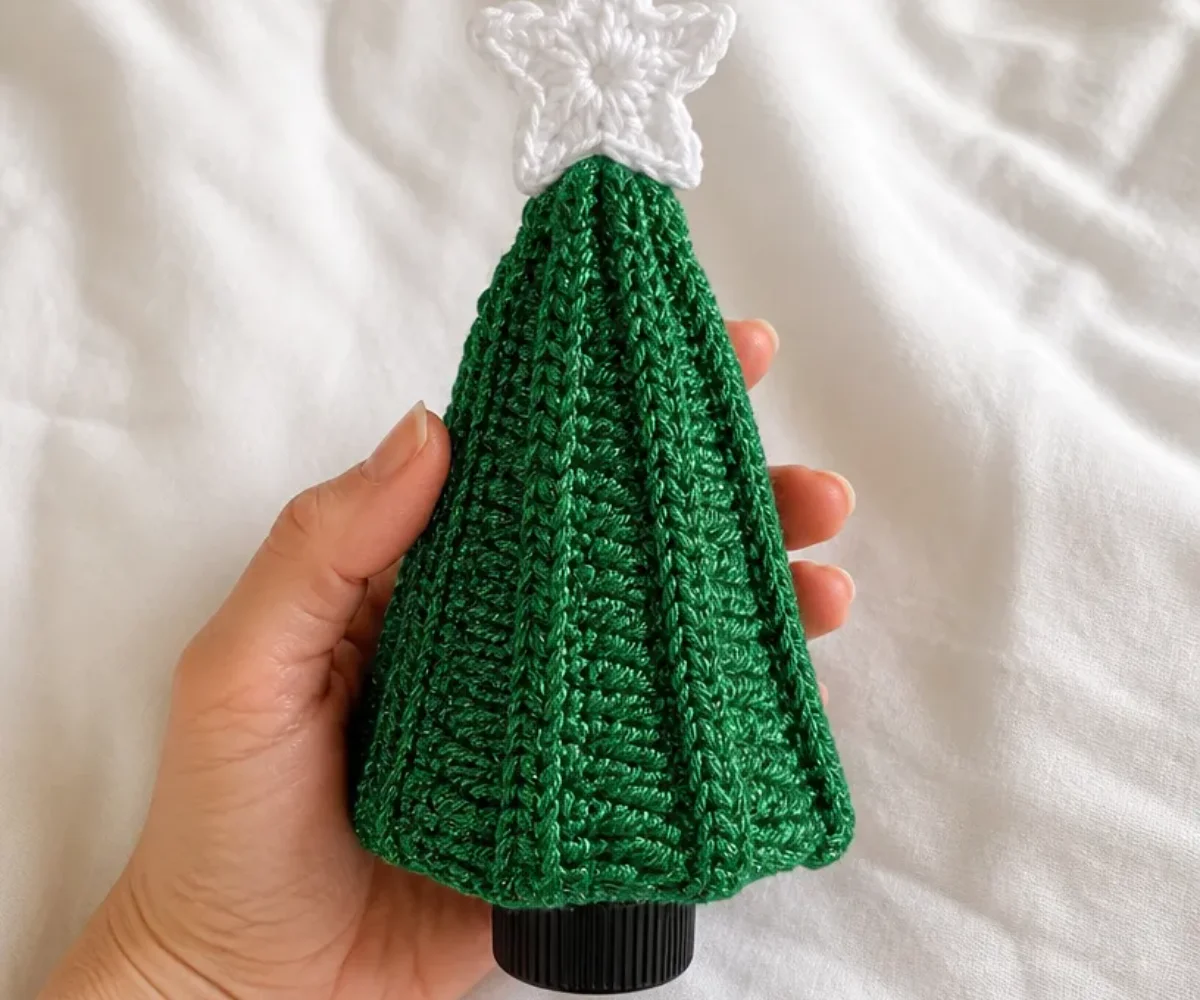
- Top a holiday wine bottle. Slide the tree over the neck of a bottle before placing it on a dinner or buffet table.
- Use it for a hostess gift. Pair the topper with a bottle of wine, cider, sparkling water, or another festive beverage.
- Decorate a holiday drink station. Place several topped bottles together to create a coordinated seasonal display.
- Make a small gift set. Crochet multiple toppers and give them with wrapped beverages or reusable bottles.
- Coordinate the table colors. The glittery green and twinkly white palette works especially well with metallic ornaments, white dishes, and natural greenery.
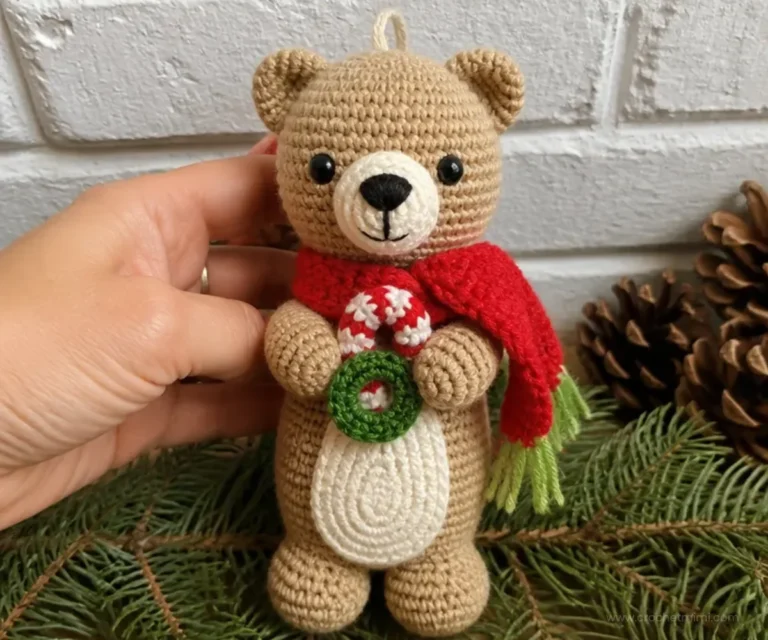
- Create a collection of seasonal toppers. Alongside this tree, a crocheted bear ornament can add another handmade detail to a Christmas display; see this easy crochet bear ornament pattern for inspiration.
Caring for Your Crochet Project
- Dust the topper gently with a soft, dry cloth or a clean, soft brush.
- If a small area needs attention, use careful spot cleaning rather than soaking the finished piece.
- Avoid excessive heat, which can affect the yarn’s shape and decorative finish.
- Store the topper in a dry place when it is not being used.
- Keep it away from sharp edges that could snag the ridges or star.
- Store it loosely rather than crushing it under heavy decorations.
- Before using it again, gently reshape the tree and check that the star remains securely attached.
Helpful Crochet Tips
- Mark the right side early. The tree is worked sideways, so identifying the RS before beginning the ridge section helps prevent confusion.
- Count each stitch group. The first row contains specific sections of sc, hdc, dc, and tr stitches. Counting those groups makes the 40-stitch total easier to confirm.
- Pay attention to the loop placement. From the set-up point onward, work all stitches into the front loop only. The remaining back loops are used later to create the ridges.
- Watch the row direction. Rows 2 and 4 follow the shaping instruction, while Row 3 restores the wider stitch count. Turn exactly where indicated.
- Confirm the wedge count. After repeating the last two rows seven times more, you should have nine wedges.
- Keep the seam aligned. When sewing the foundation chain and last row together, match the edges carefully so the tree forms an even shape.
- Cinch the top securely. The yarn must catch the last stitch of each ridge row so the top closes evenly.
- Shape the star points deliberately. Work each chain-5 point in the stated stitch sequence, then use the slip stitch to anchor it before beginning the next point.
- Secure the star neatly. Sew it firmly to the top of the tree without pulling so tightly that the star curls or loses its shape.
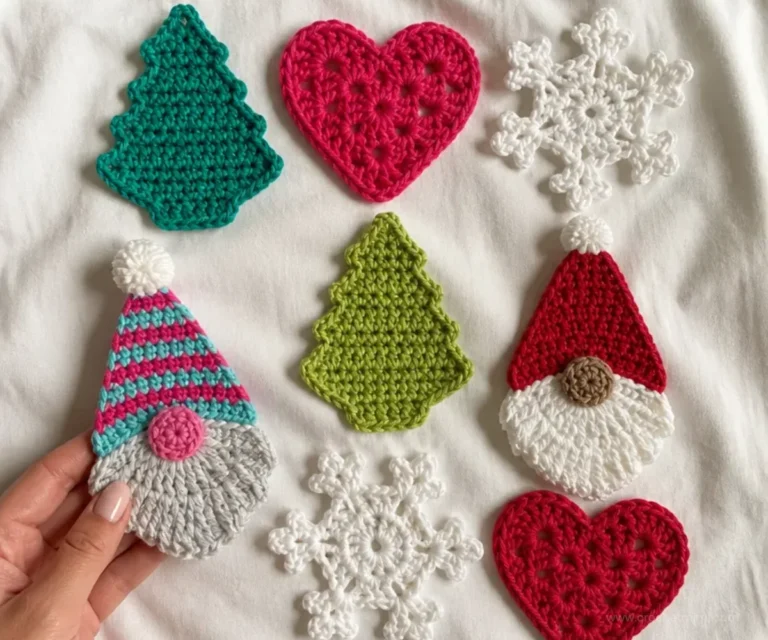
For a different seasonal direction, a spooky tree can inspire alternate display ideas; this crochet Halloween tree pattern shows how a tree motif can be adapted for another holiday.
Creative Ways to Customize Your Project
The approved instructions use Glittery Green for the tree and Twinkly White for the star, but the finished topper can be styled in several optional ways:
- Try a different tree color. A deep forest green, silver, white, or icy blue can create a different holiday mood. Changing yarn may affect the texture, size, and amount required.
- Use a contrasting star. Gold, silver, red, or bright white can make the star stand out against the tree.
- Create a coordinated set. Make several toppers using the same colors for a unified table, or vary the star color while keeping the trees consistent.
- Match your gift wrapping. Choose contrast yarn that complements ribbon, ornaments, or bottle labels.
- Experiment with display pairings. A tree topper can sit beside seasonal crochet decorations, a wreath, or a simple arrangement of greenery.
- Adjust hook size only intentionally. A different hook can change the fabric’s density and dimensions, so it may also affect how the topper fits over a bottle.
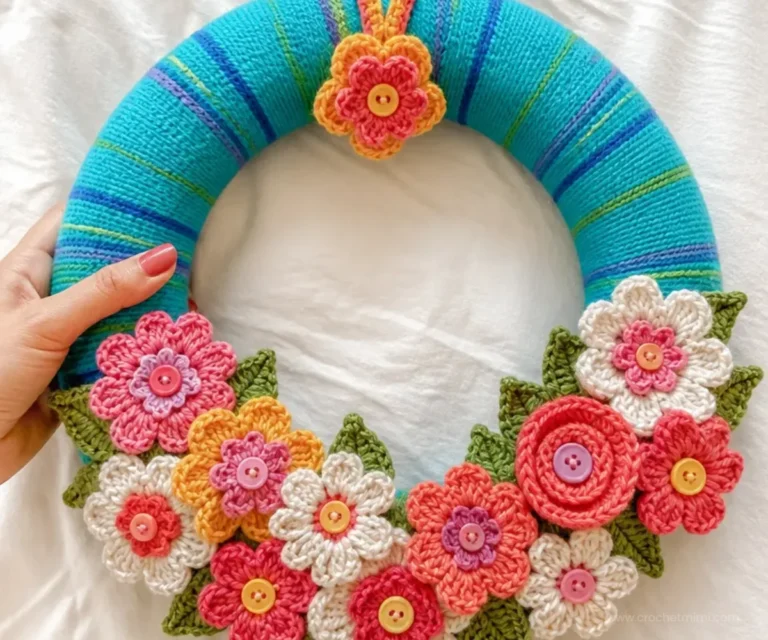
For a non-Christmas color-planning reference, floral palettes can be useful; a spring wreath such as this crochet flower wreath pattern demonstrates how coordinated colors can shape a seasonal display.
Frequently Asked Questions
Is this project beginner-friendly?
The pattern uses several stitch heights and requires front-loop work, seaming, cinching, and a small star. A confident beginner can approach it by working slowly, counting carefully, and checking each row before turning.
Which hook is used for the tree?
Use the larger U.S. 7 (4.5 mm) crochet hook for the tree, or the size needed to obtain gauge.
Which hook is used for the star?
Use the smaller U.S. F/5 (3.75 mm) crochet hook for the star.
How many wedges does the tree contain?
The tree has nine wedges after the last two rows are repeated seven times more.
Why is the tree worked in front loops only?
The front-loop construction shapes the sideways tree and leaves remaining back loops available for the separate ridge section.
How much contrast yarn is needed?
The pattern calls for approximately 10 yds / 9 m of Twinkly White for Contrast A.
Can the colors be changed?
Yes. Color changes are optional, but changing yarn color or yarn type can affect the fabric, texture, dimensions, and yarn requirements.
How is the tree closed at the top?
After the foundation chain and last row are sewn together, thread yarn through the stitches at the top, catching the last stitch of each ridge row, and cinch tightly.
How is the star attached?
Fasten off after the second round, then sew the completed star to the top of the tree.
Can the finished topper be washed?
Because the pattern does not provide a specific washing method, protect the shaped decoration with gentle dusting and careful spot cleaning. Avoid soaking or machine washing unless the yarn manufacturer’s instructions and the finished construction support that treatment.
Can I make more than one topper?
Yes. One ball of MC will make two Bottle Toppers, while Contrast A requires approximately 10 yds / 9 m for the star details specified by the pattern.
Conclusion
This crochet Christmas tree bottle topper combines sparkling yarn, dimensional ridges, and a simple star for a festive handmade finish. It is useful for holiday tables, thoughtful gifts, and seasonal beverage displays. For additional pattern inspiration, compare this project with the Bernat Christmas tree bottle topper pattern and another crochet Christmas tree wine topper design, then customize your own colors and presentation.