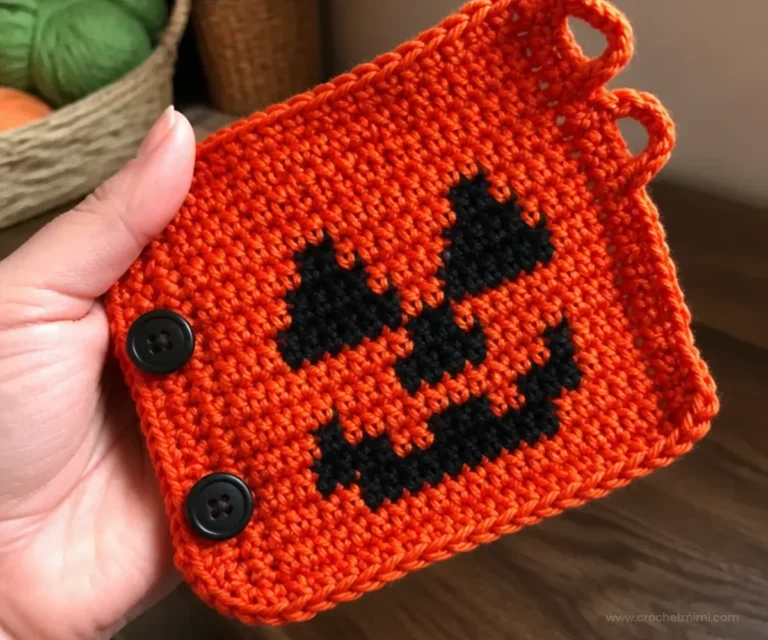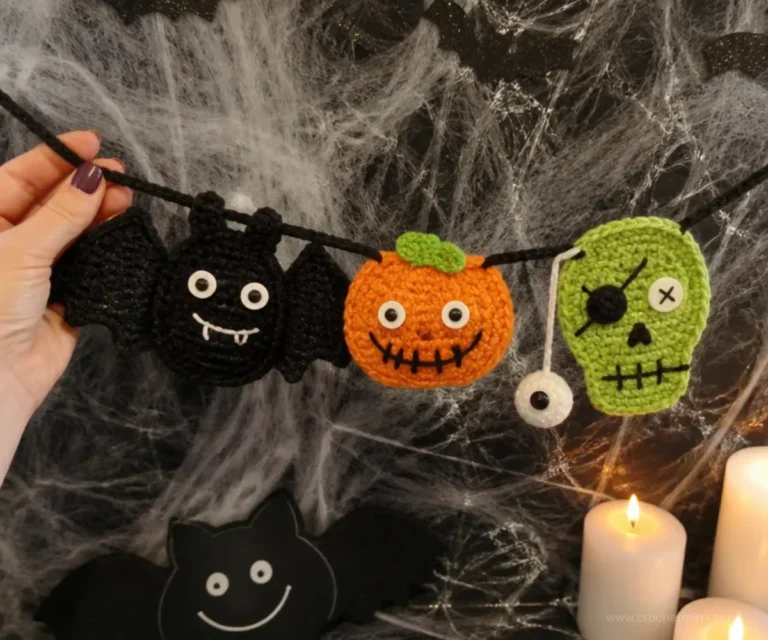
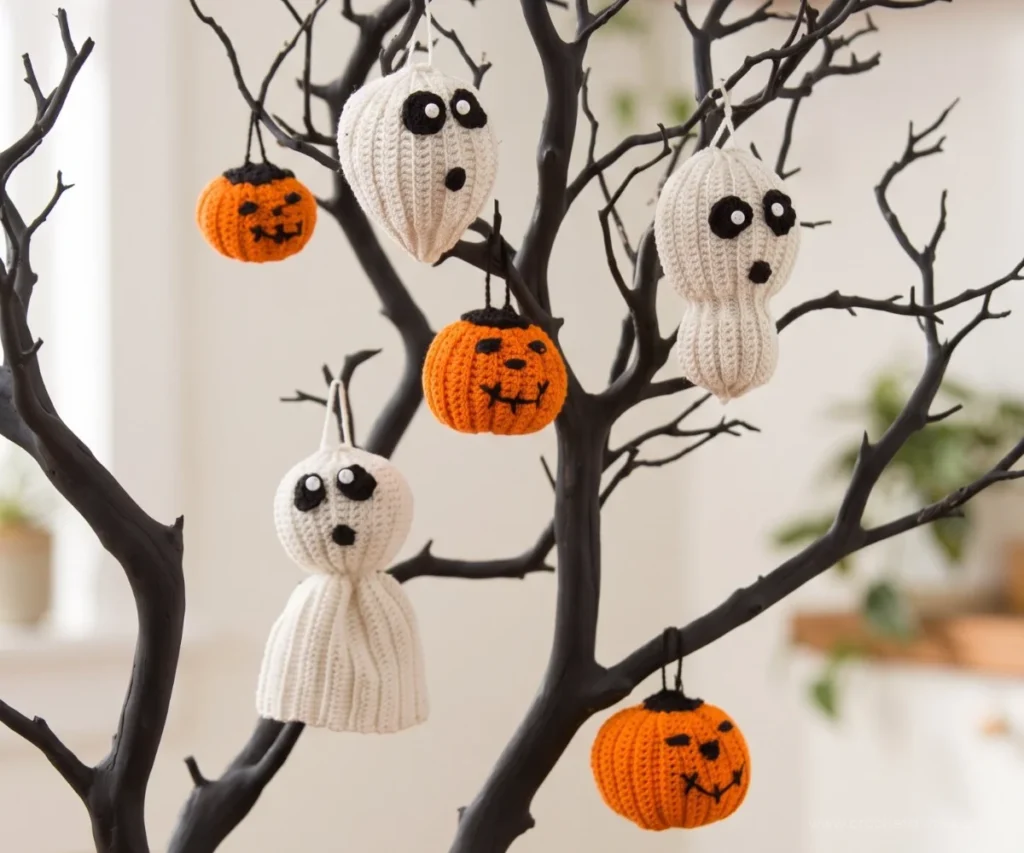
Crochet a playful Halloween tree filled with spooky handmade ornaments using the Crochet Halloween Tree of Spookiness Pattern. This project includes three ghost shapes and three jack-o-lantern sizes, so you can create a varied seasonal display with one coordinated color palette. The ornaments are lightweight, stuffed, and finished with hanging loops for a tabletop tree, mantel, or gift package. Beginners who enjoy structured rows and simple seaming may also like these beginner-friendly crochet flowers for other handmade decorations.
Why You’ll Love This Crochet Project
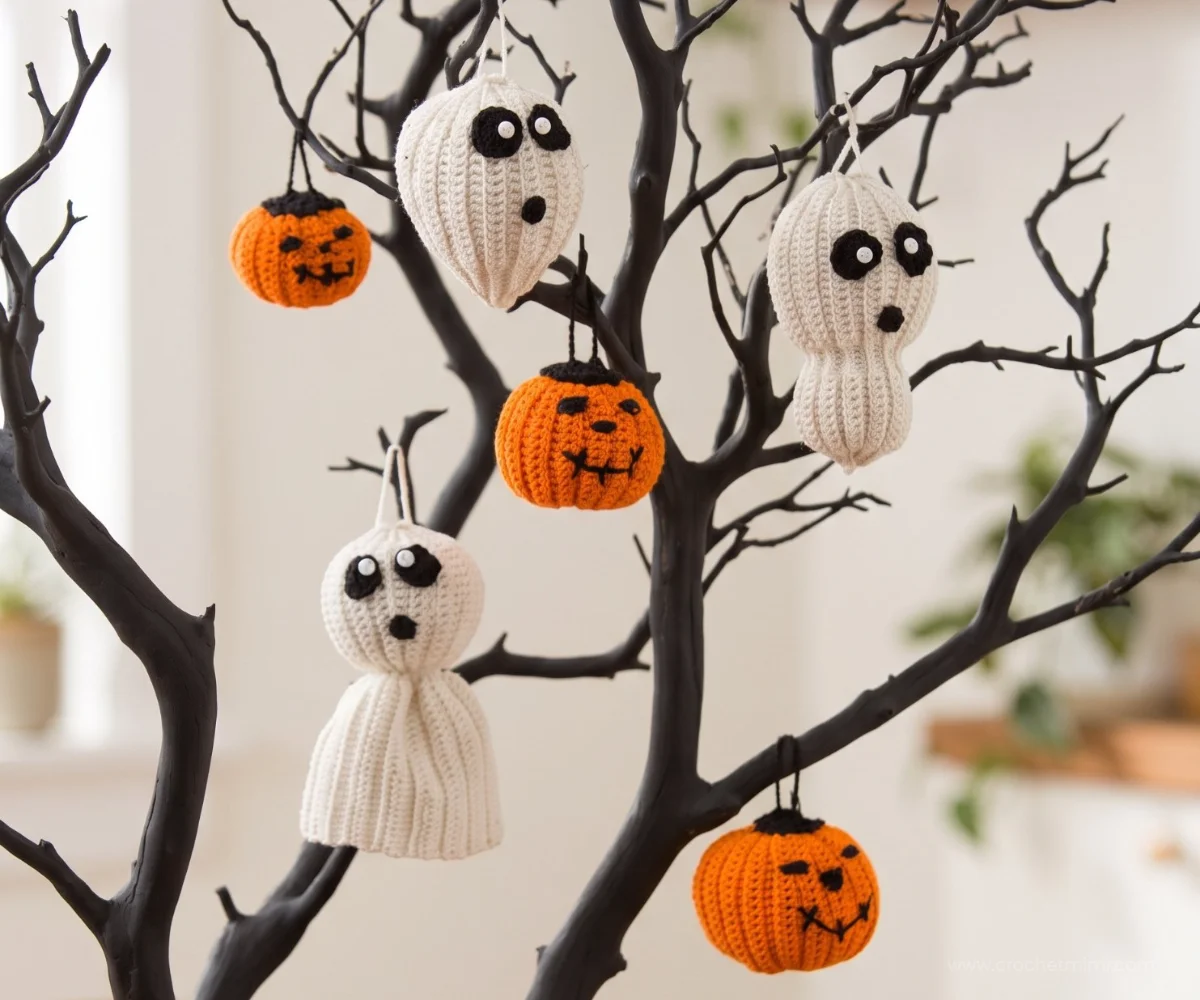
- Several designs in one pattern: Make Ghost Ball, Floaty Ghost, and Double Ball Ghost ornaments, then add Big, Medium, and Small jack-o-lanterns.
- A useful stitch practice project: The bodies combine single crochet, double crochet, back-loop stitching, and seaming.
- Easy seasonal decorating: Each finished ornament includes a loop for hanging from an ornament hanger or small decorative tree.
- Handmade gift potential: A set of ghosts and pumpkins makes a thoughtful Halloween gift for a crochet lover, teacher, host, or family member.
- Flexible display options: Use all the pieces together or spread them across a mantel, wreath, centerpiece, or gift basket.
Crochet Mimi Tip: Make the hanging loops before attaching facial details so each ornament can be oriented naturally while you position the eyes, mouth, and pumpkin features.
Pattern Overview
The project is worked in separate components. Each ghost body begins as a flat strip made with Antique White thread, then the final single-crochet row joins the strip into a stuffed ornament. The ghost facial pieces are crocheted separately in Black, with white buttons sewn onto the eyes.
The jack-o-lantern bodies are worked in Pumpkin thread as repeated rows. Each size receives the same Black topper, hanging loop, stuffing, and embroidered face.
Finished dimensions are:
- Ghost Ball: 3.5 inches / 9 cm in diameter
- Floaty Ghost: 4 inches / 10 cm wide × 6 inches / 15 cm long
- Double Ball Ghost: 3 inches / 7.5 cm wide × 5 inches / 12.5 cm long
- Big Jack-o-lantern: 3 inches / 7.5 cm in diameter
- Medium Jack-o-lantern: 2.5 inches / 6.5 cm in diameter
- Small Jack-o-lantern: 2 inches / 5 cm in diameter
Gauge is not critical for these projects.
Abbreviations used
- ch: chain
- sc: single crochet
- dc: double crochet
- slip st: slip stitch
- st/sts: stitch/stitches
- A: Antique White
- B: Black
- C: Pumpkin
Materials You’ll Need
- Aunt Lydia’s Classic Crochet Thread, Size 10:
- 1 ball 210 Antique White (A)
- 1 ball 12 Black (B)
- 1 ball 431 Pumpkin (C)
- Susan Bates Steel Crochet Hook: 1.5 mm [US 7]
- Thread needle
- Polyester fiberfill
- Six ¼-inch (7 mm) white buttons
- White sewing thread
- Ornament hangers
The Antique White thread forms the ghost bodies, Black creates the ghost facial pieces and jack-o-lantern toppers, and Pumpkin makes the three pumpkin bodies. The fiberfill gives each sewn body its rounded shape. The white buttons are placed on the crocheted eyes, while the white sewing thread can be used to sew them securely.
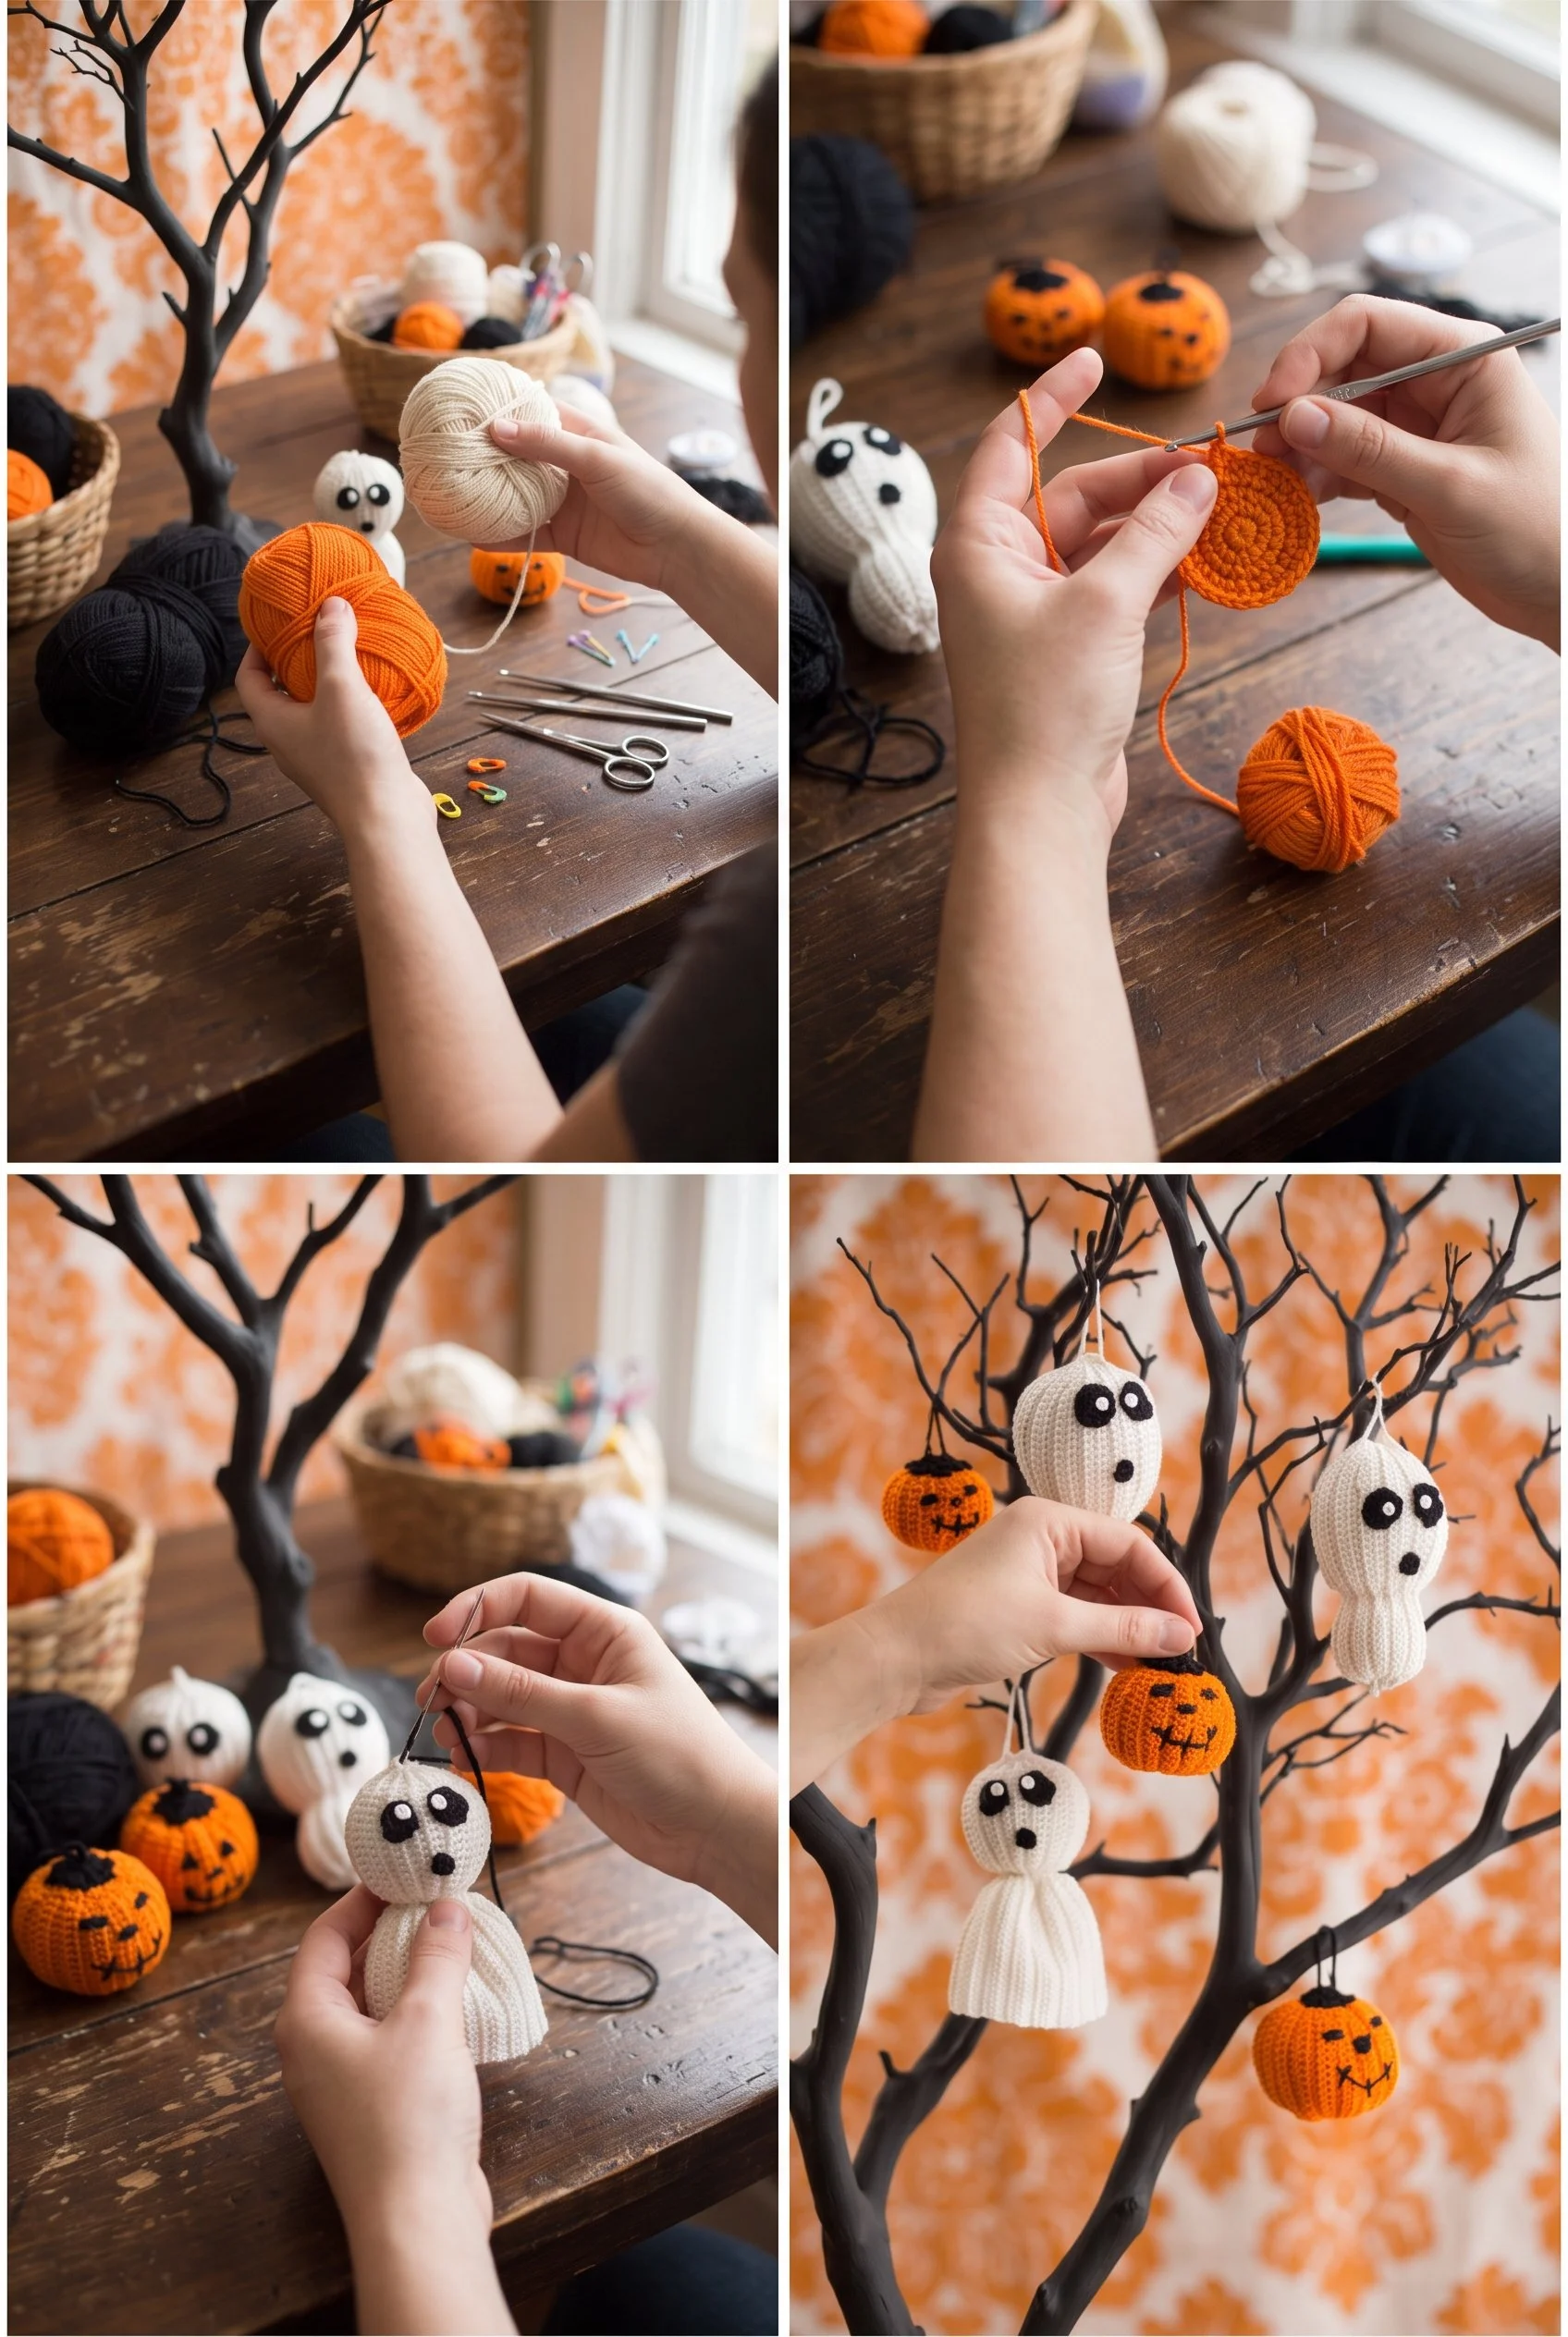
Complete Crochet Instructions
Special Technique: Adjustable Ring
- Wrap yarn into a ring, ensuring that the tail falls behind the working yarn.
- Grip ring and tail firmly between middle finger and thumb.
- Insert hook through center of ring, yarn over (with working yarn) and draw up a loop.
- Work stitches of first round in the ring.
- After the first round of stitches is worked, pull gently, but firmly, on tail to tighten ring.
Ghost Ornament: Ghost Ball
Measures 3.5 inches / 9 cm diameter
Ghost Ball Body
With A, ch 41.
Row 1 (Right Side):
Sc in second ch from hook, sc in next 4 ch, dc in next 20 ch, sc in last 15 ch; turn 40 sts.
Row 2 (Working in back loops only):
Ch 1, sc in same beginning sc, sc in next 14 sc, dc in next 20 dc, sc in last 5 sc; turn 40 sts.
Row 3 (Working in back loops only):
Ch 1, sc in same beginning sc, sc in next 4 sc, dc in next 20 dc, sc in last 15 sc; turn 40 sts.
Rows 4–30:
Repeat Rows 2–3 13 times, then Row 2 once.
Row 31: Work a row of sc joining Row 30 to Row 1 as follows: Holding the two rows together with Right Side facing, ch 1, insert hook under the first loop of the opposite side of the foundation ch and under the front loop of the first sc of Row 30, draw up a loop, complete sc; continue in this fashion, working a sc over each set of two stitches across 40 sc.
Ghost Eyes Make 2
With B, make a Magic Loop.
Ch 3 (counts as first dc), 16 dc in ring; slip st in top of ch-3 to join; fasten off 17 dc.
Ghost Mouth
With B, make a Magic Loop.
Ch 1, 10 sc in ring; slip st in top of first sc to join; fasten off 10 sc.
Finishing: Ghost Ball
- Using needle, sew one of the end of the ornament closed.
- Fill the ornament with polyester fiberfill, then sew the other end closed.
- Join A to the middle of the ornament at the top; ch 20, slip st in first ch to form a loop.
- Referring to photograph for placement, sew the Loop to the top of the Ghost Ball.
- Place the buttons on the Eyes and sew the Eyes to the Ghost Ball.
- Sew the Mouth to the Ghost Ball, not too close to the Eyes.
- Fasten off and weave in all ends.
Ghost Ornament: Floaty Ghost
Measures 4 inches / 10 cm wide × 6 inches / 15 cm long
Floaty Ghost Body
With A, ch 51.
Row 1 (Right Side):
Sc in second ch from hook, sc in next 4 ch, dc in next 15 ch, sc in next 5 ch, dc in last 25 ch; turn 50 sts.
Row 2 (Working in back loops only):
Ch 3 (counts as first dc), dc in next 24 dc, sc in next 5 sc, dc in next 15 dc, sc in last 5 sc; turn 50 sts.
Row 3 (Working in back loops only):
Ch 1, sc in same beginning sc, sc in next 4 sc, dc in next 15 dc, sc in next 5 sc, dc in last 25 dc; turn 50 sts.
Rows 4–30:
Repeat Rows 2–3 13 times, then Row 2 once.
Row 31: Work a row of sc joining Row 30 to Row 1 as follows: Holding the two rows together with Right Side facing, ch 1, insert hook under the first loop of the opposite side of the foundation ch and under the front loop of the first sc of Row 30, draw up a loop, complete sc; continue in this fashion, working a sc over each set of two stitches across 50 sc.
Ghost Eyes and Ghost Mouth
Make same as for Ghost Ball.
Finishing: Floaty Ghost
- Using needle, sew one of the end of the ornament closed.
- Fill the ornament with polyester fiberfill, then sew the other end closed.
- Join A to the middle of the ornament at the top; ch 20, slip st in first ch to form a loop.
- Referring to photograph for placement, sew the Loop to the top of the Floaty Ghost.
- Place the buttons on the Eyes and sew the Eyes to the Floaty Ghost.
- Sew the Mouth to the Floaty Ghost, not too close to the Eyes.
- Fasten off and weave in all ends.
Ghost Ornament: Double Ball Ghost
Measures 3 inches / 7.5 cm wide × 5 inches / 12.5 cm long
Double Ball Ghost Body
With A, ch 46.
Row 1 (Right Side):
Sc in second ch from hook, sc in next 4 ch, dc in next 10 ch, sc in next 5 ch, dc in next 20 ch, sc in last 5 ch; turn 45 sts.
Row 2 (Working in back loops only):
Ch 1, sc in same beginning sc, sc in next 4 sc, dc in next 20 dc, sc in next 5 sc, dc in next 10 dc, sc in last 5 sc; turn 45 sts.
Row 3 (Working in back loops only):
Ch 1, sc in same beginning sc, sc in next 4 sc, dc in next 10 dc, sc in next 5 sc, dc in next 20 dc, sc in last sc; turn 45 sts.
Rows 4–28:
Repeat Rows 2–3 12 times, then Row 2 once.
Row 29: Work a row of sc joining Row 28 to Row 1 as follows: Holding the two rows together with Right Side facing, ch 1, insert hook under the first loop of the opposite side of the foundation ch and under the front loop of the first sc of Row 28, draw up a loop, complete sc; continue in this fashion, working a sc over each set of two stitches across 45 sc.
Ghost Eyes and Ghost Mouth
Make same as for Ghost Ball.
Finishing: Double Ball Ghost
- Using needle, sew one of the end of the ornament closed.
- Fill the ornament with polyester fiberfill, then sew the other end closed.
- Join A to the middle of the ornament at the top; ch 20, slip st in first ch to form a loop.
- Referring to photograph for placement, sew the Loop to the top of the Double Ball Ghost.
- Place the buttons on the Eyes and sew the Eyes to the Double Ball Ghost.
- Sew the Mouth to the Double Ball Ghost, not too close to the Eyes.
- Fasten off and weave in all ends.
Jack-o-Lantern Topper for All Sizes
Jack-o-Lantern Topper Body
With B, ch 6, join with slip st in first ch to form ring.
Round 1:
Ch 3 (counts as first dc), 11 dc in ring; slip st in top of ch-3 to join 12 dc.
Round 2:
Ch 1, (sc, ch 3, sc) in same beginning dc, [sc in next dc, (sc, ch 3, sc) in next dc] 5 times, sc in last dc; join with slip st in top of first sc 18 sc, 6 ch-3 loops.
Joining Topper
Join B to the middle of the Topper; ch 20, slip st in first ch to form a loop.
Sew Topper to the top of the Pumpkin; fasten off.
Finishing for Jack-o-Lanterns
- Using needle, sew one of the end of the ornament closed.
- Fill the ornament with polyester fiberfill, then sew the other end closed.
- Sew the Pumpkin Topper to the ornament and weave in all ends.
- Referring to photograph for placement, embroider the Eyes, Nose, and Mouth to make the Jack O’ Lantern.
Jack-o-Lantern: Big
Measures 3 inches / 7.5 cm diameter
Big Jack-o-Lantern Body
With C, ch 31.
Row 1 (Right Side):
Sc in second ch from hook, sc in next 4 ch, dc in next 20 ch, sc in last 5 ch; turn 30 sts.
Row 2 (Working in back loops only):
Ch 1, sc in same beginning sc, sc in next 4 sc, dc in next 20 dc, sc in last 5 sc; turn 30 sts.
Rows 3–40:
Repeat Row 2.
Row 41: Work a row of sc joining Row 40 to Row 1 as follows: Holding the two rows together with Right Side facing, ch 1, insert hook under the first loop of the opposite side of the foundation ch and under the front loop of the first sc of Row 40, draw up a loop, complete sc; continue in this fashion, working a sc over each set of two stitches across 30 sc.
Finishing:
Use FOR ALL SIZES Jack-o-lantern topper finishing (listed above).
Jack-o-Lantern: Medium
Measures 2.5 inches / 6.5 cm diameter
Medium Jack-o-Lantern Body
With C, ch 26.
Row 1 (Right Side):
Sc in second ch from hook, sc in next 4 ch, dc in next 15 ch, sc in last 5 ch; turn 25 sts.
Row 2 (Working in back loops only):
Ch 1, sc in same beginning sc, sc in next 4 sc, dc in next 15 dc, sc in last 5 sc; turn 25 sts.
Rows 3–36:
Repeat Row 2.
Row 37: Work a row of sc joining Row 36 to Row 1 as follows: Holding the two rows together with Right Side facing, ch 1, insert hook under the first loop of the opposite side of the foundation ch and under the front loop of the first sc of Row 36, draw up a loop, complete sc; continue in this fashion, working a sc over each set of two stitches across 25 sc.
Finishing:
Use FOR ALL SIZES Jack-o-lantern topper finishing (listed above).
Jack-o-Lantern: Small
Measures 2 inches / 5 cm diameter
Small Jack-o-Lantern Body
With C, ch 21.
Row 1 (Right Side):
Sc in second ch from hook, sc in next 4 ch, dc in next 10 ch, sc in last 5 ch; turn 20 sts.
Row 2 (Working in back loops only):
Ch 1, sc in same beginning sc, sc in next 4 sc, dc in next 10 dc, sc in last 5 sc; turn 20 sts.
Rows 3–30:
Repeat Row 2.
Row 31: Work a row of sc joining Row 30 to Row 1 as follows: Holding the two rows together with Right Side facing, ch 1, insert hook under the first loop of the opposite side of the foundation ch and under the front loop of the first sc of Row 30, draw up a loop, complete sc; continue in this fashion, working a sc over each set of two stitches across 20 sc.
Finishing:
Use FOR ALL SIZES Jack-o-lantern topper finishing (listed above).
Finished Project Inspiration
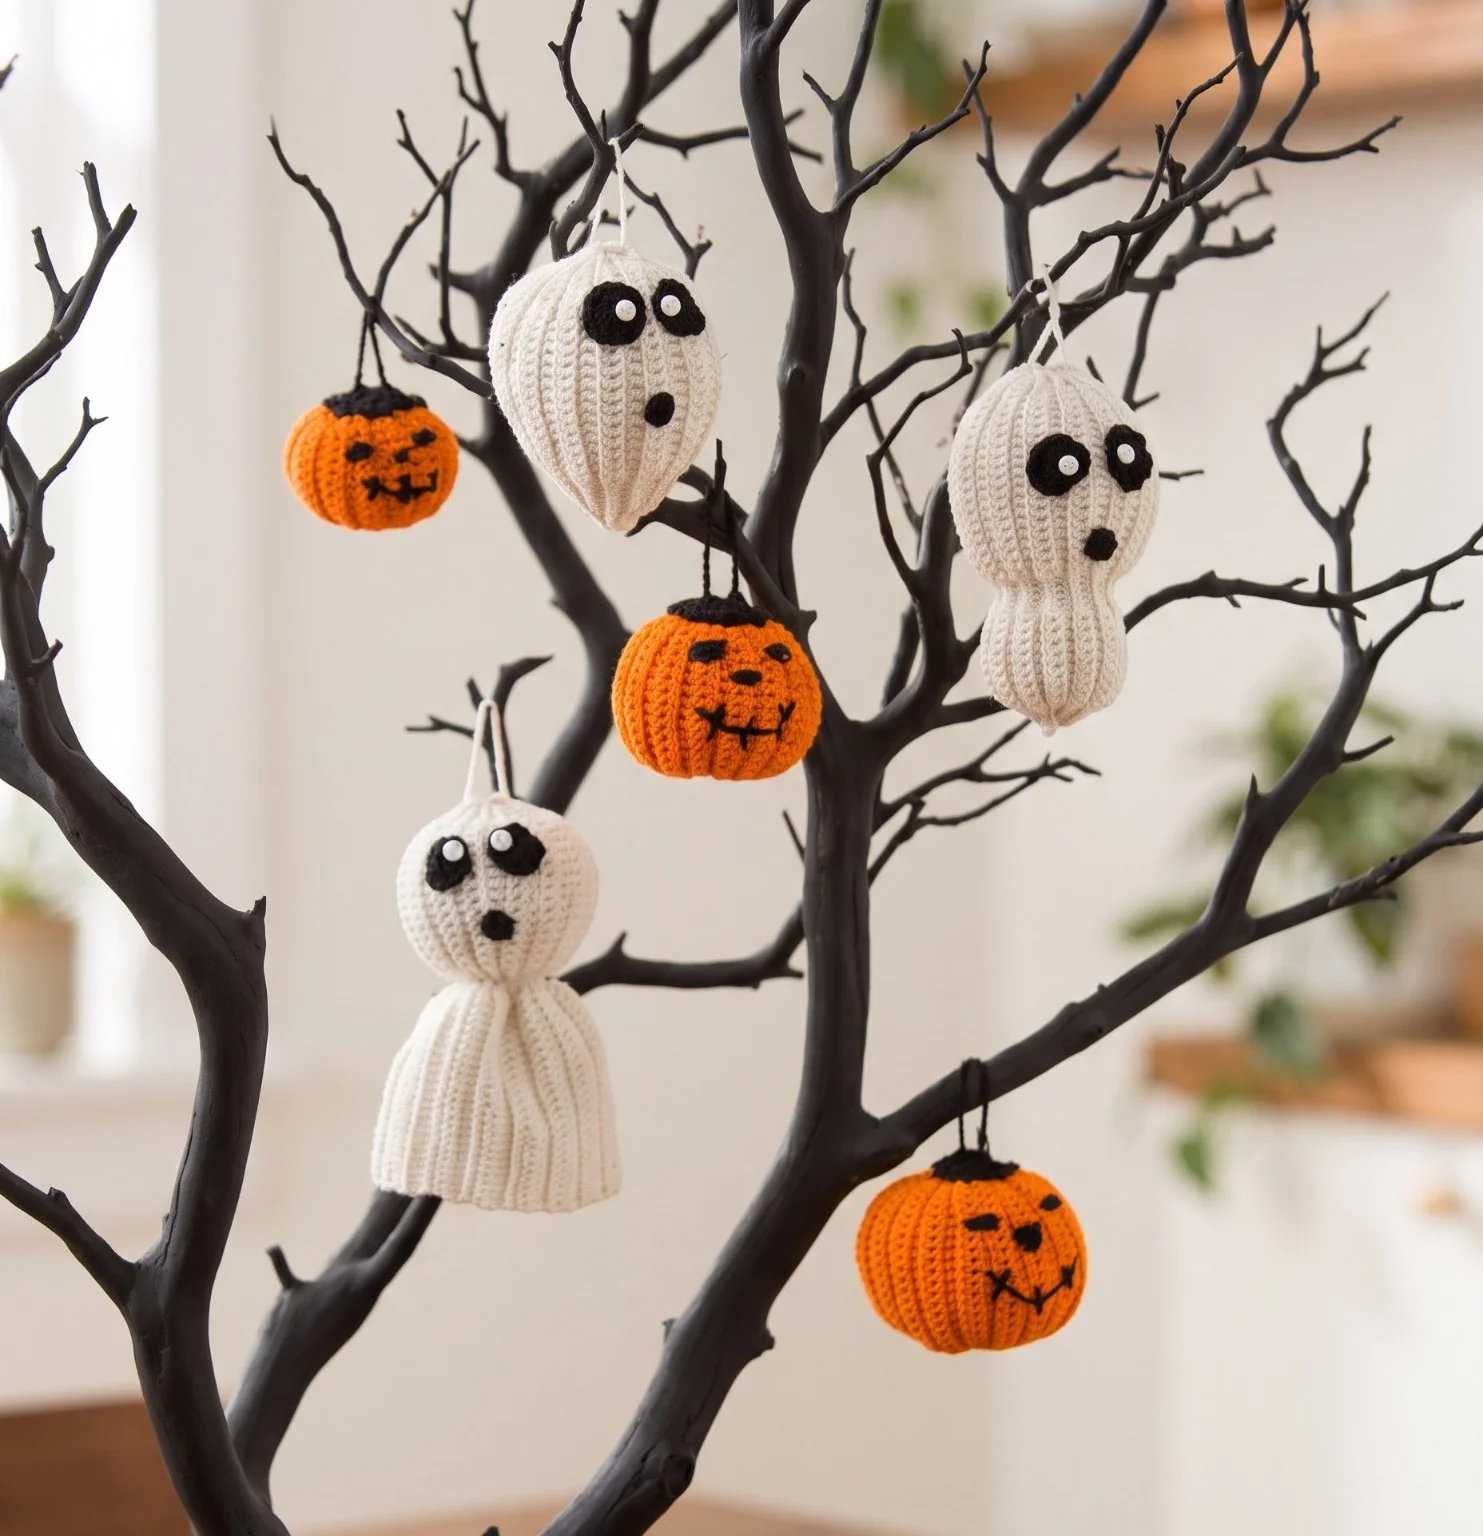
- Hang the completed ghosts and pumpkins on a small Halloween tree using the ornament hangers.
- Arrange several ornaments in a shallow bowl or basket as a seasonal tabletop centerpiece.
- Attach one ornament to a wrapped gift for a reusable Halloween package decoration.
- Display a mix of sizes on a mantel so the Big, Medium, and Small jack-o-lanterns create visual variety.
- Combine the ornaments with other handmade seasonal pieces; floral-style crochet inspiration such as these crochet bell flower designs can help when planning a broader handmade display.
- Give a coordinated set as a Halloween hostess gift, keeping the ornaments together in a decorative box between seasons.
Caring for Your Crochet Project
- Dust the ornaments gently with a soft brush or use a cool-air setting from a distance.
- For small marks, spot-clean carefully with a barely damp cloth rather than soaking the stuffed pieces.
- Avoid pulling the button eyes, embroidered features, and hanging loops.
- Keep the ornaments away from excessive heat, open flames, and damp storage areas.
- Store them in a clean, dry box with tissue paper around the facial details to reduce crushing.
- Reshape the stuffed bodies gently by hand after storage, taking care not to stretch the thread.
- Keep the ornaments away from pets and young children because the buttons and other small components may present a choking hazard.
Tips for Better Results
- Count the foundation chains carefully. The three ghost bodies and three pumpkin sizes use different starting chain counts, so label each piece as you work.
- Watch the working loop. The repeated body rows are worked in back loops only. Missing this detail can change the surface texture and dimensions.
- Check the stitch count at row ends. The Ghost Ball and Floaty Ghost have 40 and 50 stitches, while the Double Ball Ghost has 45.
- Keep the right sides facing during joining. The final single-crochet joining row closes each flat strip into a tube.
- Use modest stuffing. Add enough polyester fiberfill to create a rounded shape, but avoid overfilling, which can stretch the thread and make sewing difficult.
- Place facial pieces before final stitching. Pin or temporarily position the eyes and mouth so the face remains balanced on the curved body.
- Secure the loops firmly. Sew through the middle of the ornament several times so the hanging loop can support the finished piece.
- Embroider pumpkin faces carefully. Work the Eyes, Nose, and Mouth after the topper and stuffing are complete, following the intended jack-o-lantern placement.
For a spring-themed project using a similarly decorative approach, these crochet daffodil bouquet ideas offer a contrasting seasonal direction.
Color and Styling Variations
The approved pattern uses Antique White for ghosts, Black for facial details and toppers, and Pumpkin for jack-o-lantern bodies. Optional changes can personalize the display without altering the construction:
- Use a different light color for the ghost bodies, such as a pale gray or soft cream, while retaining Black facial features.
- Create a limited monochrome display with Black bodies and contrasting embroidered details, recognizing that the finished appearance will change substantially.
- Make a mixed pumpkin palette by using several shades of orange if you have compatible thread available.
- Add a few ghost-only or pumpkin-only decorations to create a more focused tree.
- Arrange the ornaments from smallest to largest for a graduated display, or distribute the sizes evenly for a more balanced look.
Changing thread type, yarn size, or hook size is optional and may affect gauge, finished dimensions, texture, stitch definition, and the amount of fiberfill required. Any substitution should be tested before making the complete set.
Frequently Asked Questions
Is this pattern suitable for a beginner?
It can suit a beginner who is comfortable with chains, single crochet, double crochet, working in back loops, slip stitches, and basic sewing. The pattern includes repeated rows, but careful stitch counting is important.
What yarn and hook are recommended?
The approved materials specify Aunt Lydia’s Classic Crochet Thread, Size 10, with Antique White, Black, and Pumpkin colors, worked with a Susan Bates Steel Crochet Hook measuring 1.5 mm [US 7].
Do I need to make every ornament?
No. The pattern provides three ghost options and three jack-o-lantern sizes, allowing you to make only the shapes that fit your display. The same topper is used for all jack-o-lantern sizes.
How are the ghost ornaments shaped?
Each ghost body is crocheted as a flat strip, joined along the final row to form an ornament body, stuffed with polyester fiberfill, and sewn closed at both ends.
How are the ghost eyes made?
Each eye is crocheted in Black as a Magic Loop with ch 3 counting as the first dc, followed by 16 dc in the ring. The finished eye has 17 dc, and the pattern calls for two eyes.
Can I change the colors?
Yes, color changes are an optional styling choice. Keep track of the original color roles if you want the traditional appearance: A for ghost bodies, B for ghost details and toppers, and C for pumpkins.
How do the jack-o-lanterns differ?
The sizes use different body chains and row counts: Big begins with ch 31 and ends after Row 41, Medium begins with ch 26 and ends after Row 37, and Small begins with ch 21 and ends after Row 31.
What is the purpose of the ornament hangers?
The crocheted hanging loops are sewn to the tops of the ornaments, and ornament hangers can be used to suspend them from a Halloween tree or other display.
Conclusion
This Crochet Halloween Tree of Spookiness Pattern combines expressive ghosts and cheerful jack-o-lanterns in one coordinated seasonal collection. Display the finished pieces together, gift them individually, or customize the colors for your own Halloween style. For the original seasonal project reference, see the Aunt Lydia’s Halloween Tree of Spookiness pattern, and explore additional seasonal inspiration in these crochet Halloween costume ideas.