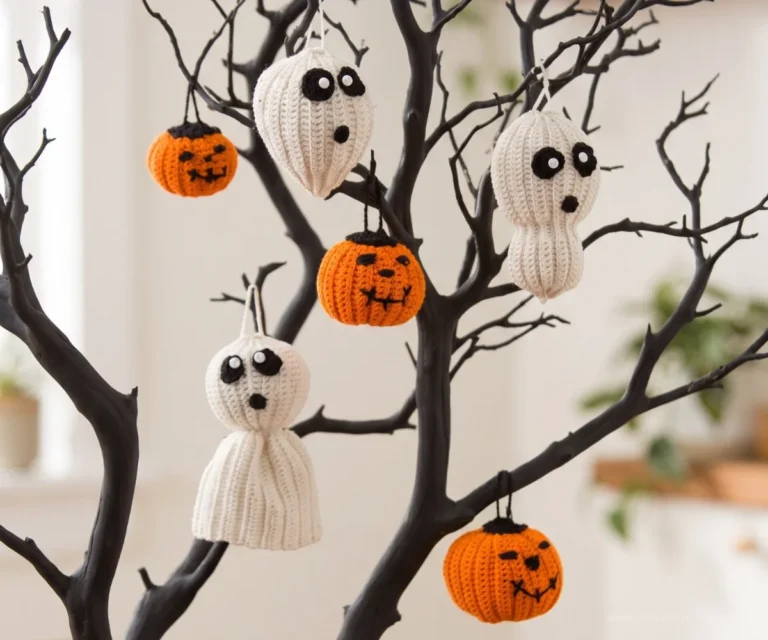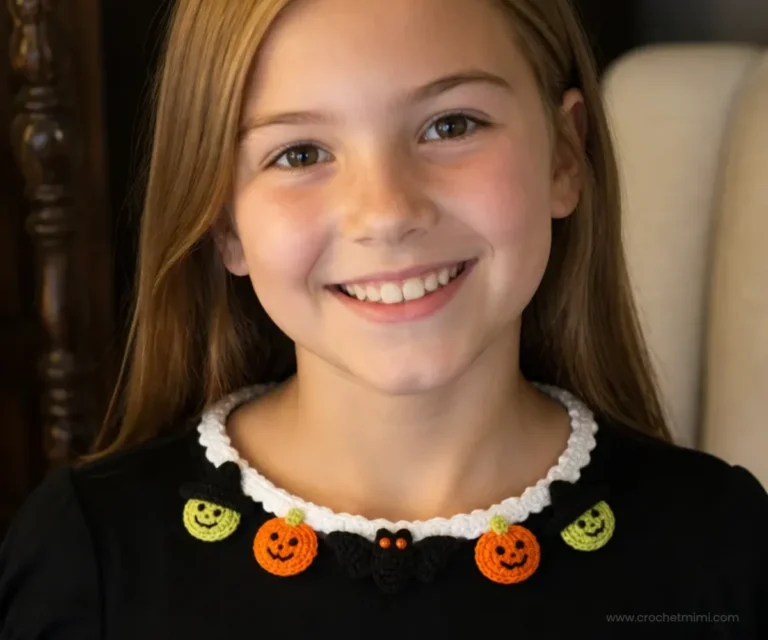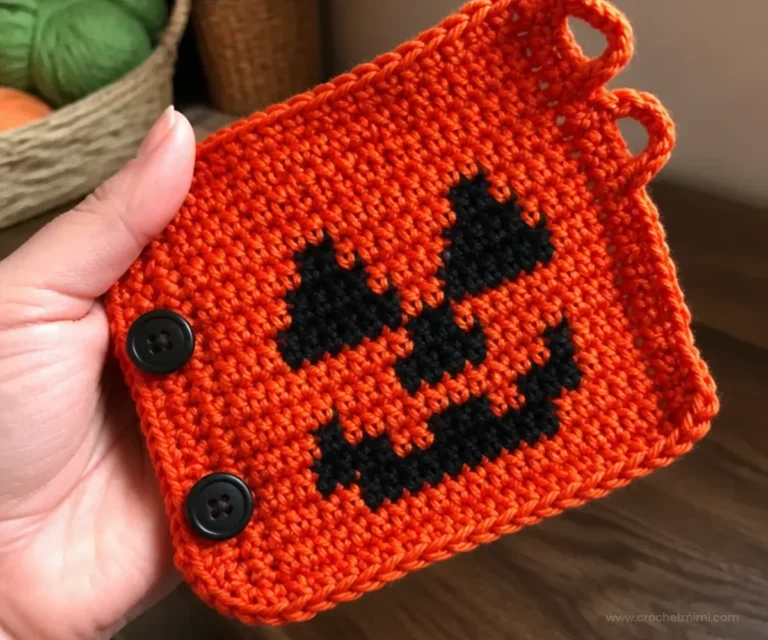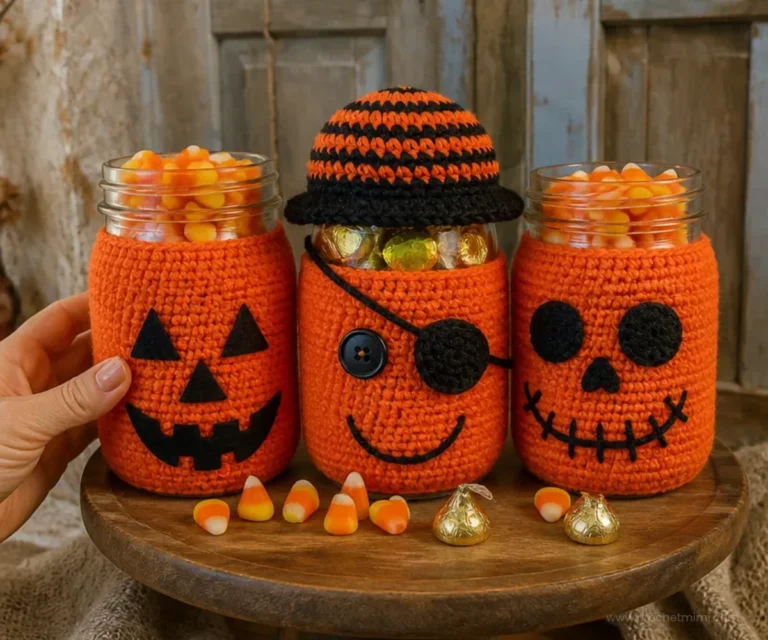
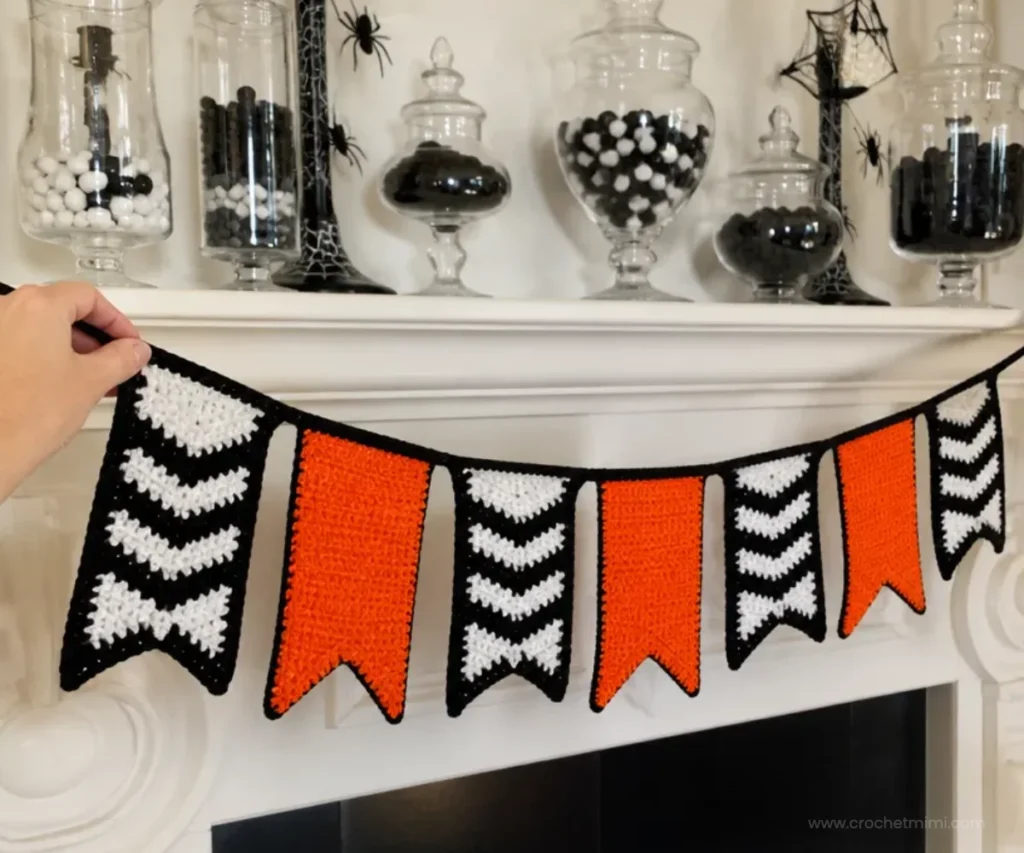
A handmade Crochet Halloween Decor Party Banner Pattern is a festive way to add a cheerful touch to a mantel, doorway, party table, or seasonal display. This design combines four color-changing chevron flags with three solid pumpkin-orange flags, creating a striking black, white, and orange garland. It is an enjoyable project for crocheters who want to practice shaping, color changes, increases, decreases, and simple finishing. For another colorful handmade decoration idea, pair your banner display with beginner-friendly crochet flowers in a nearby arrangement.
Why You’ll Love This Crochet Project
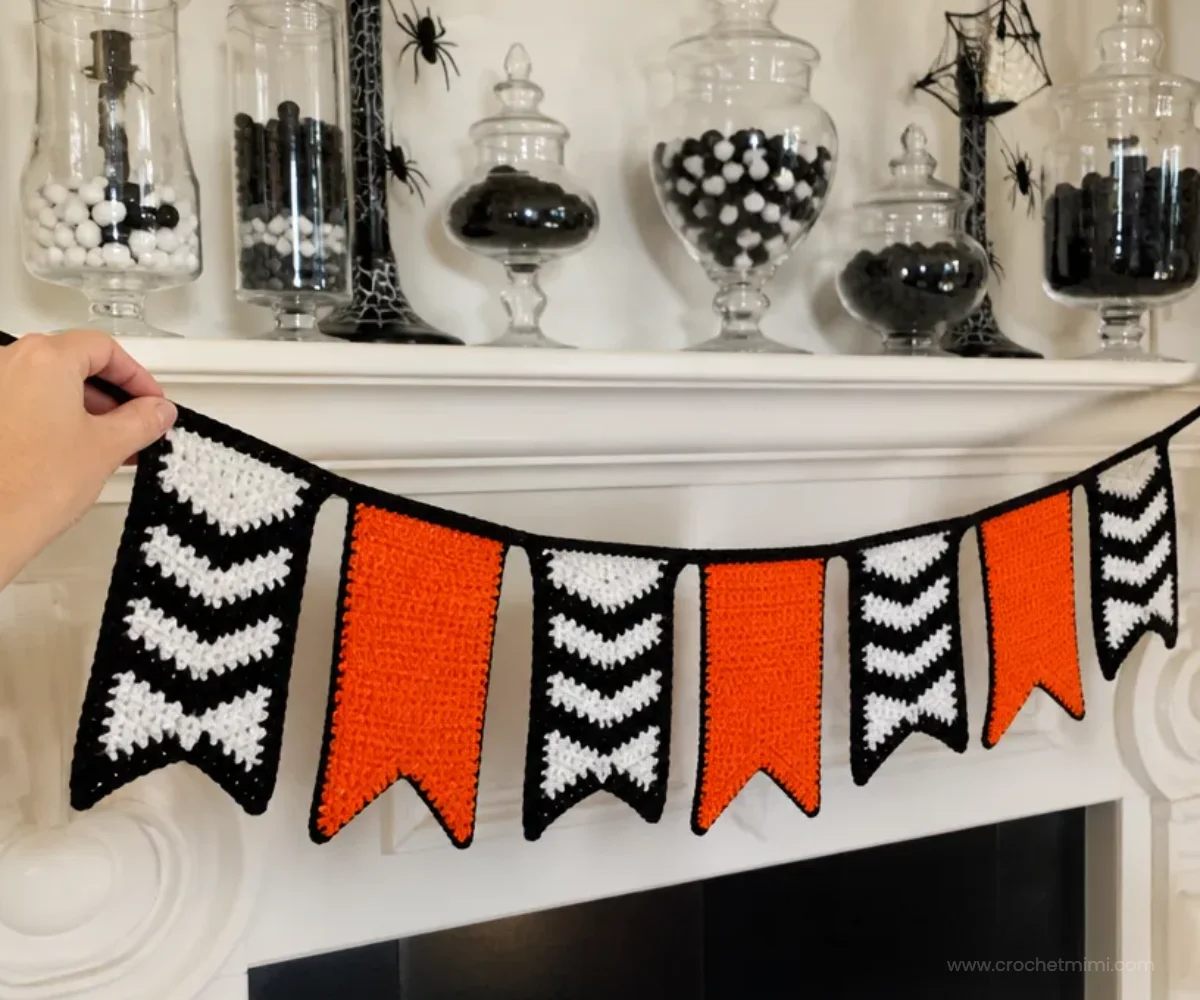
- Festive colorwork: Soft White, Black, and Pumpkin create a classic Halloween palette without requiring complicated stranded crochet.
- Interesting shaping: The chevron flags use increases, decreases, and changing stitch heights to form a distinctive pointed design.
- Reusable decoration: Unlike disposable paper décor, this crocheted banner can be stored and displayed year after year.
- Manageable component construction: You make seven individual flags, then connect them with a simple crocheted tie.
- Useful stitch practice: The pattern introduces sc2tog, sc3tog, half double crochet, double crochet, and treble crochet in a practical project.
Crochet Mimi Tip: Keep each completed flag in a small labeled stack so the four chevron flags and three solid flags remain easy to identify during assembly.
Before You Start Crocheting
The finished banner consists of four chevron flags made with Soft White and Black, plus three solid flags made with Pumpkin. Each flag is edged with single crochet before the pieces are joined.
The chevron flags begin with a narrow point and gradually widen through increases. Their shaping then creates the center chevron detail with strategically placed decreases and three-stitch increases. The final row uses several stitch heights single crochet, half double crochet, double crochet, and treble crochet to create the upper contour.
The solid flags are worked entirely in Pumpkin. They begin with three stitches and increase at both edges at intervals until the final row reaches 19 stitches. After edging, the flags are joined in sequence with Black yarn.
The pattern uses US crochet terminology. The following special abbreviations are used:
- sc2tog: [draw up a loop in next st] twice, yarn over and draw through all 3 loops on hook.
- sc3tog: [draw up a loop in next st] 3 times, yarn over and draw through all 4 loops on hook.
Materials You’ll Need
- RED HEART® Super Saver® (crochet): 1 skein each of:
- 316 Soft White (A)
- 312 Black (B)
- 254 Pumpkin (C)
- Susan Bates® Crochet Hook: 5.5 mm [US I-9]
- Yarn needle
Soft White is used as Color A, Black as Color B, and Pumpkin as Color C. The yarn needle is used to weave in the ends after the banner is assembled.
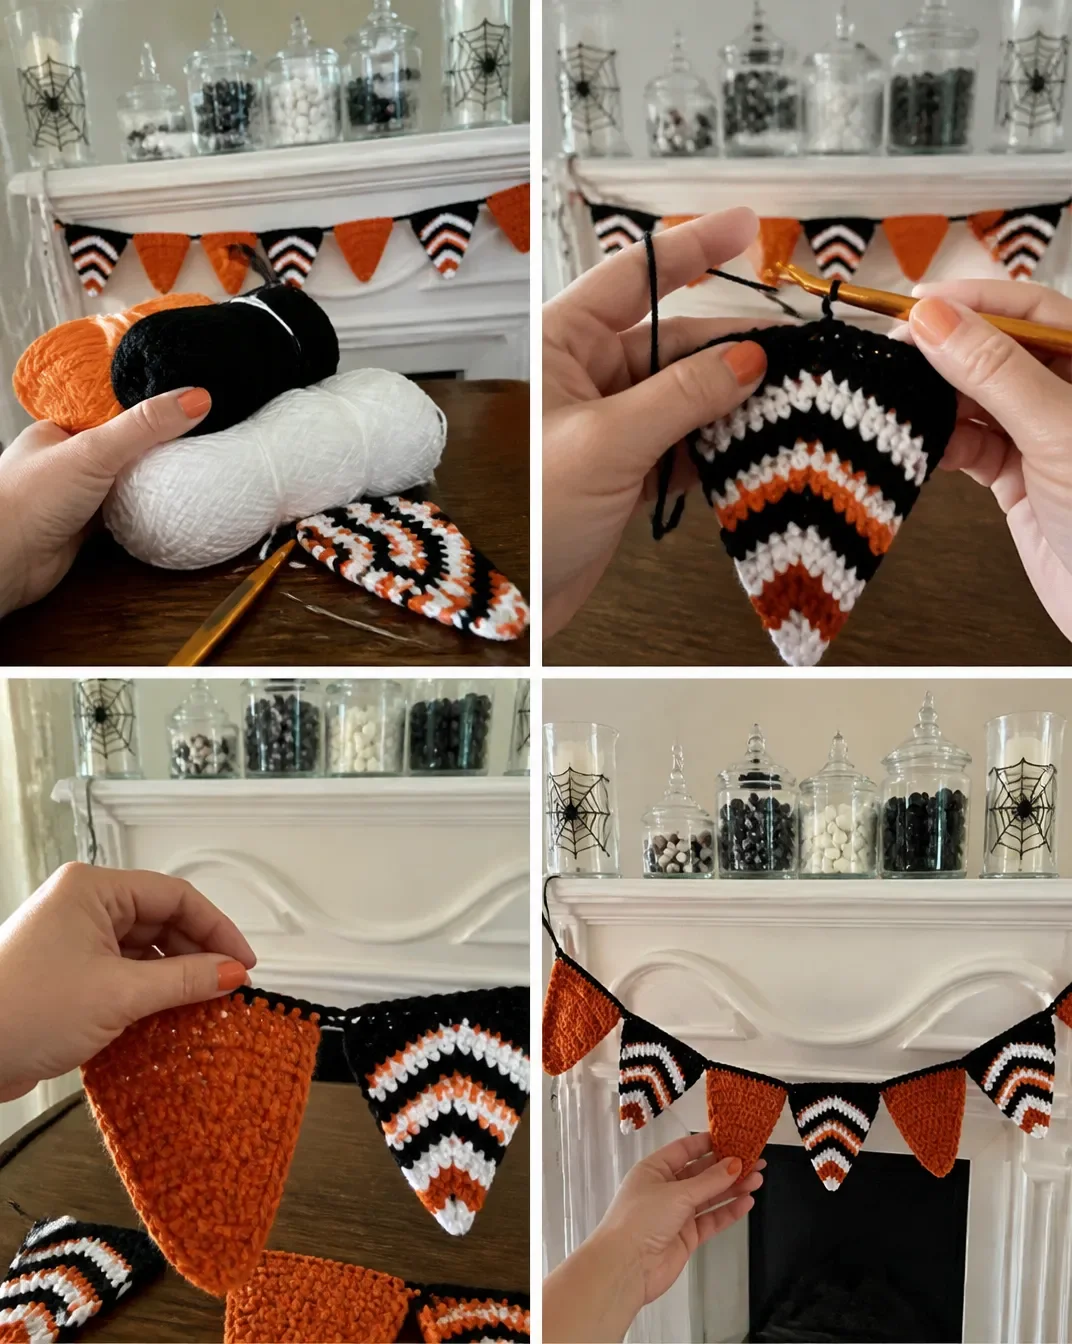
Complete Crochet Instructions
The instructions below preserve the supplied construction sequence and stitch counts.
Chevron Flag (Make 4)
With A, ch 2.
Row 1: 3 sc in 2nd ch from hook, turn 3 sts.
Row 2: Ch 1, sc in first st, dc in next st, sc in last st, drop A, turn 3 sts.
Row 3: Join B, ch 1, sc in first st, 3 sc in next st, sc in last st, turn 5 sts.
Row 4: Ch 1, sc2tog, 3 sc in next st, sc2tog, drop B, turn 5 sts.
Row 5: Join A, ch 1, sc in first 2 sts, 3 sc in next st, sc in last 2 sts, turn 7 sts.
Row 6: Ch 1, sc2tog, sc in next st, 3 sc in next st, sc in next st, sc2tog, drop A, turn 7 sts.
Row 7: Join B, ch 1, sc in first 3 sts, 3 sc in next st, sc in last 3 sts, turn 9 sts.
Row 8: Ch 1, sc2tog, sc in next 2 sts, 3 sc in next st, sc in next 2 sts, sc2tog, drop B, turn 9 sts.
Row 9: Join A, ch 1, sc in first 4 sts, 3 sc in next st, sc in last 4 sts, turn 11 sts.
Row 10: Ch 1, sc2tog, sc in next 3 sts, 3 sc in next st, sc in next 3 sts, sc2tog, drop A, turn 11 sts.
Row 11: Join B, ch 1, sc in first 5 sts, 3 sc in next st, sc in last 5 sts, turn 13 sts.
Row 12: Ch 2 (counts as first hdc here and throughout), sc2tog, sc in next 3 sts, 3 sc in next st, sc in next 3 sts, sc2tog, hdc in last st, drop B, turn 13 sts.
Row 13: Join A, ch 2, hdc in base of ch-2, sc2tog, sc in next 3 sts, 3 sc in next st, sc in next 3 sts, sc2tog, 2 hdc in last st, turn 15 sts.
Row 14: Ch 2, hdc in base of ch-2, sc3tog, sc in next 3 sts, 3 sc in next st, sc in next 3 sts, sc3tog, 2 hdc in last st, drop A, turn 15 sts.
Row 15: Join B, ch 2, 2 hdc in base of ch-2, sc3tog, sc in next 3 sts, 3 sc in next st, sc in next 3 sts, sc3tog, 3 hdc in last st, turn 17 sts.
Row 16: Ch 2, hdc in base of ch-2, sc in next st, sc3tog, sc in next 3 sts, 3 sc in next st, sc in next 3 sts, sc3tog, sc in next st, 2 hdc in last st, drop B, turn 17 sts.
Row 17: Join A, ch 2, 2 hdc in base of ch-2, sc in next st, sc3tog, sc in next 3 sts, 3 sc in next st, sc in next 3 sts, sc3tog, sc in next st, 3 hdc in last st, turn 19 sts.
Row 18: Ch 2, hdc in base of ch-2, sc in next 2 sts, sc3tog, sc in next 3 sts, 3 sc in next st, sc in next 3 sts, sc3tog, sc in next 2 sts, 2 hdc in last st, drop A, turn 19 sts.
Row 19: Join B, ch 1, sc in first st, hdc in next st, dc in next st, tr in next 3 sts, dc in next st, hdc in next 2 sts, sc in next st, hdc in next 2 sts, dc in next st, tr in next 3 sts, dc in next st, hdc in next st, sc in last st, do not turn 19 sts.
Edging Round: Ch 1, rotating piece, work sc evenly spaced around, working 3 sc at each corner.
Fasten off.
Solid Flag (Make 3)
With C, ch 2.
Row 1: Work 3 sc in 2nd ch from hook, turn 3 sts.
Row 2: Ch 1, sc in each st across, turn 3 sts.
Row 3: Ch 1, sc in each st across, turn 3 sts.
Row 4: Ch 1, 2 sc in first st, sc in next st, 2 sc in last st, turn 5 sts.
Row 5: Ch 1, sc in each st across, turn 5 sts.
Row 6: Ch 1, sc in each st across, turn 5 sts.
Row 7: Ch 1, 2 sc in first st, sc in each st across to last st, 2 sc in last st, turn 7 sts.
Row 8: Ch 1, sc in each st across, turn 7 sts.
Row 9: Ch 1, sc in each st across, turn 7 sts.
Row 10: Ch 1, 2 sc in first st, sc in each st across to last st, 2 sc in last st, turn 9 sts.
Row 11: Ch 1, sc in each st across, turn 9 sts.
Row 12: Ch 1, sc in each st across, turn 9 sts.
Row 13: Ch 1, 2 sc in first st, sc in each st across to last st, 2 sc in last st, turn 11 sts.
Row 14: Ch 1, sc in each st across, turn 11 sts.
Row 15: Ch 1, sc in each st across, turn 11 sts.
Row 16: Ch 1, 2 sc in first st, sc in each st across to last st, 2 sc in last st, turn 13 sts.
Row 17: Ch 1, sc in each st across, turn 13 sts.
Row 18: Ch 1, sc in each st across, turn 13 sts.
Row 19: Ch 1, 2 sc in first st, sc in each st across to last st, 2 sc in last st, turn 15 sts.
Row 20: Ch 1, sc in each st across, turn 15 sts.
Row 21: Ch 1, sc in each st across, turn 15 sts.
Row 22: Ch 1, 2 sc in first st, sc in each st across to last st, 2 sc in last st, turn 17 sts.
Row 23: Ch 1, sc in each st across, turn 17 sts.
Row 24: Ch 1, sc in each st across, turn 17 sts.
Row 25: Ch 1, 2 sc in first st, sc in each st across to last st, 2 sc in last st, turn 19 sts.
Edging Round: Ch 1, rotating piece, work sc evenly spaced around, working 3 sc at each corner.
Fasten off.
Finishing
Tie
Row 1: With B, ch 16, slip st across top of one Chevron Flag, ch 4, slip st across top of one Solid Flag, ch 4; repeat from * until one Chevron Flag remains, slip st across top of last Chevron Flag, ch 16.
Fasten off.
Weave in ends.
Ways to Display Your Finished Crochet
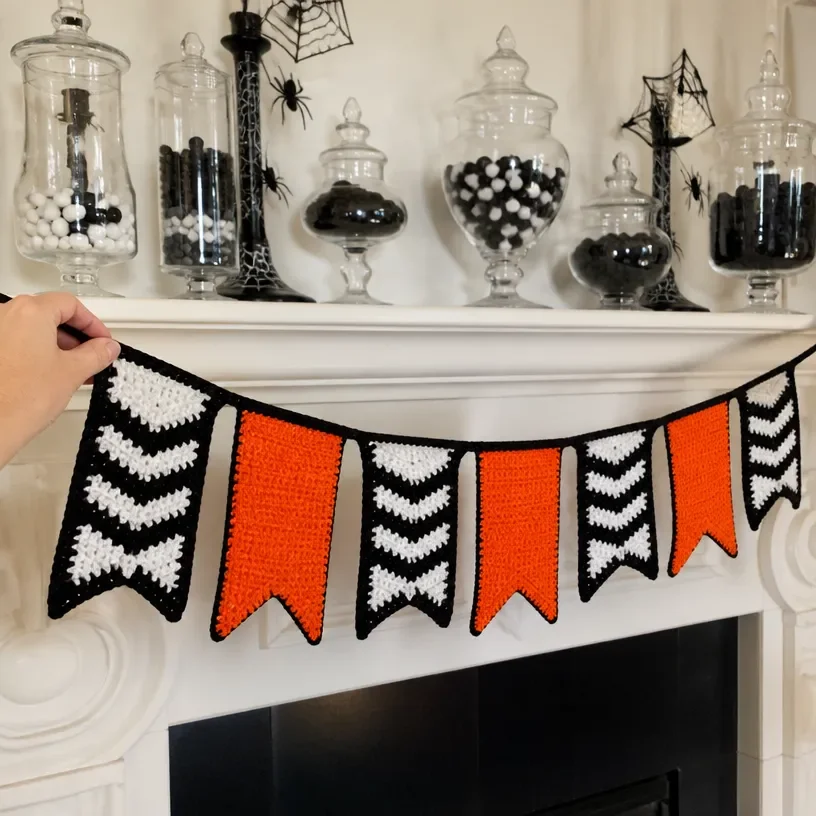
- Hang the banner across a mantel, bookshelf, doorway, or entertainment center.
- Use it as a backdrop for a Halloween dessert table or seasonal party area.
- Drape it along the front of a table to create a reusable festive accent.
- Combine it with pumpkins, black-and-white textiles, or other handmade decorations.
- Give it as a seasonal gift to someone who enjoys handmade home décor.
- Place it near a floral-inspired Halloween arrangement; crochet bell flower designs can add an unexpected botanical contrast to the bold flag shapes.
Caring for Your Crochet Project
Store the banner in a clean, dry place away from direct sunlight and excessive heat. Before packing it away, gently shake or dust the flags to remove surface debris.
For a small mark, spot clean carefully with a barely damp cloth and allow the banner to air-dry completely while lying flat. Avoid soaking, twisting, or wringing the finished piece, since those actions can distort the shaped flags and crocheted tie.
Keep the banner loosely folded or rolled rather than compressed under heavy items. If the flags become slightly uneven, reshape them gently by hand and let them rest flat until they regain their form.
Tips for Better Results
- Count after every shaping row. The chevron flag alternates between rows with three-stitch increases and rows with decreases, so use the stated stitch count to catch errors early.
- Mark the active color. When the pattern says to drop A or B, leave the unused strand accessible without pulling it tightly across the edge.
- Join colors carefully. At each “Join” instruction, secure the new color so the first stitch sits neatly at the edge.
- Watch the turning instructions. Most rows end with a turn, but Row 19 of the chevron flag says “do not turn” before the edging round.
- Keep corner increases clear. During each edging round, work 3 sc at each corner so the border can turn smoothly without pulling.
- Lay out the flags before tying them. Arrange four chevron flags and three solid flags in your preferred sequence, then follow the tie instruction to connect them.
- Weave in ends securely. Finish each color change and the final tie by weaving the yarn needle through several nearby stitches before trimming.
Color and Styling Variations
The approved pattern uses Soft White, Black, and Pumpkin for a traditional Halloween look. As an optional variation, you can choose another three-color seasonal palette while preserving the same color roles: one light shade for A, one dark shade for B, and one accent shade for C.
A muted cream, charcoal, and rust combination can create a vintage autumn appearance. Purple, black, and orange can make the banner brighter and more playful. If you substitute yarn, select a comparable yarn category and remember that fiber, thickness, tension, and hook size may affect the finished dimensions, drape, stitch definition, and yarn requirements.
You can also arrange the flags differently, provided you still use four chevron flags and three solid flags. Keep the original construction unchanged unless you are intentionally making an altered version.
For a broader seasonal display, pair the banner with a handmade floral accent such as a crochet daffodil bouquet in a nearby vase or tabletop arrangement.
Frequently Asked Questions
Is this banner suitable for a beginner?
It can be a useful learning project for a beginner who is comfortable with basic stitches and ready to practice shaping and color changes. The chevron flag requires closer stitch counting than the solid flag.
What yarn and hook does the pattern use?
The pattern uses RED HEART® Super Saver® in 316 Soft White, 312 Black, and 254 Pumpkin, with 1 skein of each color. The specified hook is a Susan Bates® 5.5 mm [US I-9] crochet hook.
How many flags are included?
Make four Chevron Flags and three Solid Flags, for a total of seven flags.
How are the flags connected?
The flags are connected with a Black crocheted tie. The tie begins with 16 chains, uses slip stitches across the tops of the flags with chain-4 spaces between them, and ends with 16 chains.
Can the colors be changed?
Yes, color changes are an optional styling choice. Keep in mind that changing yarn thickness or hook size can affect the size and structure of the flags.
Why does the chevron flag use several stitch types?
The final chevron row combines single crochet, half double crochet, double crochet, and treble crochet to shape the upper edge and emphasize the chevron design.
How should the finished banner be cleaned?
Use gentle dusting and careful spot cleaning. Avoid soaking, twisting, or wringing the banner, and store it dry and loosely folded when not displayed.
Conclusion
This Crochet Halloween Decor Party Banner Pattern combines simple flag construction with engaging chevron shaping and a classic seasonal palette. Once the seven flags are edged and joined, the result is a reusable decoration for parties, mantels, tables, and doorways. For related seasonal inspiration, browse this Halloween decor party banner pattern or explore these free Halloween crochet patterns for ideas to expand your display.