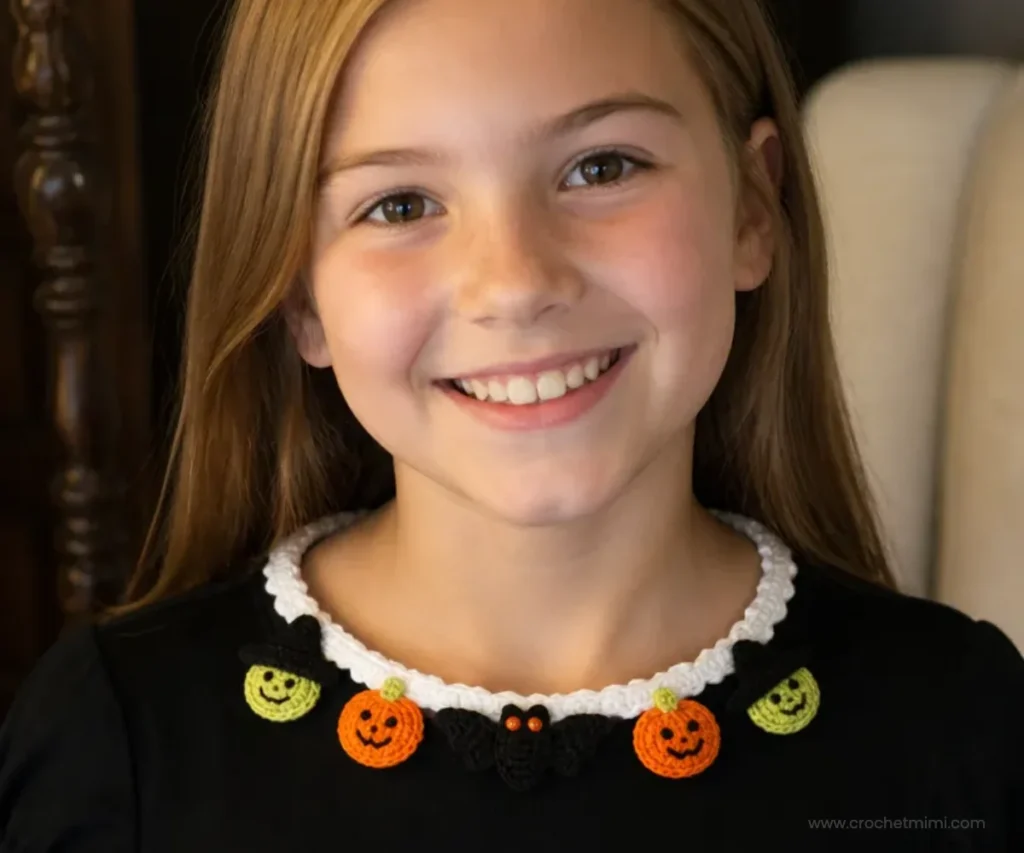
This Crochet Halloween Motif Necklace Pattern creates a playful seasonal accessory decorated with a bat, pumpkins, and witches. Worked in classic Halloween colors, it makes a fun statement piece for costume parties, trick-or-treating, classroom celebrations, or autumn displays. Crocheters who enjoy small motifs and embroidered details may especially enjoy this project. For another festive handmade idea, compare its bright seasonal appeal with this beginner-friendly crochet red rose pattern.
Why You’ll Love This Crochet Project
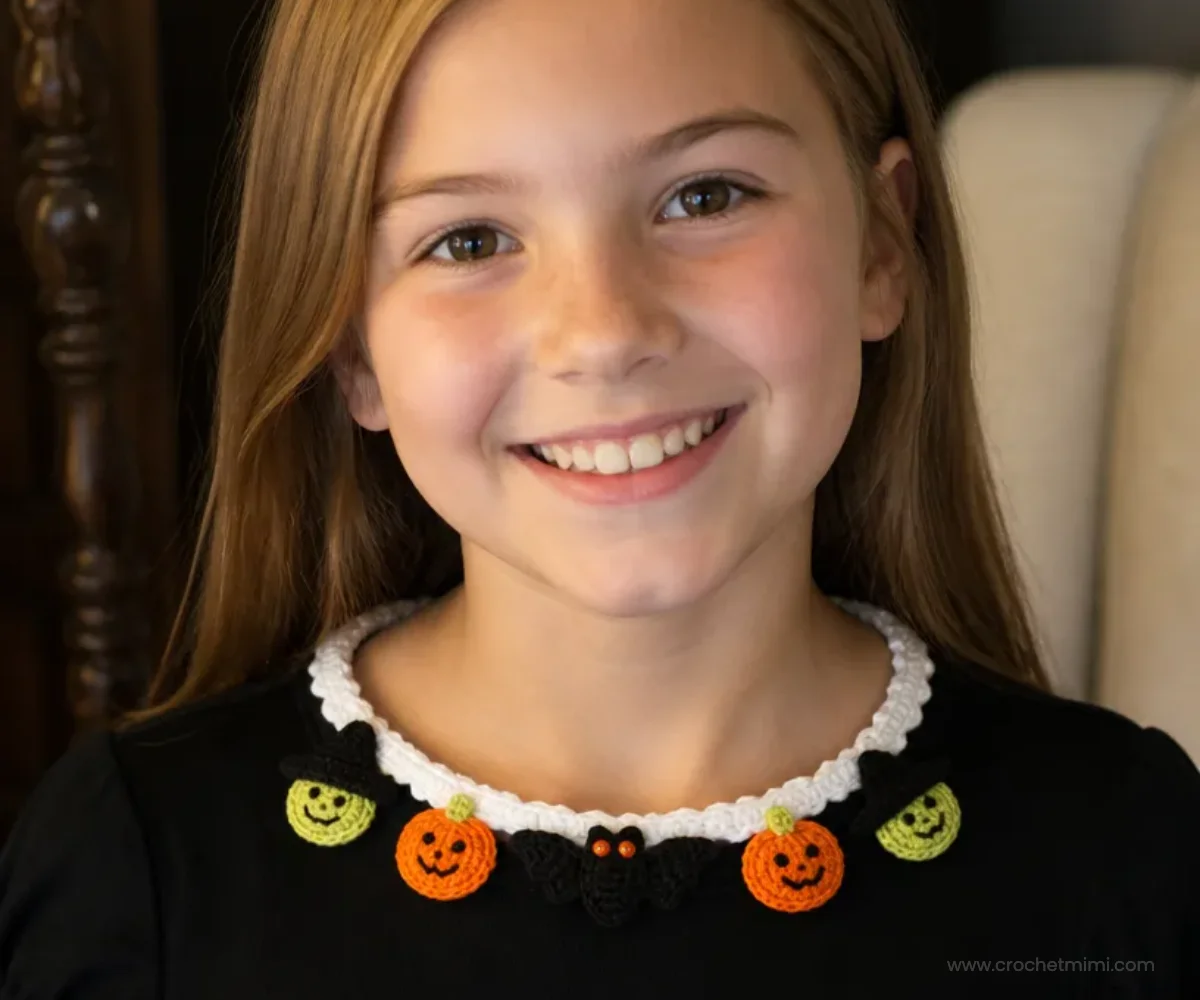
- It combines several Halloween motifs. A crocheted bat, two pumpkins, and two witches decorate the necklace.
- It practices small-scale shaping. The project uses single crochet, half double crochet, double crochet, slip stitches, increases, and decreases.
- It includes embroidery practice. French knots and straight stitches create the facial details on the pumpkins and witches.
- It makes a seasonal handmade gift. The finished necklace can be given to a Halloween enthusiast or used as a festive accessory.
- It uses a simple button closure. A button and crocheted button hole make the necklace easy to fasten.
Crochet Mimi Tip: Keep the small motifs organized in separate labeled groups as you work so the assembly process stays clear.
Pattern Overview
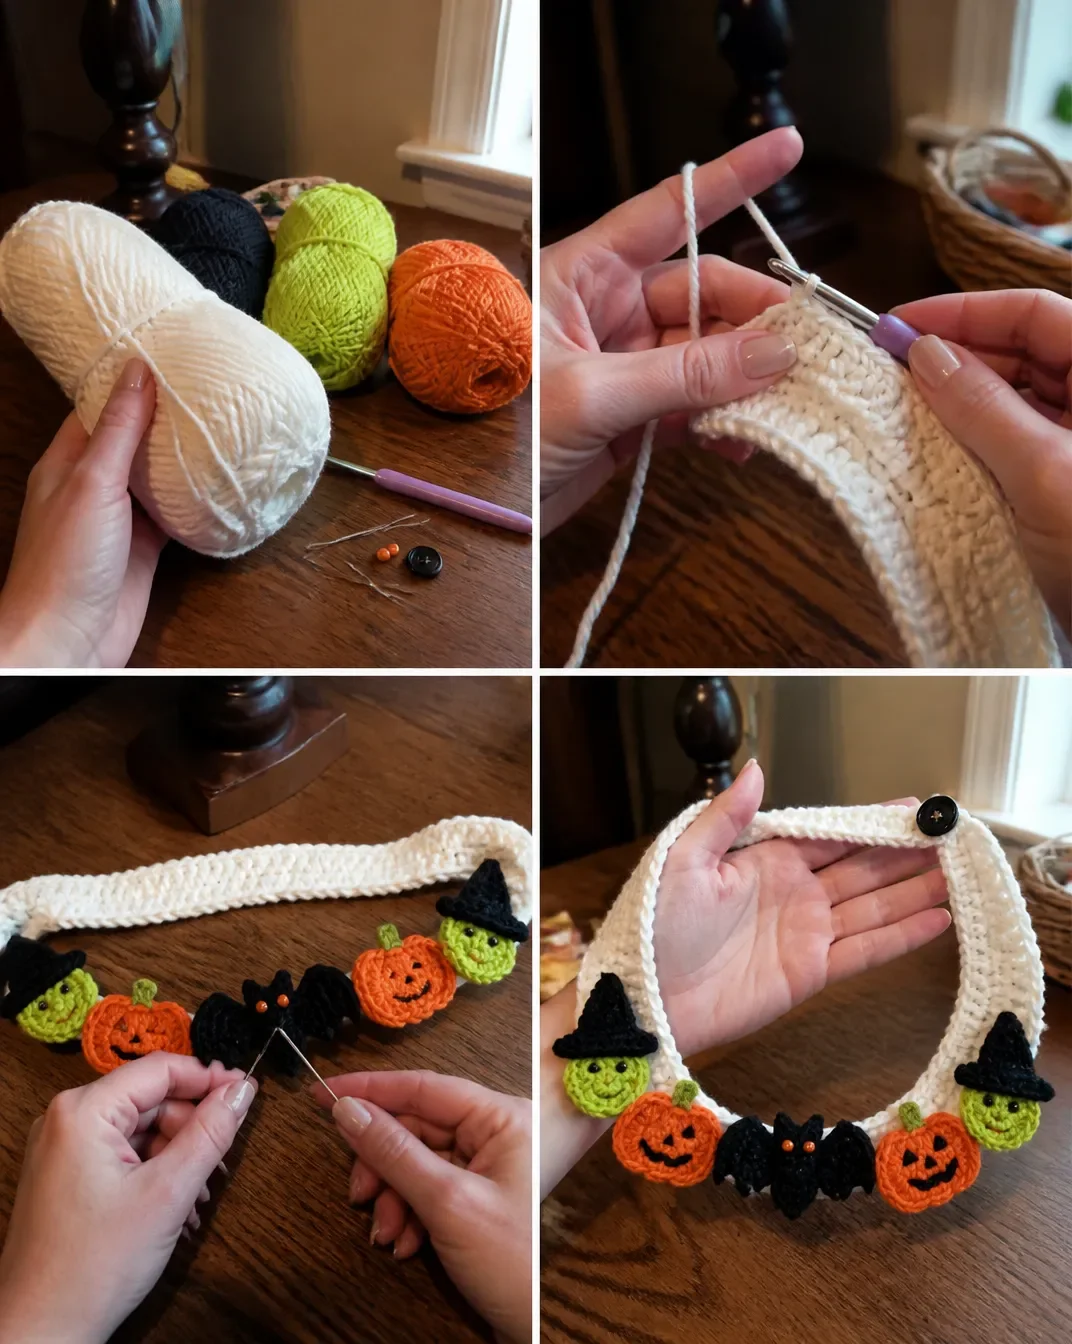
The project begins with a long crocheted necklace base worked in Soft White. Its second row creates a textured edge and a button hole. The decorative pieces are then crocheted separately and sewn onto the necklace.
You will make:
- One necklace
- Two bat wings
- One bat head
- Two pumpkins
- Two witch faces
- Two witch hats
The motifs use Black, Glowworm, and Pumpkin yarn. Embroidery floss adds facial features, orange seed beads become the bat’s eyes, and the assembled bat is sewn to the center of the necklace. The pattern uses a 3.75 mm [US F-5] crochet hook.
Helpful Abbreviations
- ch: chain
- sc: single crochet
- hdc: half double crochet
- dc: double crochet
- slip st: slip stitch
- sc2tog: single crochet two stitches together
Materials You’ll Need
- Red Heart® Super Saver® (316 Soft White A): 1 skein
- Red Heart® Super Saver® (312 Black B): 1 skein
- Red Heart® Super Saver® (3620 Glowworm C): 1 skein
- Red Heart® Super Saver® (254 Pumpkin D): 1 skein
- Susan Bates® crochet hook: 3.75mm [US F-5]
- Yarn needle
- Sewing needle
- 1/2” (12.7 mm) black button
- 2 orange size 6 seed beads
- Black embroidery floss
The yarn colors are assigned by letter in the pattern: A is Soft White, B is Black, C is Glowworm, and D is Pumpkin. The yarn needle is used for sewing crocheted pieces in place, while the sewing needle is useful for attaching the small beads and adding embroidery details.
Complete Crochet Tutorial
Work the necklace first, then crochet the bat, pumpkins, and witches. Leave long yarn ends when directed so they can be used for sewing the motifs onto the necklace.
Necklace
With A, ch 80.
Row 1
Sc in 2nd ch from hook and in next 20 chs, hdc in next 6 chs, 2 hdc in next ch, hdc in next 10 chs, 2 hdc in next 2 chs, hdc in next 10 chs, 2 hdc in next ch, hdc in next 6 chs, sc in next 22 chs, ch 1, turn 83 sts.
Row 2
*Slip st in next st, skip 1 st, 3 sc in next st, repeat from * across, ch 3, slip st in base of row 1 for button hole. Fasten off.
Finishing the Necklace
With A, sew button on opposite side of necklace.
Bat
Wings Make 2
With B, ch 7.
Row 1: Slip st in 2nd ch from hook, sc2tog in next 2 chs, [ch 2, slip st in 2nd ch from hook, slip st in next ch) twice, slip st in last ch. Fasten off.
Head
With B, ch 4.
Row 1: Slip st in 2nd ch from hook, sc in next 2 chs, ch 1, turn.
Row 2: Sc in next 2 sc, ch 2, turn.
Row 3: Slip st in 2nd ch from hook, sc in next 2 sc. Fasten off.
Pumpkins Make 2
With D, ch 2.
Row 1: 3 sc in 2nd ch from hook, ch 1, turn 3 sc.
Row 2: 2 sc in each sc across, ch 1, turn 6 sc.
Row 3: [Sc2tog in next 3 sts] 2 times, ch 1, turn 2 sc.
Row 4: Skip 1 sc, slip st in next st. Fasten off.
Finishing the Pumpkins
Using embroidery floss and French knots (see illustration), embroider eyes and nose as shown in photo.
Using embroidery floss and straight stitches embroider mouth as shown in photo.
Using long ends, sew Pumpkin in place on Necklace as shown in photo.
Using glowworm and satin stitch (see illustration), embroider stem.
Witches
Faces Make 2
With C, ch 2.
Row 1: 3 sc in 2nd ch from hook, ch 1, turn 3 sc.
Row 2: Sc in next sc, 3 sc in next sc, sc in last sc. Fasten off.
Hats Make 2
With B, ch 7.
Row 1: Slip st in 2nd ch from hook and in next ch, sc2tog in next 2 chs, sc in next ch, hdc in next ch, dc in last ch, ch 2, slip st in 2nd ch from hook, evenly space 3 slip sts across bottom of Hat, ch 2, slip st in 2nd ch from hook. Fasten off.
Finishing the Witches
Using long ends, sew 1 Face under each Hat.
Using embroidery floss and French knots (see illustration), embroider eyes as shown in photo.
Using embroidery floss and straight stitches, embroider nose and mouth as shown in photo.
Using long ends, sew Witch in place on Necklace as shown in photo.
Bat Finishing and Overall Assembly
Using embroidery floss, attach orange beads to Head as shown in photo.
Using long ends, sew Head between Wings.
Using long ends, sew assembled Bat to center of Necklace.
Creative Ways to Use Your Project
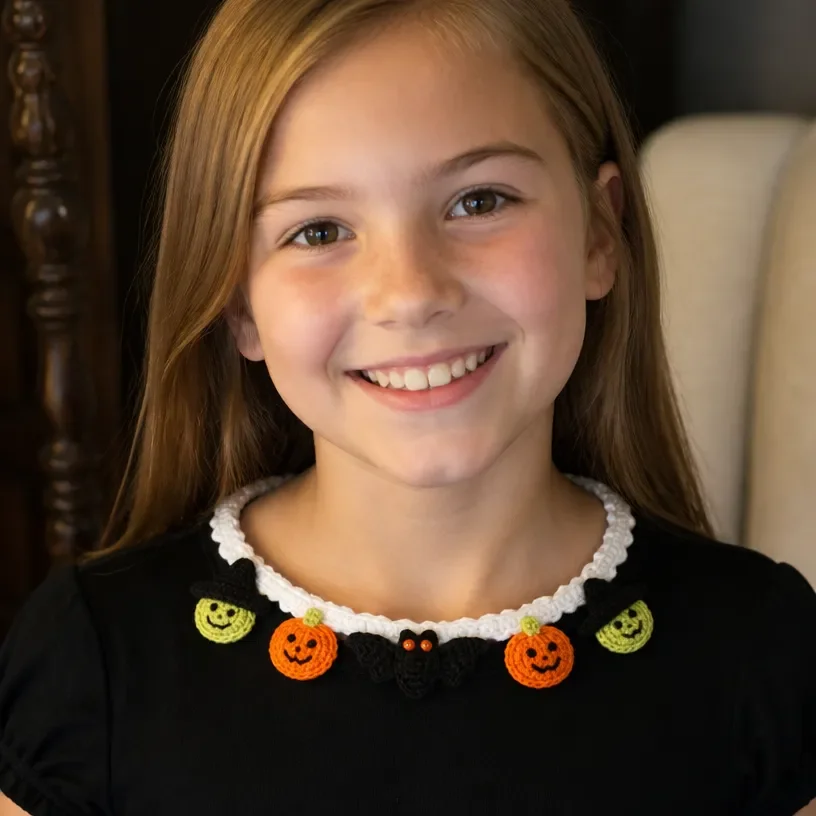
- Wear it as a Halloween accessory. Fasten the necklace around a costume or festive outfit for a handmade finishing touch.
- Use it for a seasonal display. Lay it across a mantel, shelf, entry table, or Halloween party table.
- Give it as a small handmade gift. The necklace is suitable for someone who enjoys playful holiday accessories.
- Decorate a costume station. Display it alongside masks, hats, and other Halloween accessories.
- Create a themed centerpiece. Arrange the necklace around a bowl of wrapped treats, keeping the button and beads away from young children.
- Pair it with other handmade decorations. Its black, orange, white, and green palette can coordinate with crocheted or fabric pumpkins and other autumn decorations.
Caring for Your Crochet Project
- Dust the necklace gently with a soft, dry cloth or a clean, soft brush.
- For a small mark, use careful spot cleaning rather than soaking the entire necklace.
- Avoid pulling on the crocheted motifs, embroidered details, button, or seed beads.
- Store the necklace flat or loosely coiled so the small pieces do not become sharply folded.
- Keep it in a dry storage container away from excessive heat and direct sunlight.
- Store it away from pets and young children because the button and seed beads are small components.
- Before storing, check that the bead attachments, button, and sewn motifs remain secure.
Tips for Better Results
- Count the long foundation chain carefully. The necklace begins with 80 chains, so counting before starting Row 1 helps prevent an uneven base.
- Track the 83-stitch count. Row 1 includes several increases, and confirming the final count helps the necklace shape correctly.
- Mark the necklace center. A removable stitch marker or a small scrap of yarn can help you identify where the assembled bat belongs.
- Keep motif pairs together. Make the two wings, two pumpkins, faces, and hats as matching pairs whenever possible.
- Use long ends for assembly. The pattern specifically uses long ends to sew the pumpkins, witches, bat head, and wings in place.
- Embroider before attaching when instructed. Complete the pumpkin and witch facial details before sewing those pieces onto the necklace.
- Handle the seed beads carefully. Use the sewing needle to attach the orange beads securely to the bat’s head, and check that the thread is firmly fastened.
- Space the witch slip stitches evenly. The hat instruction calls for three slip stitches evenly spaced across the bottom of the hat; consistent spacing helps the face sit neatly underneath.
Color and Styling Variations
The approved pattern uses Soft White for the necklace, Black for the bat and witch hats, Glowworm for witch faces and pumpkin stems, and Pumpkin for the pumpkins. These color assignments create a recognizable Halloween palette.
Optional changes can include:
- Use a different bright color for the witch faces if Glowworm is unavailable, while keeping the face-and-hat contrast clear.
- Make the necklace in Black instead of Soft White for a darker, more dramatic look.
- Try a deeper orange or a warm gold for the pumpkins, understanding that a different yarn may change the texture and final appearance.
- Coordinate the necklace with a costume by matching the embroidery floss or yarn to the wearer’s clothing.
- Make the motifs in alternate colors for a nontraditional Halloween palette.
Changing yarn or hook size is optional, but it may affect stitch size, motif dimensions, necklace length, texture, and yarn requirements. If you change materials, maintain consistent tension and compare the pieces as you work.
For additional seasonal crochet inspiration, explore these crochet bell flower design ideas or consider how a bright crochet daffodil bouquet uses color to create a cheerful display.
Frequently Asked Questions
Is this necklace suitable for a beginner?
It includes basic stitches and small motifs, but the project also requires increases, decreases, embroidery, bead attachment, and careful sewing. A beginner comfortable with single crochet and slip stitches can work through it slowly.
What yarn and hook does the pattern use?
The pattern uses Red Heart® Super Saver® in four specified colors and a Susan Bates® 3.75mm [US F-5] crochet hook. The color assignments are identified as A through D in the instructions.
How many decorative components are included?
You will make two bat wings, one bat head, two pumpkins, two witch faces, and two witch hats. These pieces are attached to one crocheted necklace.
Can the colors be changed?
Yes. Color changes are optional, but they may alter the visual contrast and seasonal appearance. Changing yarn type or hook size can also affect the size and texture of the pieces.
How is the necklace fastened?
The necklace has a button hole created at the end of Row 2 and a 1/2-inch black button sewn to the opposite side.
When should the facial details be added?
The pumpkin eyes, nose, and mouth are embroidered during pumpkin finishing. The witch eyes, nose, and mouth are embroidered during witch finishing. These details are added before the motifs are sewn onto the necklace.
Where does the bat go?
After the orange beads are attached to the head and the head is sewn between the wings, the assembled bat is sewn to the center of the necklace.
How should the finished necklace be stored?
Store it flat or loosely coiled in a dry place. Protect the embroidered details, button, seed beads, and small crocheted motifs from snagging or excessive pressure.
Conclusion
This Crochet Halloween Motif Necklace Pattern brings together a bat, pumpkins, and witches in one charming seasonal accessory. The project offers practice with small crocheted shapes, embroidery, bead attachment, and assembly. For the original seasonal reference, see the Red Heart Halloween motif necklace pattern and this crochet Halloween motif necklace resource.