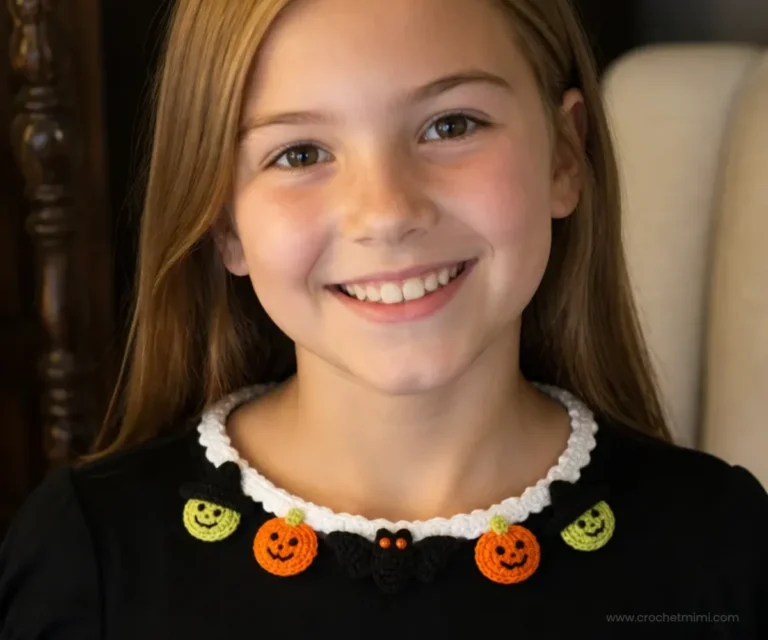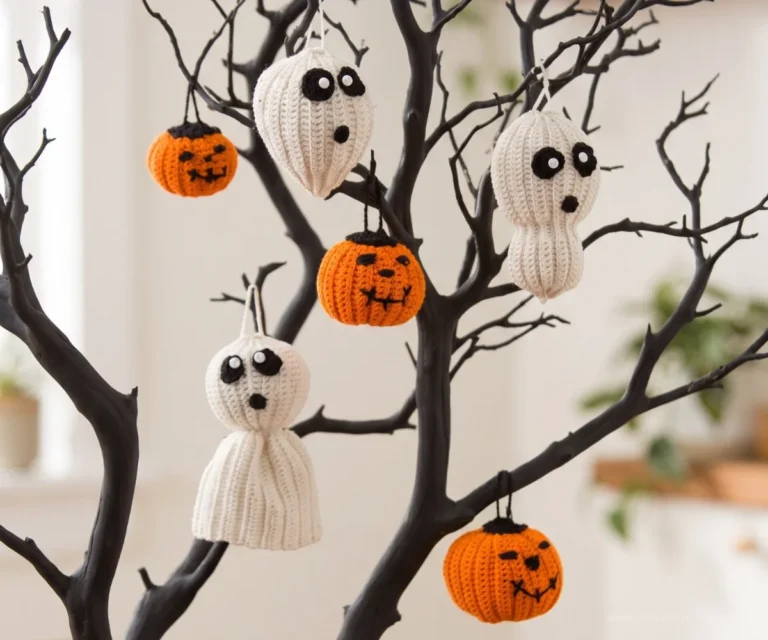
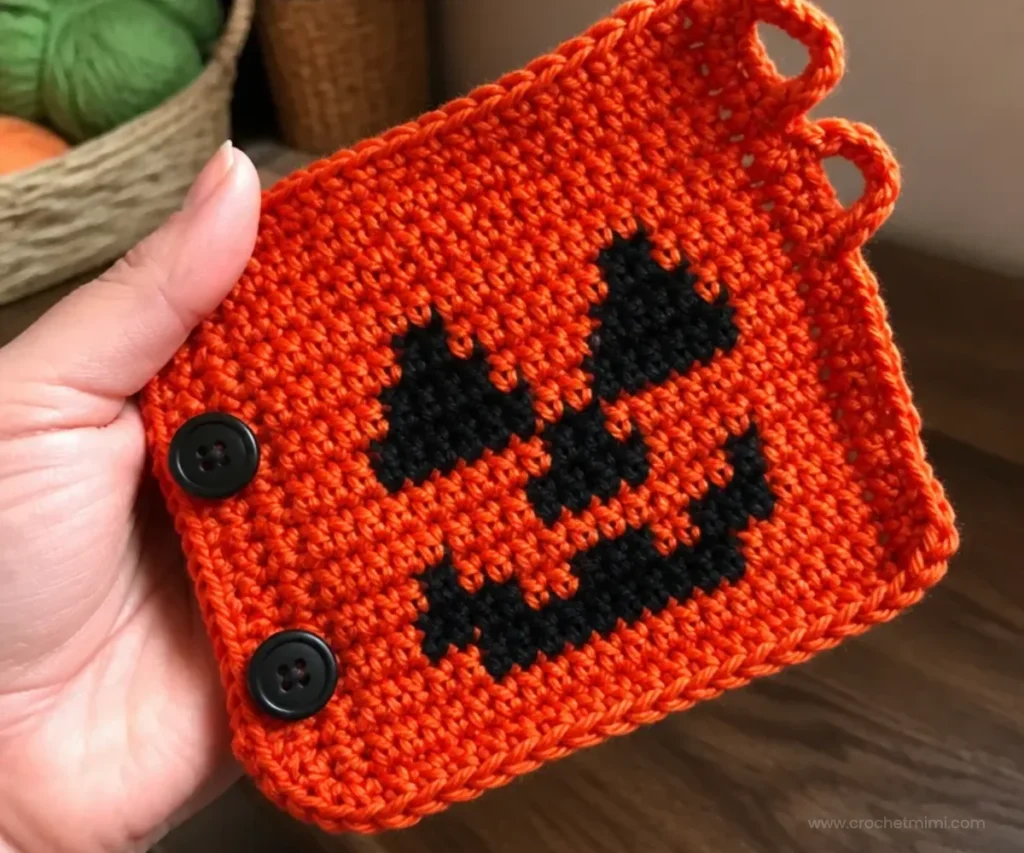
The Crochet Halloween Pumpkin Cuff Pattern is a festive wearable accessory featuring a jack-o’-lantern-inspired design in pumpkin orange and black. Made with simple single crochet, color changes, increases, and decreases, it is a satisfying project for crocheters who want to practice small colorwork details. Wear it as a seasonal wrist cuff, give it as a handmade Halloween gift, or pair it with other autumn accessories such as these beginner-friendly crochet roses for a playful handmade collection.
Why You’ll Love This Crochet Project
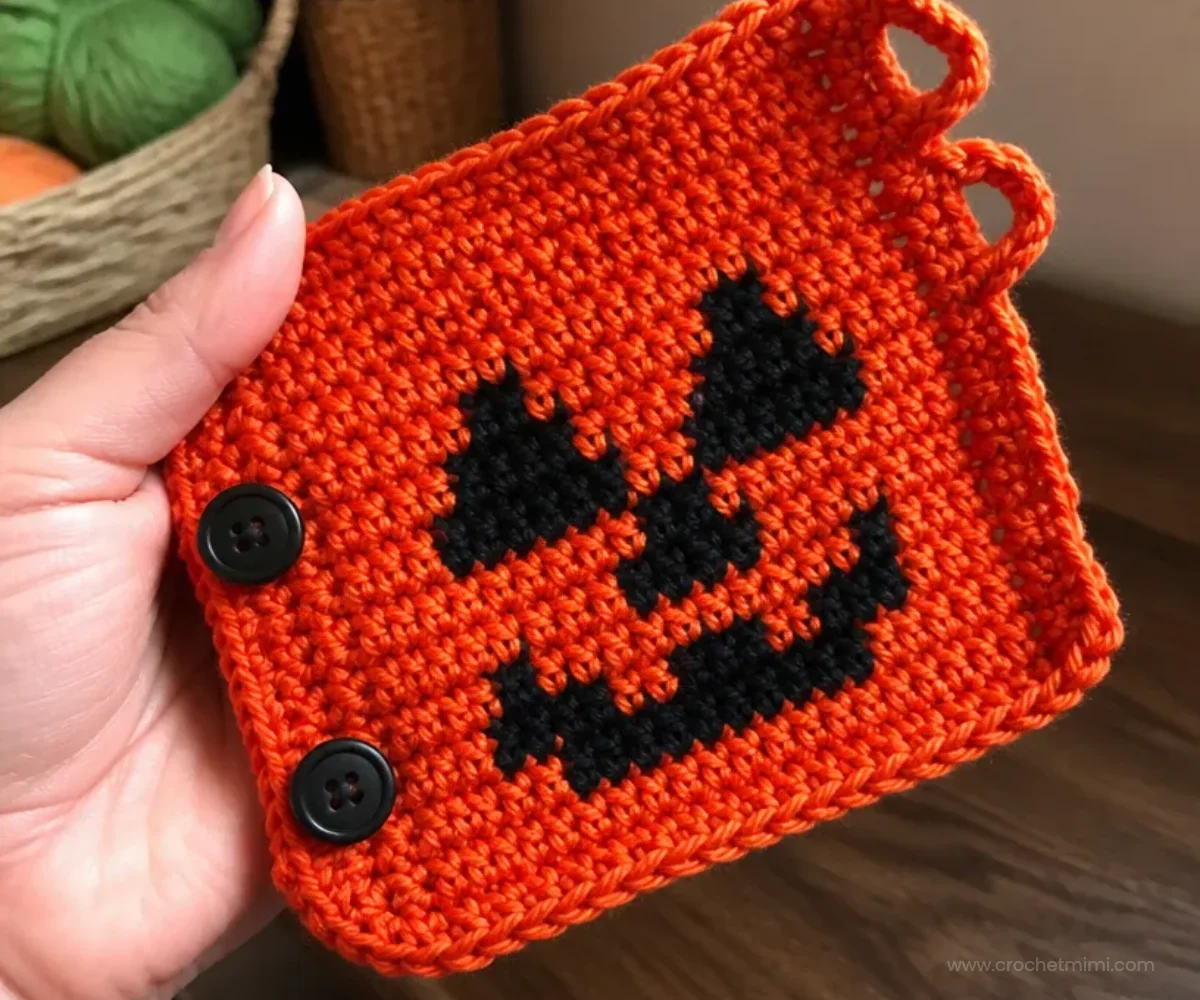
- Seasonal and useful: The finished cuff adds a subtle Halloween accent to an outfit without requiring a large project.
- Good stitch practice: The pattern combines single crochet, single crochet decreases, a three-stitch decrease, and two-stitch increases.
- Graphic colorwork: Pumpkin A and Black B create a recognizable pumpkin face or motif directly in the fabric.
- Handmade gift potential: A finished cuff is compact, practical, and easy to present as a seasonal gift.
- Portable crochet: The project uses one small rectangular piece, making it convenient to work on away from home.
Crochet Mimi Tip: Keep a small length of each color attached only when it is needed, and avoid pulling unused yarn too tightly across the back of the cuff.
Pattern Overview
This project consists of one crocheted cuff worked flat in nine rows. You begin with a chain of 24, then build the piece with single crochet while introducing black colorwork through selected stitches. The shaping comes from increases and decreases placed around the design.
After Row 9, the edges are finished with single crochet and slip stitches. Two chain-3 button loops are formed along one side, and two buttons are sewn to the opposite side. The completed cuff is secured by fastening the buttons through the loops.
The pattern uses US crochet terminology. A few abbreviations are helpful:
- ch: chain
- sc: single crochet
- sc2tog: single crochet two together
- sc3tog: single crochet three together
- sl st: slip stitch
Materials You’ll Need
- RED HEART® Super Saver®, 1 skein of 254 Pumpkin A
- RED HEART® Super Saver®, 1 skein of 312 Black B
- Susan Bates® Crochet Hook 4mm [US G-6]
- Yarn needle
- Two ½”-5⁄8” (12-15 mm) buttons
Pumpkin A is the main color, while Black B creates the contrasting design. The yarn needle is used for sewing on the buttons and weaving in yarn ends.
Step-by-Step Crochet Instructions
Cuff
With A, ch 24.
Row 1 (right side)
Sc in 2nd ch from hook and in each ch across 23 sc.
Row 2
Ch 1, turn, with A, sc in first 7 sc, sc2tog; with B, 2 sc in next sc, sc in next 3 sc, 2 sc in next sc; with A, sc2tog, sc in last 7 sc.
Row 3
Ch 1, turn, with A, sc in first 6 sc, sc2tog; with B, 2 sc in next sc; [with A, sc in next sc; with B, sc in next sc] twice, with A, sc in next sc; with B, 2 sc in next sc; with A, sc2tog, sc in last 6 sc.
Row 4
Ch 1, turn, with A, sc in each sc across.
Row 5
Ch 1, turn, with A, sc in first 10 sc; with B, sc in next 3 sc; with A, sc in last 10 sc.
Row 6
Ch 1, turn, with A, sc in first 9 sc, 2 sc in next sc; with B, sc3tog; with A, 2 sc in next sc, sc in last 9 sc.
Row 7
Ch 1, turn, with A, sc in first 7 sc; with B, sc in next 3 sc; with A, sc in next 3 sc; with B, sc in next 3 sc; with A, sc in last 7 sc.
Row 8
Ch 1, turn, with A, sc in first 6 sc, 2 sc in next sc; with B, sc3tog; with A, 2 sc in next sc, sc in next sc, 2 sc in next sc; with B, sc3tog; with A, 2 sc in next sc, sc in last 6 sc.
Row 9
Ch 1, turn, with A, sc in each sc across.
Button Loops and Edging
Working in ends of rows down side of piece:
sc in end of Row 9,
[ch 3, skip ends of next 3 rows, sc in end of next row] twice,
slip st evenly spaced across lower edge of piece, side edge, and in all sts of Row 9;
join with slip st in first sc.
Fasten off.
Finishing and Assembly
Sew buttons opposite button loops.
Weave in ends.
For neat button placement, lay the cuff flat before sewing. Position each button directly opposite its corresponding chain-3 loop, then check that the cuff closes comfortably before securing the stitches. For more seasonal handmade inspiration, you can also compare the color placement with these crochet bell flower design ideas.
Finished Project Ideas
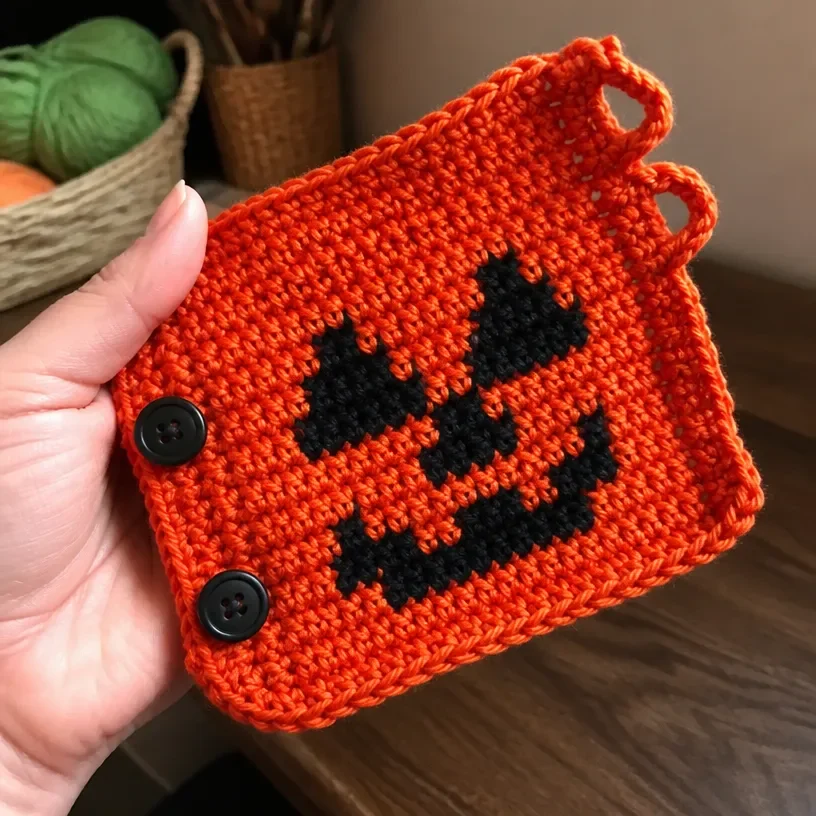
- Wear it as a Halloween accessory: Button the cuff around your wrist to add a handmade pumpkin accent to a costume or everyday autumn outfit.
- Give it as a seasonal gift: Pair the cuff with a small treat bag, greeting card, or other handmade accessory.
- Use it for a themed display: Wrap it around a fabric-covered bracelet form or place it beside other crocheted decorations.
- Create matching accessories: Make additional cuffs in the same pumpkin-and-black palette for family members or friends.
- Build a handmade autumn collection: Combine the cuff with other crochet pieces, such as a fall flower arrangement or the color inspiration from a crochet daffodil bouquet, while keeping the cuff’s original instructions unchanged.
Caring for Your Crochet Project
Store the cuff flat or loosely folded in a clean, dry place when it is not being worn. Avoid hanging it from the button loops, since repeated strain may stretch the small chain sections.
To remove surface dust, gently brush the fabric with a soft, dry cloth or use light pressure with a soft brush. If spot cleaning is needed, follow the care instructions for the yarn and test any cleaning method on an inconspicuous area first. Avoid excessive heat, which can affect the yarn and may loosen the button attachments.
Before storing the cuff for another season, make sure it is completely dry. Keep it away from damp areas, sharp objects, and anything that could snag the colorwork or button loops.
Tips for Better Results
- Count the foundation chain carefully. The starting chain must contain 24 chains so Row 1 can produce 23 single crochet.
- Track the color changes by section. Rows 2, 3, and 5 through 8 place Black B in specific stitch groups, so mark the beginning and end of each color segment if needed.
- Work decreases neatly. For sc2tog and sc3tog, keep your tension even so the pumpkin design remains clear without puckering.
- Do not tighten color changes. When switching between A and B, keep the new color at the same working tension as the previous stitches.
- Check the row shape. Rows 4 and 9 are worked entirely in A and help visually separate the colorwork sections.
- Space the edging evenly. The instruction calls for slip stitches to be evenly spaced across the lower edge, side edge, and all stitches of Row 9.
- Test the buttons before finishing. Place the buttons opposite the loops and check that the cuff closes smoothly before sewing them permanently.
- Secure the ends thoroughly. Weave in every yarn end with the yarn needle, especially near the button loops and color-change areas.
Creative Ways to Customize Your Project
The approved pattern uses Pumpkin A and Black B for a classic Halloween palette, but the finished cuff can be personalized with optional color changes. You might use a deep orange for a richer pumpkin shade, charcoal instead of black, or a muted autumn color for a less costume-like accessory.
You can also make a coordinated set by repeating the exact pattern in different color combinations. Keep the same hook size and yarn type if you want the construction and fabric to remain consistent. Changing yarn weight or hook size may alter the cuff’s dimensions, stitch definition, and amount of yarn required, so those changes should be treated as experiments rather than direct substitutions.
For a more understated look, use a dark main color with a bright orange contrast. For a children’s Halloween set, brighter colors can make the design stand out, provided the buttons are securely attached and the cuff is used appropriately.
Frequently Asked Questions
Is this cuff suitable for a beginner?
It can be a useful practice project for a beginner who already knows how to chain and work single crochet. The pattern also introduces color changes, increases, decreases, slip stitches, and button-loop construction.
What yarn and hook does the pattern use?
The pattern uses RED HEART® Super Saver® in 254 Pumpkin A and 312 Black B, along with a Susan Bates® Crochet Hook 4mm [US-G-6].
How many components are crocheted?
The pattern makes one flat cuff. The edging and button loops are worked directly onto that piece, so no separate crocheted components are required.
How are the button closures made?
Two button loops are created during the edging with the repeat [ch 3, skip ends of next 3 rows, sc in end of next row] twice. The buttons are then sewn opposite the loops.
Can I change the colors?
Yes. Color changes are an optional customization, but the supplied instructions should be followed as written if you want the original Pumpkin A and Black B design.
How do I keep the colorwork from puckering?
Maintain even tension when changing colors, and do not pull the unused or newly introduced color tightly. The fabric should lie flat after each row.
How should I store the finished cuff?
Store it flat or loosely folded in a dry place. Protect the button loops from excessive pulling and keep the cuff away from sharp items that could snag the stitches.
Conclusion
This Crochet Halloween Pumpkin Cuff Pattern is a compact way to enjoy seasonal colorwork, shaping, and handmade accessories. The pumpkin-and-black palette makes it easy to style for Halloween, gift to someone special, or adapt into a coordinated autumn collection. For more seasonal project ideas, browse these fall and Halloween crochet patterns or explore unique crochet pattern designs for your next project.