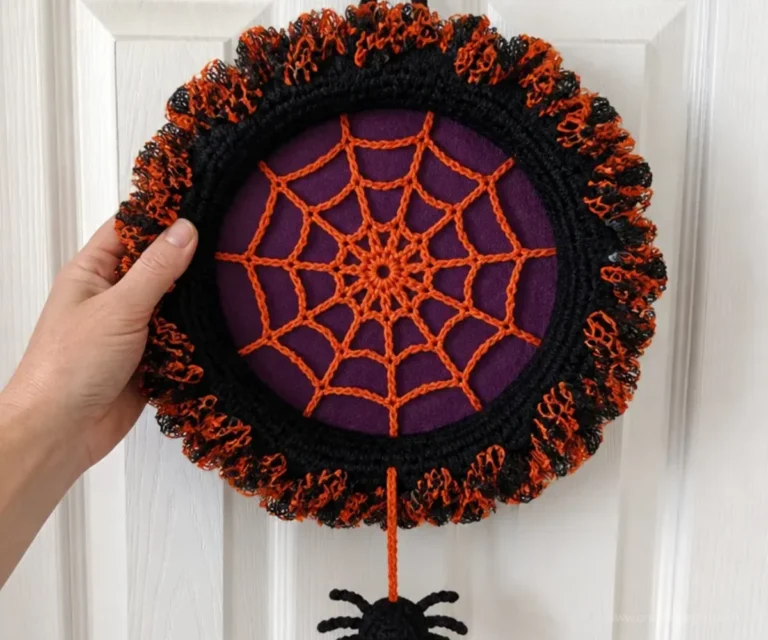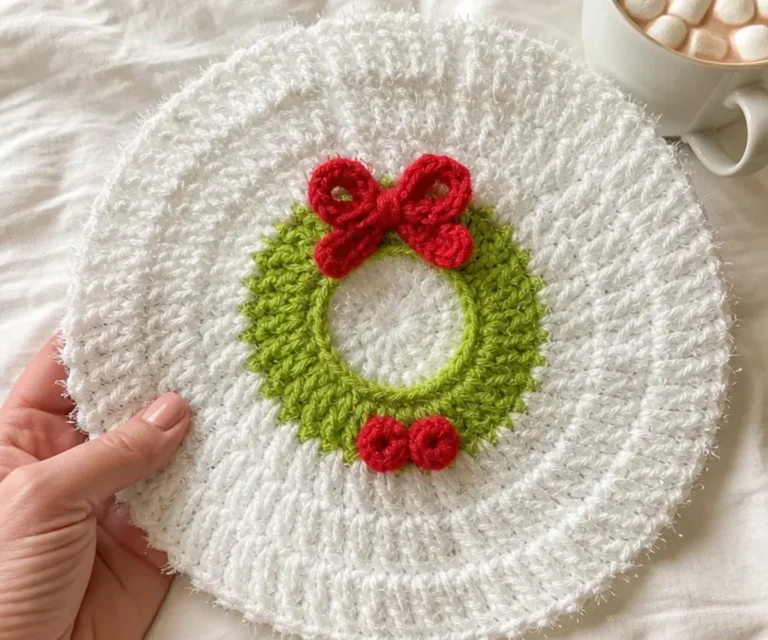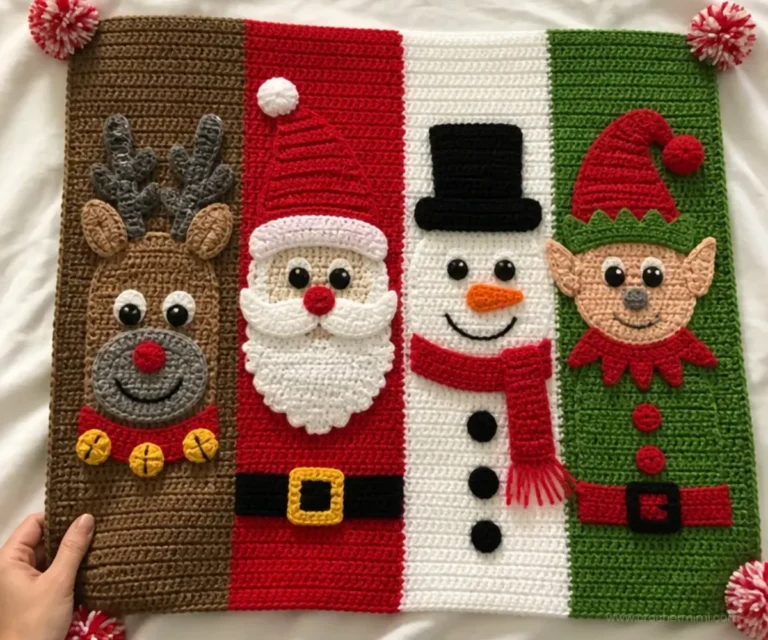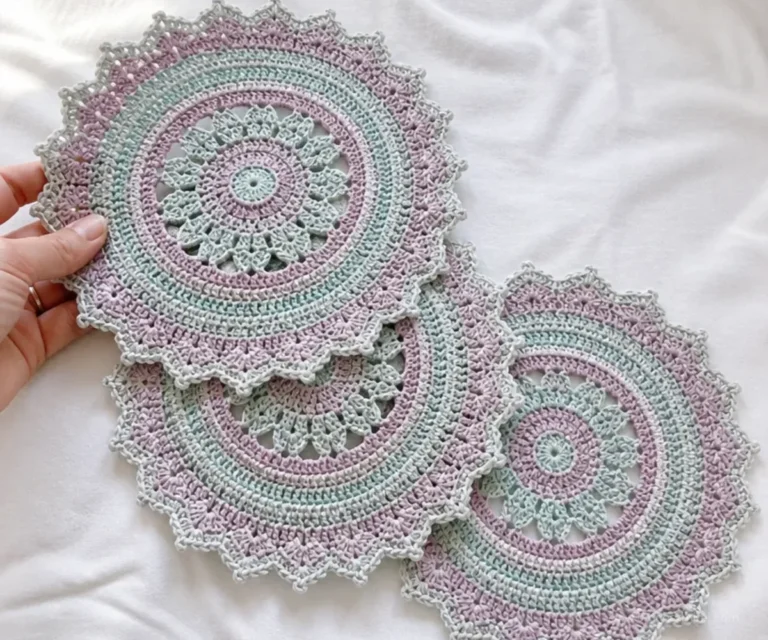

Crochet lacy Christmas ornaments bring delicate, handmade texture to a holiday tree, mantel, or gift package. This pattern includes two designs: a dimensional cluster stitch ornament and a daisy chain stitch ornament. Both are crocheted with fine white thread, shaped over a 3-inch form, stiffened, and finished with a satin ball inside. If you enjoy handmade seasonal décor, you may also like this easy crochet bear ornament for a coordinating tree collection.
Why You’ll Love This Crochet Project
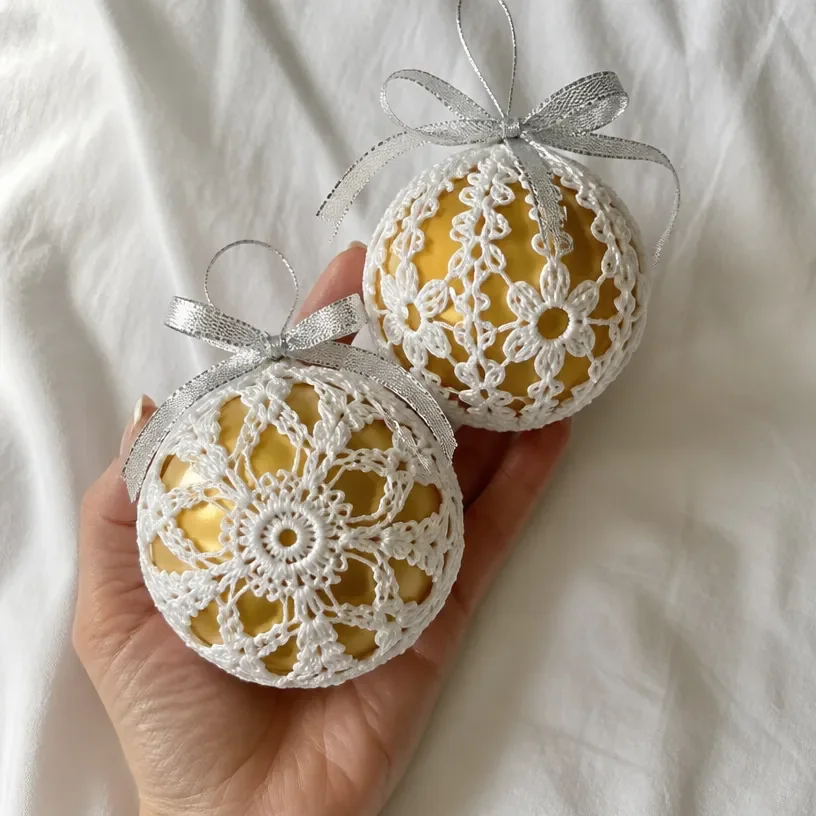
- Two decorative designs: Make the sculptural cluster stitch ornament, the daisy chain version, or one of each for variety.
- Elegant holiday texture: Size 10 thread creates an airy, lace-like fabric that looks especially pretty under Christmas lights.
- A useful shaping technique: Forming the crochet around a ball and stiffening it teaches you how to create a permanent three-dimensional shape.
- Thoughtful handmade gifts: Finished ornaments are lightweight, attractive, and easy to personalize with ribbon colors.
- Reusable seasonal décor: The satin ball gives the crocheted shell a finished interior while helping the ornament retain its rounded form.
Crochet Mimi Tip: Shape the crochet carefully while the stiffener is still wet. Small adjustments made at this stage have a big effect on the finished silhouette.
What to Know Before You Begin
The pattern provides two separate ornament options. Ornament A begins with a 36-chain ring and develops six elaborate cluster stitch spokes. Ornament B begins with six single crochet stitches worked into a small chain ring and develops six daisy chain spokes.
For either design, crochet the lace portion first, fasten off, and weave in the ends. The completed crochet is then saturated with fabric stiffener and shaped around a plastic-wrapped 3-inch Styrofoam ball. After it dries rigid, remove the shaping ball and insert the 3-inch satin Christmas ball. Finally, close the loops at the top, add a ribbon bow, and attach an ornament hanger.
The pattern uses US crochet terminology. Helpful abbreviations include:
- ch: chain
- sc: single crochet
- dc: double crochet
- trtr: triple treble crochet
- sl st: slip stitch
- Cl: cluster
- picot: a small decorative loop formed with chain stitches and a slip stitch
The cluster stitch instructions are intricate, so read each segment before beginning it. The daisy chain design has fewer specialized movements but still requires careful counting along long chain sections.
Materials You’ll Need
- AUNT LYDIA’S® Classic Crochet Thread, Size 10: 1 ball White
- Crochet Hook: 1.5mm [US 7]
- 3” diameter Styrofoam ball (for forming crochet piece)
- 3” satin Christmas ball (for final ornament)
- Plastic wrap
- Fabric stiffener
- 7/8” ribbon
- Ornament hanger
- Thread needle
The Styrofoam ball is used only as a temporary shaping form. Plastic wrap keeps the stiffener-treated crochet from adhering to it, while the satin Christmas ball becomes the permanent interior of the ornament.
Step-by-Step Crochet Instructions
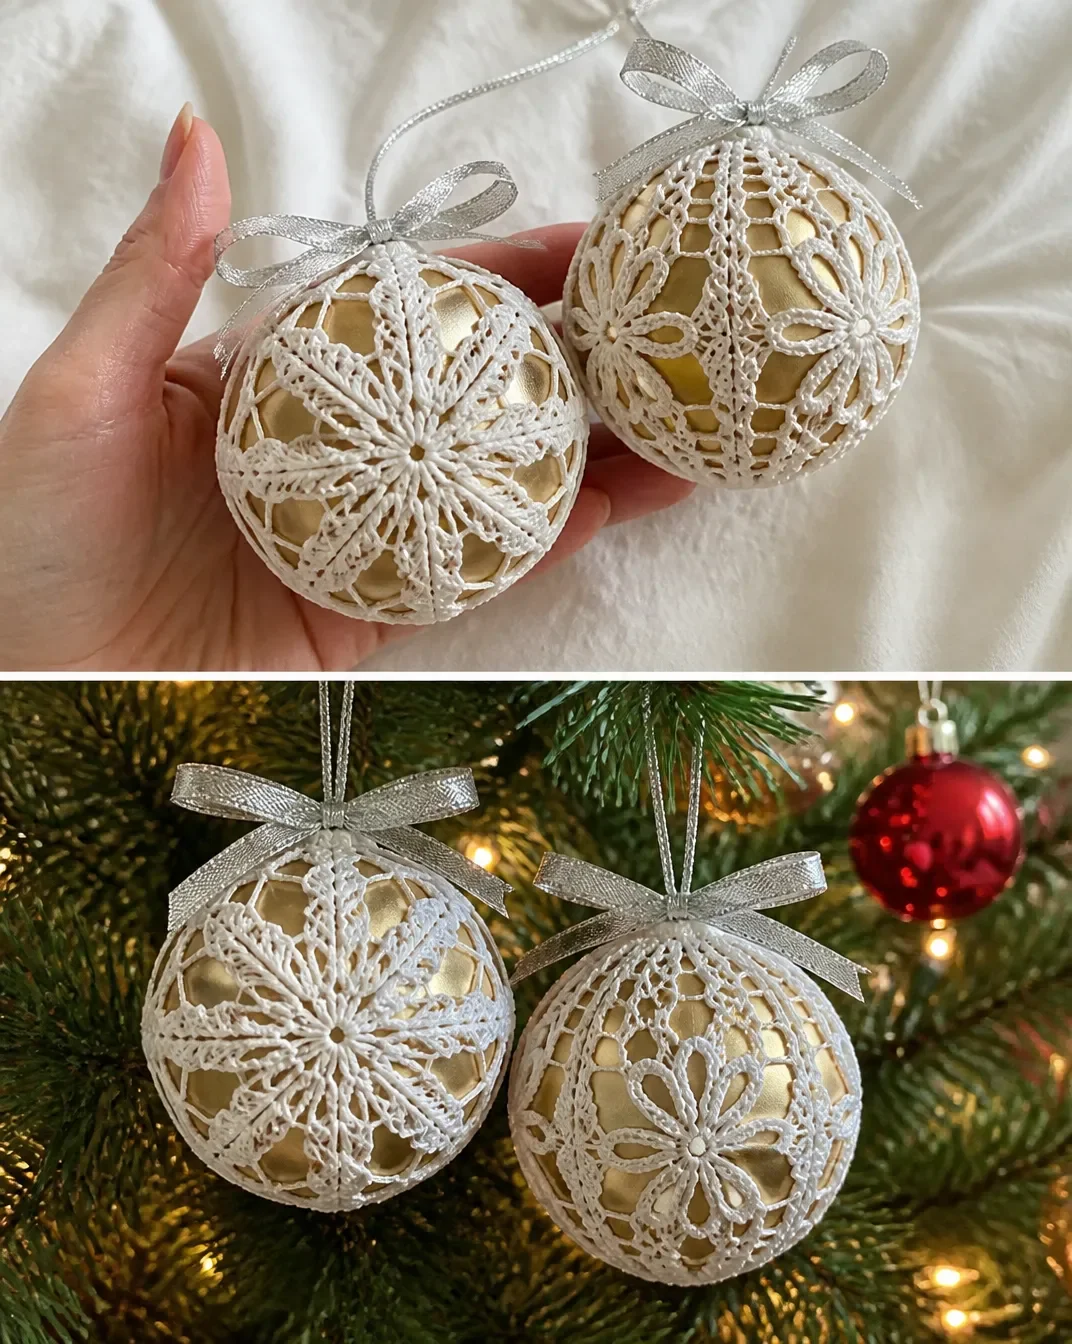
Work either Ornament A or Ornament B. The source pattern calls for the same finishing process for both designs.
Ornament A: Cluster Stitch Ornament
Shown at lower left of photo.
Round 1
Ch 36; join with slip st in first ch to form a ring.
Round 1: Ch 1, sc in same ch as join and in each remaining ch around; join with slip st in first sc 36 sc.
Round 2: Spoke Round
Round 2 (Spoke Round):
*Ch 6, 3-trtr-Cl in same st as last slip st made, ch 10, [yarn over] 6 times (7 loops on hook), 4-trtr-Cl in same st, [yarn over and draw through 2 loops on hook] 6 times (1 loop remains on hook); ch 6, slip st in 6th ch from hook (picot made), ch 17, incomplete-3-trtr-Cl in 7th ch from hook (4 loops on hook), [yarn over] 10 times (14 loops on hook), insert hook in base of picot and draw up a loop (15 loops on hook), [yarn over and draw through 2 loops on hook] 10 times (long trtr made – 5 loops remain on hook), incomplete-3-trtr-Cl in 6th bar of long trtr (8 loops on hook), yarn over and draw through all 8 loops on hook, [ch 4, sc in 2nd ch from hook and in next 2 ch] twice, (slip st, ch 6, 3-trtr-Cl) in top of last cluster made, ch 10, slip st in base of picot, ch 6, slip st in 6th ch from hook (picot made), ch 10, (3-trtr-Cl, ch 6 slip st) in same sc as first 2 clusters (spoke completed), ch 10, slip st in base of picot, ch 6, slip st in 6th ch from hook (picot made), ch 10, (3-trtr-Cl, ch 6 slip st) in same sc as first 2 clusters (spoke completed), slip st in next 6 sc of ring; repeat from * around; join with slip st in same st as first cluster 6 spokes.
Fasten off and weave in ends.
The long chain and cluster sequence creates the ornament’s pointed, lace-like spokes. Work slowly through the first repeat, checking that each picot and cluster is formed before moving to the next section.
Ornament B: Daisy Chain Stitch Ornament
Shown at upper right of photo.
Round 1
Round 1: Ch 2, 6 sc in 2nd ch from hook; join with slip st in first sc 6 sc.
Round 2: Spoke Round
Round 2 (Spoke Round):
Ch 3 (counts as dc), 2 dc in same sc as join, *ch 15, make daisy, ch 25, sc in 11th ch from hook and in next 14 ch, make daisy, sc in last 15 ch (spoke completed)**, 3 dc in next sc; repeat from * around ending last repeat at **; join with slip st in top of beginning ch-3 6 spokes.
Fasten off and weave in ends.
When working the long chains, keep the stitches relaxed enough to insert the hook easily into the specified chain. Avoid pulling the chain tight, since excessive tension can make the daisy sections difficult to shape evenly.
Finishing for All Ornaments
- Cover 3” Styrofoam ball with plastic wrap.
- Saturate crochet in stiffener and shape around ball.
- Allow to dry.
- When piece is rigid, remove Styrofoam ball and insert satin ball.
- Tie or sew loops together at top.
- Using ribbon, tie a bow at the top of ornament and attach an ornament hanger.
The plastic wrap should cover the shaping ball smoothly so it does not leave unwanted ridges in the stiffened crochet. Let the ornament become fully rigid before removing the form.
Ways to Display Your Finished Crochet
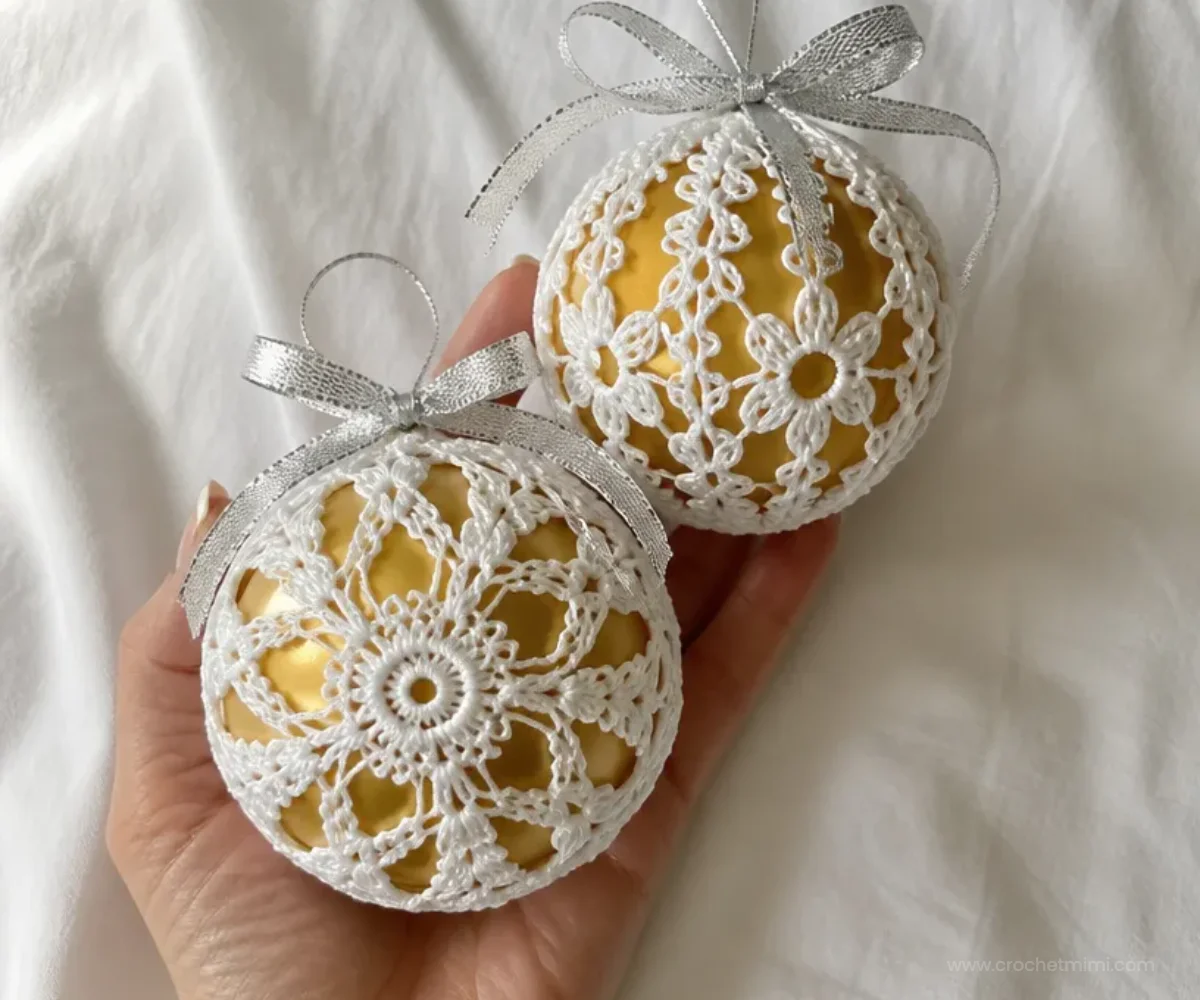
- Hang several ornaments together on a tree, alternating the cluster and daisy chain designs.
- Use a contrasting ribbon color to coordinate the ornament with a specific holiday decorating palette.
- Place one ornament in a clear gift box as a handmade present topper.
- Arrange finished ornaments in a decorative bowl or shallow tray for a tabletop display.
- Add them to a seasonal mantel arrangement alongside greenery, lights, or other handmade decorations.
- Pair the ornaments with other delicate crochet décor, such as a beginner-friendly crochet mandala doily used as a table accent.
Caring for Your Crochet Project
Because the finished ornament is stiffened and contains a satin ball, handle it gently rather than washing or soaking it. Dust the surface with a soft, dry brush or use gentle bursts of air from a distance. Avoid pressing on the spokes, picots, or daisy sections.
Store the ornament in a dry container between seasons. Wrap it loosely in acid-free tissue paper or place it in a compartment where the lace will not be crushed. Keep it away from excessive heat and direct moisture, which can soften the stiffener or affect the satin interior.
If the ornament becomes slightly misshapen, do not force the lace back into place. Support the inner ball and adjust the spokes gradually with your fingers.
Tips for Better Results
- Use the specified fine thread and hook first. Size 10 thread and a 1.5mm hook create the delicate fabric needed for the lace structure.
- Mark the beginning of the first round if needed. This can help you identify the joining stitch when working the 36-sc ring in Ornament A.
- Count the spokes as you work. Each completed design should have six spokes.
- Keep cluster stitches organized. In Ornament A, read the loop counts carefully before drawing through the indicated loops.
- Avoid tight chains. Relaxed chain stitches are easier to work into and will shape more naturally around the ball.
- Weave in ends before stiffening. Loose ends are much harder to secure neatly after the crochet becomes rigid.
- Cover the ball smoothly. Wrinkles in the plastic wrap may transfer to the finished ornament.
- Shape every spoke before drying. Check the spacing around the ball so the lace dries evenly.
- Wait until the crochet is rigid. Removing the Styrofoam ball too early can flatten or distort the ornament.
- Close the top securely. Tie or sew the loops together firmly enough to support the ribbon and ornament hanger.
For a broader seasonal handmade display, a crochet flower wreath project can provide inspiration for arranging delicate motifs around the home.
Creative Ways to Customize Your Project
The approved pattern uses white AUNT LYDIA’S® Classic Crochet Thread, which gives both designs a traditional snowy appearance. Optional styling changes can personalize the finished ornament without altering the crochet instructions.
- Replace the white ribbon with silver, gold, deep red, forest green, or icy blue.
- Use one ribbon color for cluster stitch ornaments and another for daisy chain ornaments.
- Make a coordinated set with all ornaments in white, then add different bow colors for variety.
- Display the lace ornaments with red floral crochet accents, such as these beginner-friendly crochet red roses, in a nearby seasonal arrangement.
- Combine handmade ornaments with a crochet blanket featuring botanical motifs, such as this blooming bouquet crochet blanket, for a coordinated handmade gift theme.
Changing the thread size or hook size is also possible as an experiment, but it may affect the lace texture, the final dimensions, the amount of thread required, and how well the crocheted piece fits the 3-inch satin ball. For a reliable fit, make the approved version first.
Frequently Asked Questions
Is this pattern suitable for beginners?
The daisy chain ornament may be the more approachable option, but both designs use fine thread and detailed chain work. Beginners should be comfortable with chain stitches, single crochet, slip stitches, joining rounds, and reading repeated instructions.
What yarn or thread does the pattern recommend?
The pattern specifies AUNT LYDIA’S® Classic Crochet Thread, Size 10, in White, with one ball listed in the materials.
What hook size should I use?
Use a 1.5mm [US 7] crochet hook as specified.
How many spokes does each ornament have?
Both Ornament A and Ornament B finish with six spokes.
Can I make the ornaments in another color?
Yes. Changing the thread color is an optional styling choice. Keep in mind that a different color may change the overall holiday look, but it does not require changing the stitch instructions.
Why is the Styrofoam ball covered with plastic wrap?
The plastic wrap separates the wet, stiffener-treated crochet from the Styrofoam ball. This allows the temporary form to be removed after the crochet becomes rigid.
When should the satin ball be inserted?
Remove the Styrofoam ball only after the crochet piece is rigid, then insert the 3-inch satin Christmas ball.
How is the ornament finished at the top?
Tie or sew the loops together at the top. Then use the 7/8-inch ribbon to tie a bow and attach an ornament hanger.
Can I wash the finished ornament?
Washing or soaking is not recommended for this stiffened, structured ornament. Dust it gently and store it in a dry place where the lace will not be crushed.
Conclusion
These crochet lacy Christmas ornaments combine fine thread, decorative spokes, and simple shaping to create elegant handmade holiday décor. Choose the intricate cluster stitch ornament, the daisy chain design, or make both for a coordinated set. For more lace-inspired ideas, explore this crochet snowflake ornament pattern or browse crochet lace bauble patterns for additional seasonal inspiration.