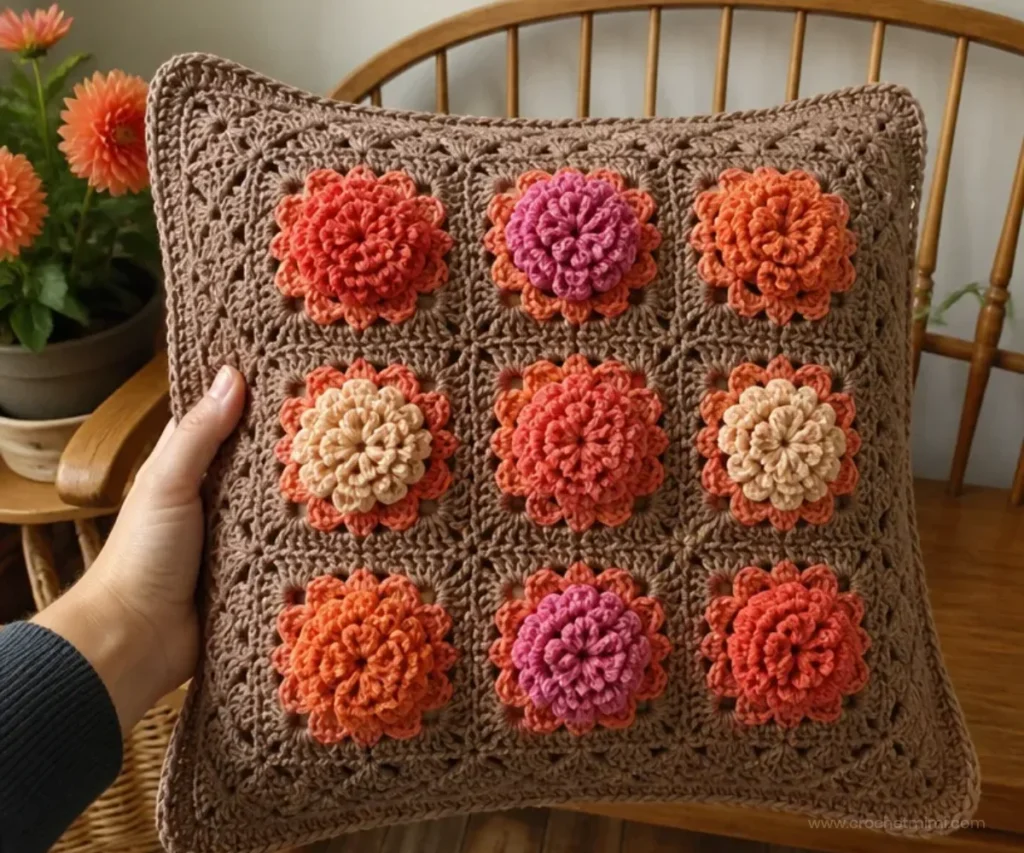
A crochet dahlia pillow brings the layered look of a full bloom to a practical piece of home décor. This design combines a textured fan-stitch square with nine dimensional flowers arranged in a neat three-by-three grid. The finished pillow suits bedrooms, reading corners, sofas, and handmade gifts, while the two-color option makes it easy to coordinate with your space. If you enjoy botanical crochet, you might also like this beginner-friendly crochet rose project.
Why You’ll Love This Crochet Project
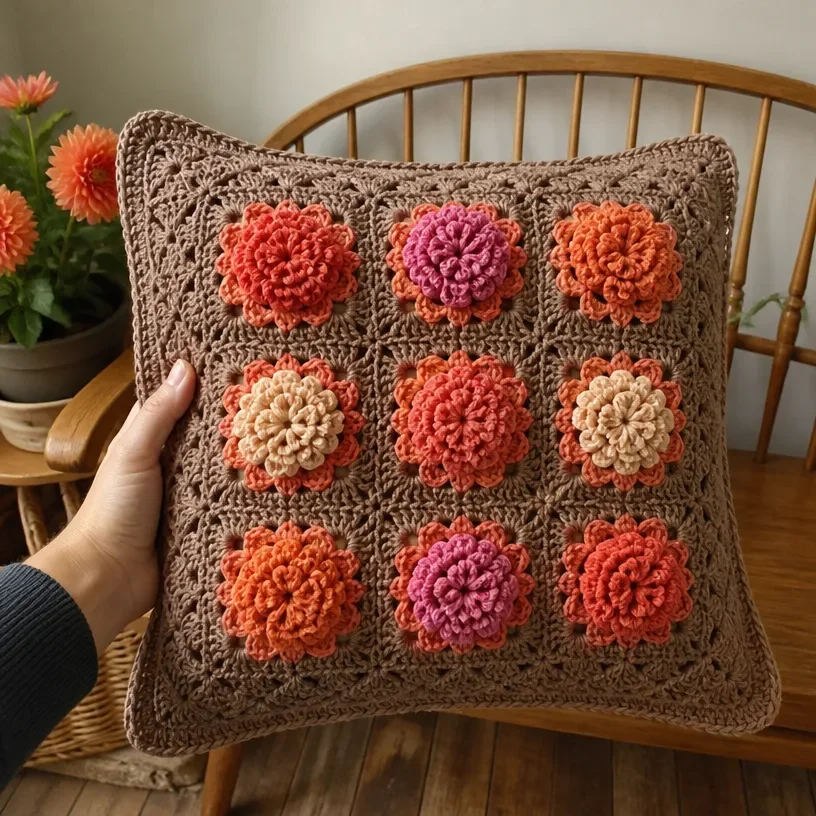
- It creates eye-catching texture. The fan pattern gives both pillow squares a repeating, dimensional surface.
- The flowers are sculptural. Each dahlia has a base and a separate ruffled top, creating a layered floral effect.
- It makes a useful handmade gift. The finished cover holds an 18-inch square pillow form and works well for birthdays, housewarmings, or floral-themed décor.
- It builds useful skills. You will practice fan stitches, joined rounds, adjustable rings, increases, edging, sewing, and whipstitch assembly.
- The color arrangement is easy to personalize. Use Cafe Latte with Marrakesh for a neutral, earthy design or choose Coral for a brighter floral look.
Crochet Mimi Tip: Before sewing the flowers in place, arrange all nine bases on the front square and adjust the spacing until the grid looks balanced. You may also find Crochet Halloween Banner Pattern Diy Party Decor useful.
How This Crochet Project Comes Together
This project includes two identical textured squares and nine crocheted dahlias. One square becomes the front, with the flowers sewn onto it. The second square forms the back. After the flowers are attached, the squares are whipstitched together around three sides, the pillow form is inserted, and the final side is closed.
The pattern uses a 5 mm [H-8 US] crochet hook and finishes to fit a square pillow form measuring 18 inches (45.5 cm). Block the squares to the final measurement, if necessary.
The approved pattern uses these US crochet abbreviations:
- ch: chain
- sc: single crochet
- hdc: half double crochet
- dc: double crochet
- tr: treble crochet
- sl st: slip stitch
- sp: space
The construction is most manageable when completed in this order:
- Crochet two pillow squares.
- Add the edging to each square.
- Make nine flower bases.
- Make nine flower tops.
- Sew the bases and tops to the front square.
- Whipstitch the squares together around the pillow form.
- Weave in all ends.
Crochet Supplies and Tools
- RED HEART® Super Saver®: 2 skeins 360 Cafe Latte A and 1 skein 947 Marrakesh B, or 2 skeins 726 Coral
- Susan Bates® Crochet Hook: 5 mm [H-8 US]
- Yarn needle
- Square pillow form: 18 inches (45.5 cm)
Color A is used for the pillow squares and joining. Color B is used for the flower bases and tops. The yarn needle is needed for sewing the flowers to the front and joining the two squares.
Complete Crochet Tutorial
Special Technique: Adjustable Ring
Wrap yarn into a ring, ensuring that the tail falls behind the working yarn. Grip ring and tail firmly between middle finger and thumb. Insert hook through center of ring, yarn over (with working yarn) and draw up a loop. Work stitches of first round in the ring. After the first round of stitches is worked, pull gently, but firmly, on tail to tighten ring.
Pillow Squares
Make 2.
With A, ch 68.
Row 1 Right Side
Sc in 2nd ch from hook, *skip next 2 ch, fan in next ch, skip next 2 ch, sc in next ch; repeat from * across, turn 11 fans and 12 sc.
Row 2
Ch 4 (counts as first dc and ch 1), dc in first sc (half fan made), *sc in 2nd dc of next fan, fan in next sc; repeat from * to last fan and sc, sc in 2nd dc of last fan, half fan in last sc, turn 10 fans, 2 half fans, and 11 sc.
Row 3
Ch 1, sc in first half fan, *fan in next sc, sc in center dc of next fan; repeat from * to beginning ch-4, sc in 3rd ch of beginning ch-4, turn 11 fans and 12 sc.
Rows 4–35
Repeat Rows 2 and 3 sixteen times. Do not fasten off.
Edging
With right side facing, rotate square to first side, ch 1, working across ends of rows, skip first row, *work 3 hdc in next row, skip next row; repeat from * to Row 1; work 3 hdc in corner ch of Row 1, working across opposite side of foundation ch, hdc in each ch across to next corner ch, 3 hdc in next corner ch; working across ends of rows of 2nd side, skip first row, repeat from * to Row 35; work 3 hdc in first sc of Row 35, **hdc in each dc and ch-space of next fan, skip next sc; repeat from ** across Row 35; join with slip st in first hdc. Fasten off.
The edging is worked continuously around the square. Keep the right side facing as you rotate the piece so the border remains consistent around all four sides.
Flower Bases
Make 9.
The flower is worked in joined rounds with right side facing at all times. Join rounds with slip st in first st.
With B and leaving long tail for sewing, ch 5, join with slip st in first ch to form ring.
Round 1
Ch 2 (counts as first dc here and throughout), 13 dc in ring; join with slip st in top of beginning ch 14 dc.
Round 2
Ch 4 (counts as first tr and ch 1), *tr in next dc, ch 1; repeat from * around; join with slip st in 3rd ch of beginning ch 14 tr and 14 ch-1 sps.
Round 3
Slip st in first ch-1 space, ch 1, sc in same space, *ch 3, sc in next ch-1 space; repeat from * around, ch 3; join with slip st in first sc 14 ch-3 sps.
Flower Tops
Make 9.
With B and leaving a long tail for sewing, make an adjustable ring.
Round 1
Ch 1, 11 hdc in ring; join with slip st in first hdc 11 hdc.
Round 2
Ch 2, 2 dc in first hdc, 3 dc in each remaining hdc; join with slip st in top of beginning ch 33 dc.
Round 3
Ch 2, 2 dc in first dc, 3 dc in each remaining dc; join with slip st in top of beginning ch 99 dc. Fasten off.
Round 4
Slip st in first ch-3 space, ch 1, (sc, hdc, dc, ch 2, slip st in top of dc, hdc, sc) in same ch-3 space, *(sc, hdc, dc, ch 2, slip st in top of dc, hdc, sc) in next ch-3 space; repeat from * around; join with slip st in first sc. Fasten off.
Assembly
Pull tails to wrong side of each square. Block to final measurement, if necessary.
Choose one square as front; with right side facing, sew flower bases to front in 3 rows of 3 bases each evenly spaced apart and with center of outer bases 3 inches (7.5 cm) from each edge.
Tack one top on each base, sewing through Round 2 of base and wrong side of top to secure.
Thread a length of A on yarn needle.
Hold wrong sides of squares together with fans facing same direction and, with front facing and beginning at any corner, whipstitch squares together evenly spaced through inner loops only around 3 sides, working 3 sts in each corner; insert pillow form and continue to whipstitch evenly spaced across remaining side. Secure in first st. Fasten off.
Finishing
Weave in all ends.
Handmade Gift and Decoration Ideas
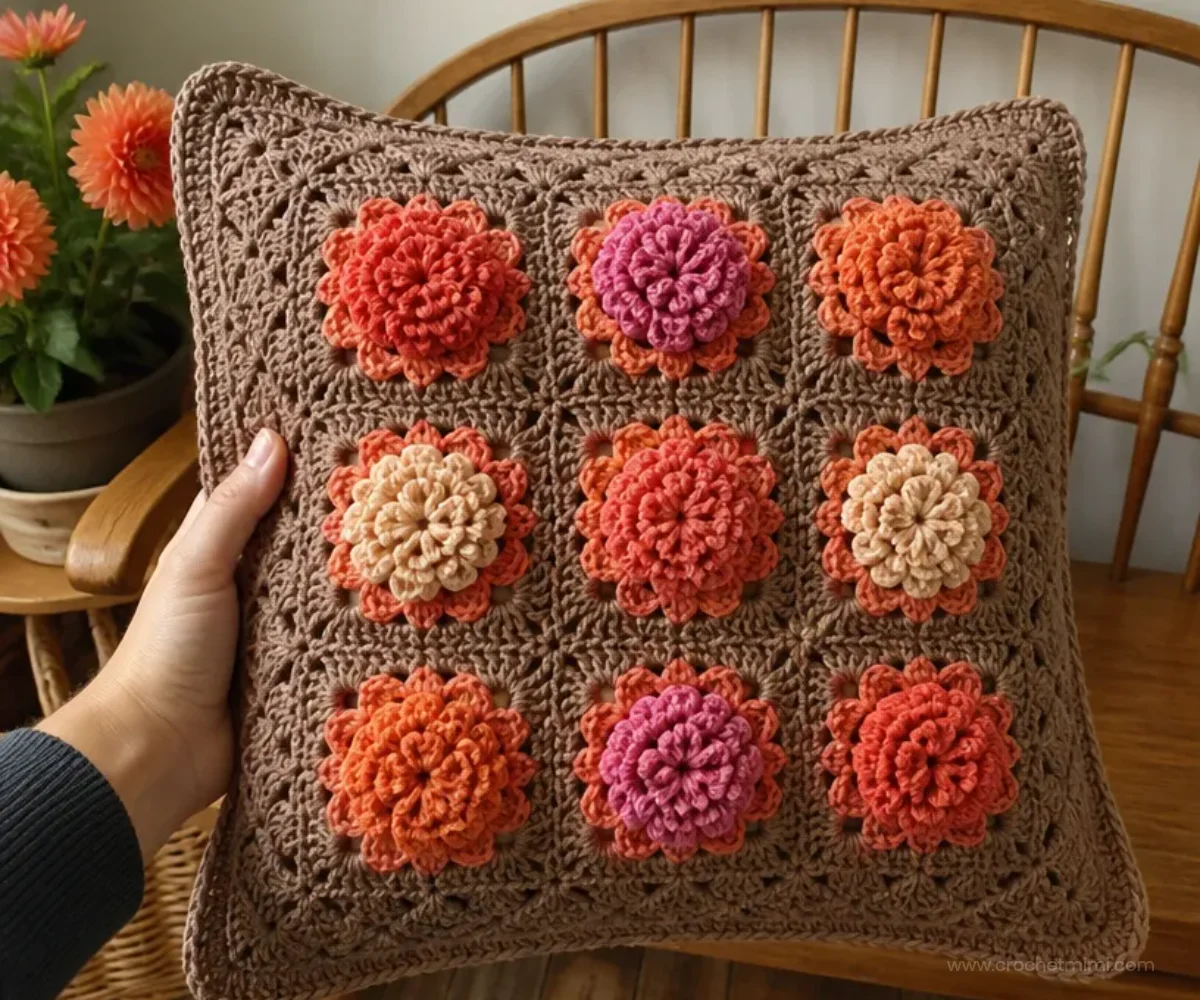
- Place the pillow on a neutral armchair where the raised flowers can serve as a focal point.
- Use the Cafe Latte and Marrakesh version with earthy furnishings, woven baskets, or natural wood accents.
- Display the Coral version in a bedroom, nursery, or spring-inspired sitting area.
- Give the finished pillow as a housewarming gift alongside a coordinating throw or handmade blanket.
- Create a floral-themed arrangement by pairing the pillow with crocheted accents such as crochet bell flowers.
- Use it as a seasonal accent, then store it with other decorative pillows when you refresh the room.
Caring for Your Crochet Project
The flowers are sewn securely to the front, but their raised petals can still catch on jewelry, zippers, or rough surfaces. Handle the pillow by its sides rather than pulling on the flower tops.
- Dust the surface gently with a soft brush or a low-suction vacuum attachment.
- Spot-clean small marks carefully rather than saturating the pillow.
- Avoid excessive heat, which can distort the yarn and flatten the dimensional flowers.
- Reshape the fans and petals with your fingers after moving or storing the pillow.
- Store it in a clean, dry place away from direct sunlight and moisture.
- If the pillow form is removable and has its own care label, follow that label separately.
Tips for Better Results
- Count the first row carefully. Row 1 must finish with 11 fans and 12 sc. Confirming this count makes the later fan placement easier.
- Track the alternating rows. Rows 2 and 3 create the repeating texture, and Rows 4–35 repeat those two rows sixteen times.
- Keep the fan centers easy to identify. The instructions place sc stitches in specific fan stitches and spaces, so avoid crocheting too tightly over them.
- Join flower rounds neatly. Each flower base is worked with the right side facing at all times and joined with a slip stitch in the first stitch.
- Leave the specified long tails. The tails on the bases and tops are used for sewing, so do not trim them when fastening off.
- Block before attaching flowers. If the squares need adjustment, blocking first helps maintain even spacing and prevents the flower grid from looking skewed.
- Measure from the outer flowers. The centers of the outer bases should be 3 inches (7.5 cm) from each edge.
- Use inner loops for joining. Whipstitch through the inner loops only so the outer edging and fan texture remain visible.
Color and Styling Variations
The approved pattern provides two color choices, and both can produce a different mood:
- Use Cafe Latte A with Marrakesh B for a warm, neutral pillow with subtle contrast.
- Choose Coral for a brighter, more unified floral accent.
- For a coordinated botanical setting, place the pillow near a handmade arrangement inspired by a crochet daffodil bouquet.
- Pair the pillow with soft cream, sage, or tan furnishings to let the dimensional flowers stand out.
- Use a simple solid-color pillow form so the textured cover remains the visual focus.
- For a related home accent, a floral petal pillow design can complement this project without competing with its dahlia arrangement.
These are styling options rather than changes to the approved instructions. If you substitute yarn or change the hook size, the texture, finished dimensions, yarn requirements, and fit for the 18-inch pillow form may change.
Frequently Asked Questions
Is this project suitable for a newer crocheter?
It includes repeating rows and joined flower rounds, so it can be approachable for a newer crocheter who is comfortable with basic stitches. The fan placement, adjustable rings, and sewing require careful counting.
How many pillow squares are needed?
Make two squares. One is used as the front and the other as the back.
How many dahlias are attached to the front?
Make nine flowers and arrange them in three rows of three bases each.
Which yarn color is used for the flowers?
The flowers are made with B. In the listed colorway, B is 947 Marrakesh. The alternate option is 2 skeins of 726 Coral.
What hook size does the pattern use?
Use a Susan Bates® crochet hook measuring 5 mm [H-8 US].
Can the colors be changed?
Yes, the supplied options already include a warm Cafe Latte and Marrakesh combination or a Coral option. Any optional yarn substitution may affect texture, dimensions, and the amount of yarn needed.
How are the flowers secured?
Sew each flower base to the front square, then tack one top onto each base by sewing through Round 2 of the base and the wrong side of the top.
How is the pillow closed?
Hold the squares with wrong sides together and whipstitch through inner loops around three sides. Insert the pillow form, then continue whipstitching across the remaining side.
How should the finished pillow be cleaned?
Use gentle surface cleaning and spot cleaning, avoid excessive heat, and follow the pillow form’s own care label when applicable.
Conclusion
This crochet dahlia pillow combines repeating texture, dimensional flowers, and practical home décor in one satisfying project. Choose the neutral or Coral color option, take care with the flower placement, and enjoy the finished piece as a gift or room accent. For additional dahlia-inspired ideas, compare this free dahlia crochet pillow pattern and the Red Heart dahlia pillow pattern.