

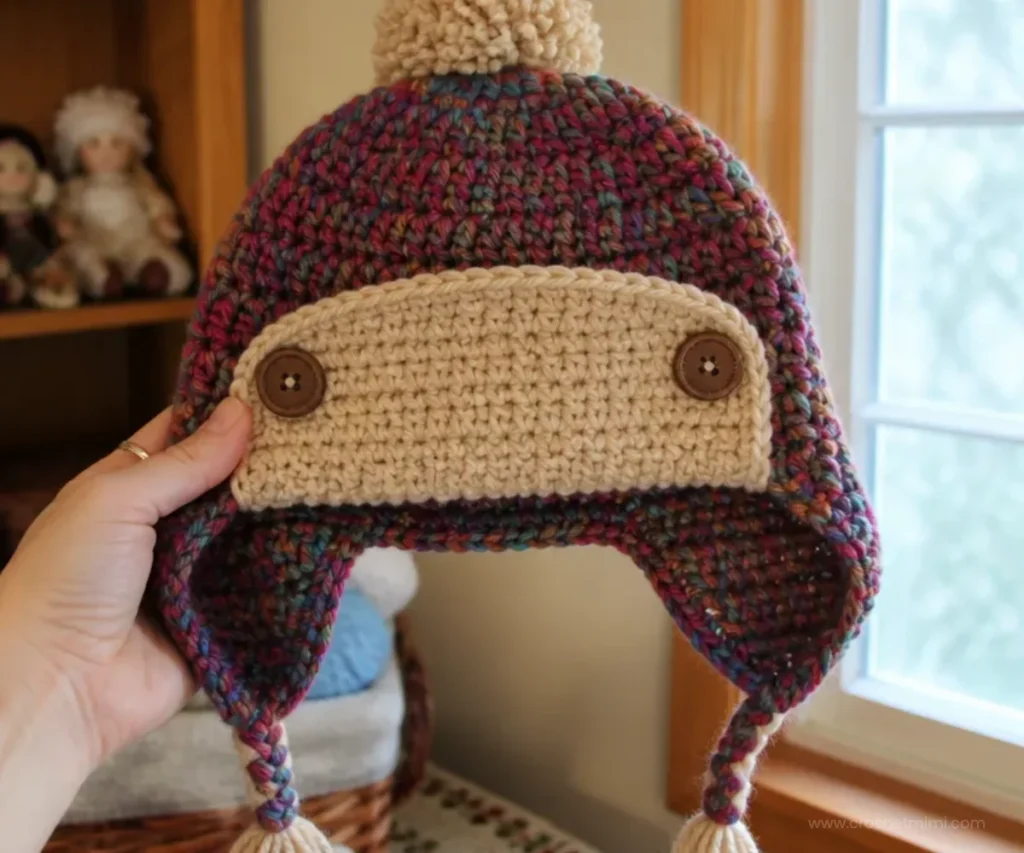
A Crochet Chic Aviator Hats Pattern makes a cozy, colorful hat with earflaps, a contrasting forehead flap, braided-style ties, fringe, and a playful pompom. The design is practical for chilly days while still offering plenty of opportunities to practice shaping and color changes. It is a rewarding project for crocheters who enjoy wearable accessories and handmade gifts. For another colorful crochet project to explore afterward, consider these beginner-friendly red roses.
Why You’ll Love This Crochet Project
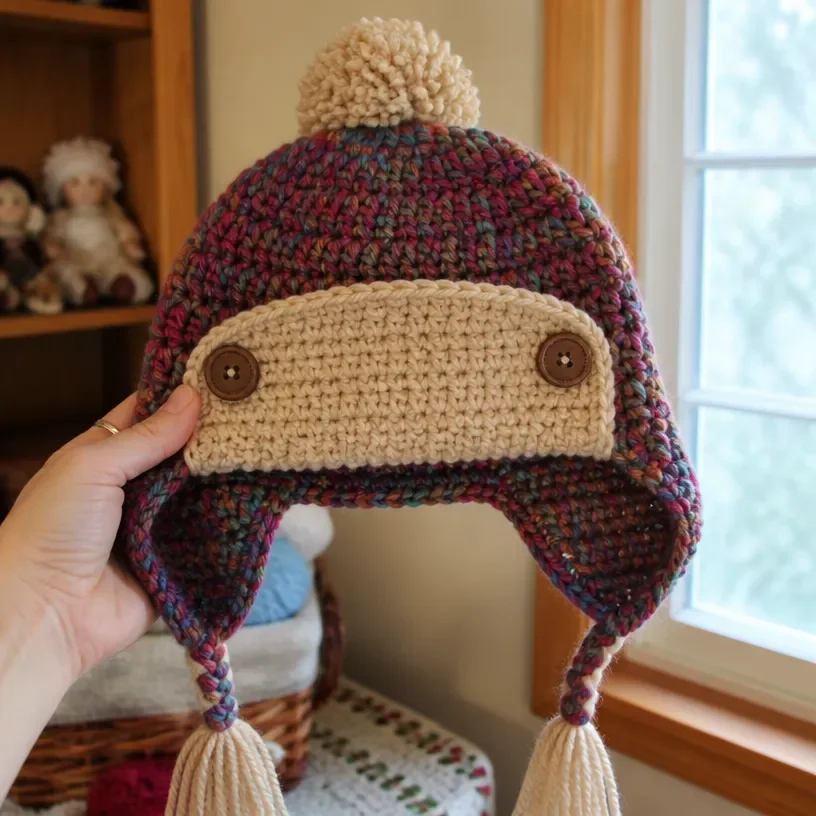
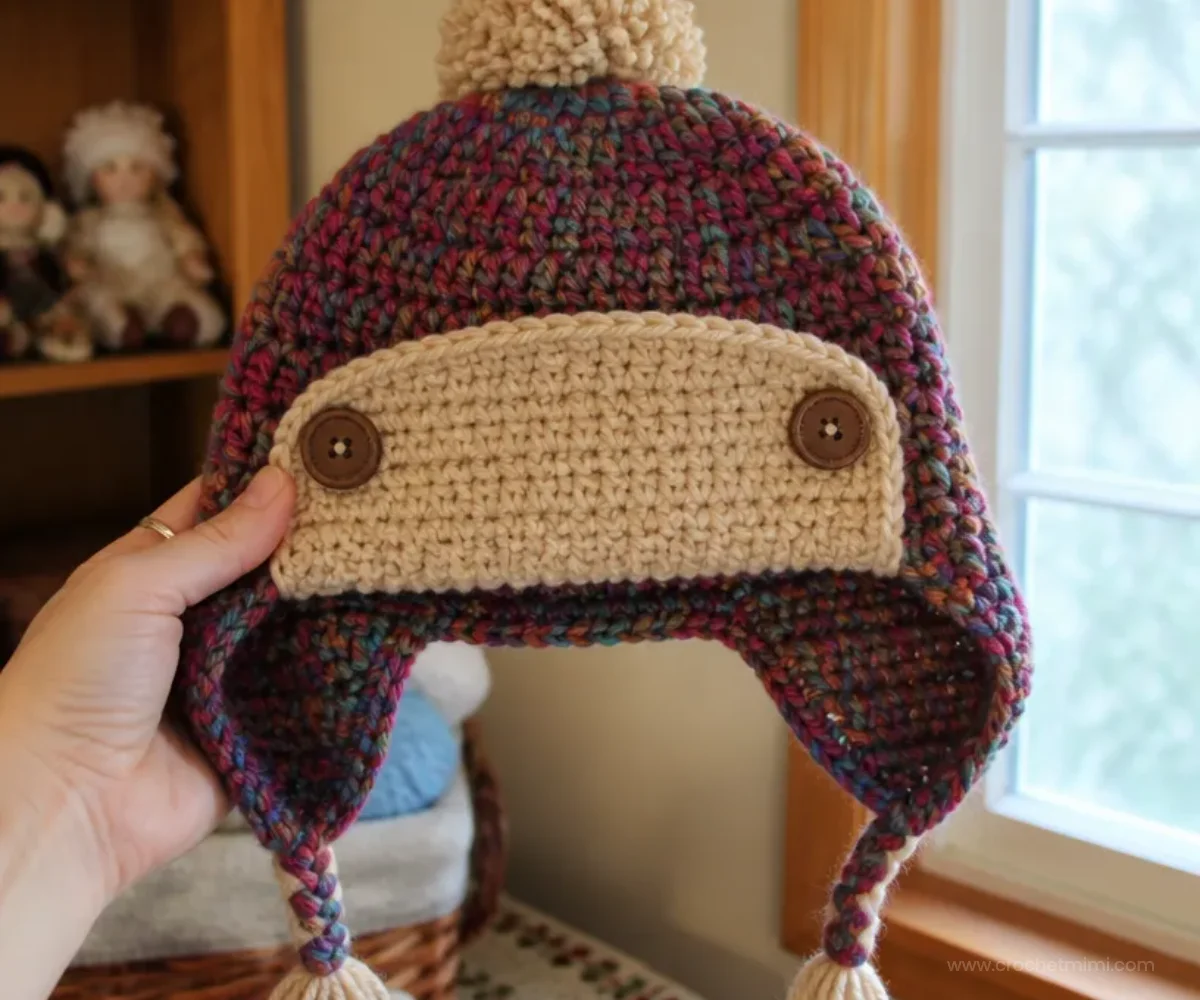
- Distinctive aviator styling: Earflaps, a folded forehead flap, buttons, and a pompom give this hat its recognizable winter look.
- Useful shaping practice: The crown begins with increases, then continues in even rounds before transitioning into shaped earflaps.
- Colorwork without complicated techniques: Color A forms the main hat, while Color B adds the forehead flap, pompom, and fringe.
- Gift-friendly design: The finished hat can be made in one of three size options and customized with different approved color choices.
- Decorative finishing: Buttons, ties, fringe, and the pompom turn a simple crocheted crown into a polished accessory.
Crochet Mimi Tip: Keep the hat’s right side facing you whenever the instructions specify it. This makes the placement of the earflaps and forehead flap easier to follow. You may also find Crochet Halloween Banner Pattern Diy Party Decor useful.
Before You Start Crocheting
This pattern creates one aviator-style hat with a circular crown, two shaped earflaps, a contrasting forehead flap, an edging round, two ties, fringe, buttons, and one pompom. The size options are reflected in the stitch counts and the parenthetical round and row instructions.
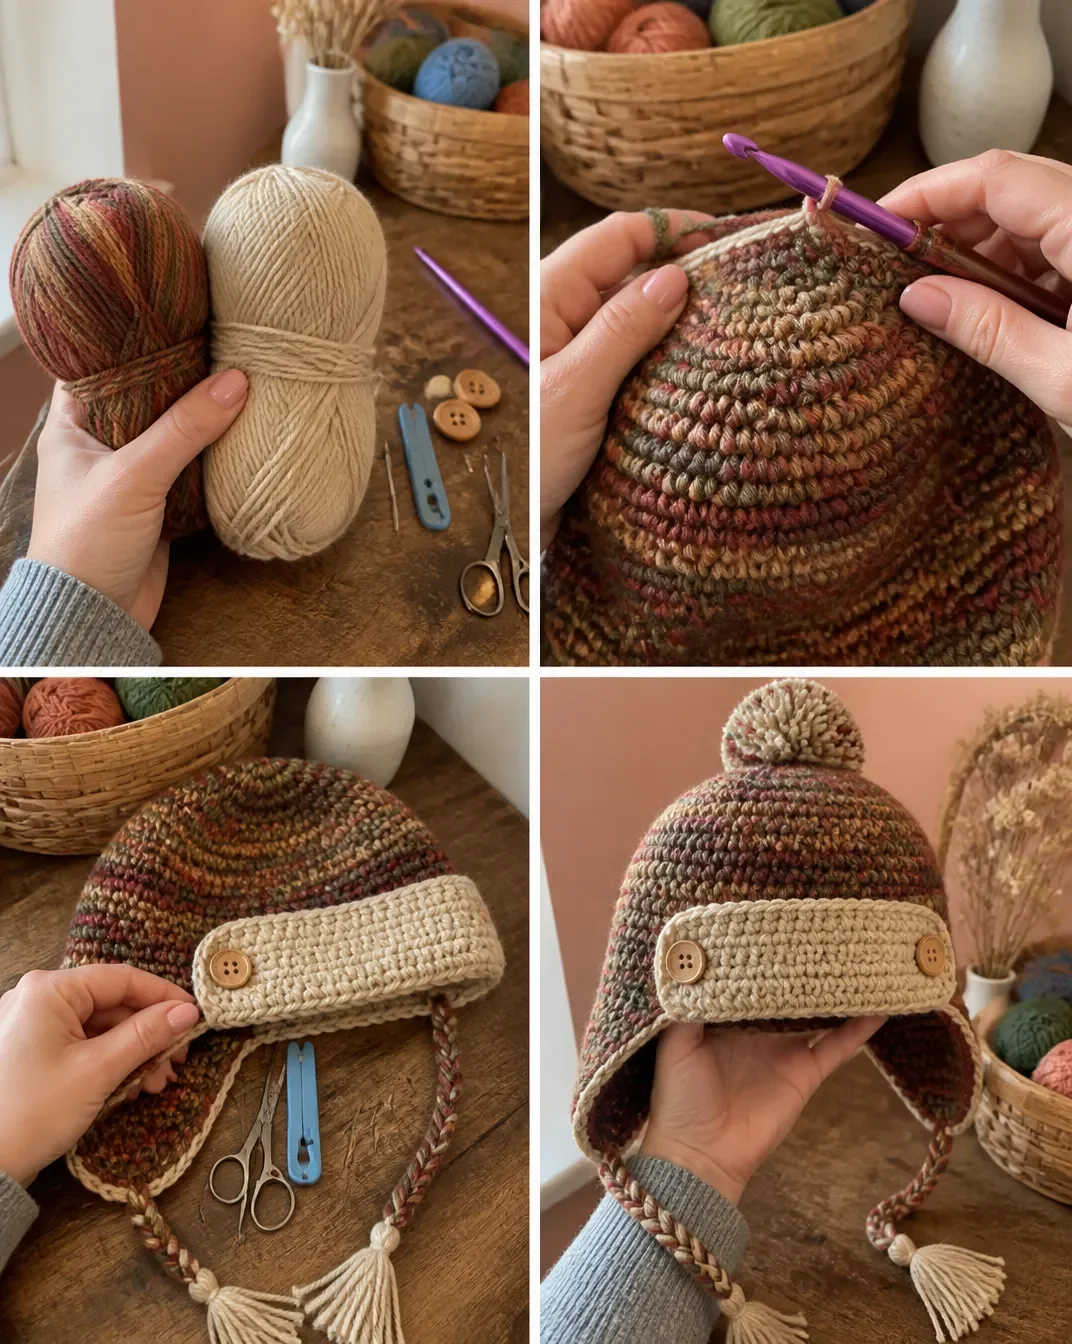
The hat begins with an adjustable ring and joined rounds of half double crochet. After the crown is complete, the right earflap is worked directly from the hat, followed by the forehead flap in Color B and the left earflap in Color A. The edging is worked around the hat and includes the earflap ties. Finishing includes button placement, pompom attachment, and fringe.
Important techniques include the adjustable-ring method and joining with single crochet. The pattern uses US crochet terminology.
Abbreviations
- ch: chain
- hdc: half double crochet
- sc: single crochet
- slip st: slip stitch
- st/sts: stitch/stitches
Materials You’ll Need
- RED HEART® Medley™: 1 (1, 2) ball(s) Color A, 930 Garden, 940 Volcano, or 952 Stained Glass
- RED HEART® Medley™: 1 (1, 1) ball Color B, 920 Sandy B
- Susan Bates® crochet hook: 6.5 mm [US K-10.5]
- Yarn needle
- Buttons: two ¾-inch (19 mm) or 1-inch (25 mm) buttons
- Pompom maker or a 3-inch (7.5 cm) piece of heavy cardboard
Color A is used for the main crown and earflaps. Color B creates the contrasting forehead flap and decorative pompom and fringe.
Complete Crochet Tutorial
Special Techniques
Adjustable-ring method
- Wrap yarn in a ring, ensuring that the tail falls behind the working yarn.
- Grip ring and tail firmly between middle finger and thumb.
- Insert hook through center of ring, yarn over with the working yarn, and draw up a loop.
- Work stitches of the first round in the ring, working over both strands the tail and the ring.
- After the first round of stitches is worked, pull gently but firmly on the tail to tighten the ring.
Join with sc
Place a slip knot on the hook, insert the hook in the indicated stitch, yarn over and draw up a loop, yarn over, and draw through both loops on the hook.
Hat
With A, form an adjustable ring.
Crown
Round 1 (right side):
Ch 1, 10 hdc in ring; join with slip st in first hdc 10 hdc
Round 2:
Ch 1, 2 hdc in each st around; join with slip st in first hdc 20 hdc
Round 3:
Ch 1, *2 hdc in first st, hdc in next st; repeat from * 9 times; join with slip st in first hdc 30 hdc
Round 4:
Ch 1, *2 hdc in first st, hdc in next 2 sts; repeat from * 9 times; join with slip st in first hdc 40 hdc
Round 5:
Ch 1, *2 hdc in first st, hdc in next 7 (3, 3) sts; repeat from * 4 (9, 9) times; join with slip st in first hdc 45 (50, 50) hdc
Size Large only Round 6:
Ch 1, *2 hdc in first st, hdc in next 9 sts; repeat from * 4 times; join with slip st in first hdc 55 hdc
All sizes Rounds 6–13 (6–15, 7–15):
Ch 1, hdc in each st around; join with slip st in first hdc.
Do not fasten off.
Right Earflap
Row 1 (right side)
Ch 2, which counts as the first hdc here and throughout, skip next st, hdc in next 5 sts, skip next st, hdc in next st, turn 7 hdc
Row 2
Ch 2, skip next st, hdc in next 3 sts, skip next st, hdc in last st, turn 5 hdc
Row 3
Ch 2, skip next st, hdc in next st, skip next st, hdc in last st 3 hdc
Fasten off.
Forehead Flap
Row 1 (right side)
With right side and front edge of earflap facing, skip next 2 sts of last round, join B with sc in next st, sc in the next 15 (17, 19) sts, turn 16 (18, 20) sc
Rows 2–6 (6, 8)
Ch 1, sc in each st across, turn.
Fasten off.
Left Earflap
Row 1 (right side)
With right side of forehead flap facing, skip next 2 sts of last round, join A with slip st in next st, ch 2, skip next st, hdc in next 5 sts, skip next st, hdc in next st, turn 7 hdc
Rows 2 and 3
Work the same as Rows 2 and 3 of the right earflap.
Finishing
Edging Round
With right side facing, join A with sc in center st at back of hat, sc in each st to first earflap,
2 sc in end of each row of first side, ch 11, sc in 2nd ch from hook and in each ch across (earflap tie made), 2 sc in end of each row of 2nd side,
sc in each st to forehead flap, sc in end of each row of first side, sc in each st across, sc in end of each row of 2nd side, sc in each st to next earflap;
repeat from * to * once,
sc in each remaining st; join with slip st in first sc.
Fasten off.
Button placement
Using the photograph as a guide, turn up the forehead flap and sew a button in each upper corner, working through both thicknesses of flap and hat to secure.
Pompom
With B, following pompom maker directions, make one pompom or make the pompom as follows:
- Wrap yarn around a 3-inch (7.5 cm) piece of heavy cardboard. The more wraps, the fuller the pompom.
- Gently remove the wraps from the cardboard.
- Cut a 12-inch (30.5 cm) length of B and tie it tightly around the center of the wraps. Do not cut the ends of this center tie.
- Cut the ends of the wraps.
- Fluff and trim the pompom.
- Use the ends of the center tie to attach the pompom through Round 1.
Fringe
Cut 6 strands of B, each 5 (6, 7) inches [12.5 (15, 18) cm] long.
Hold 3 strands together and thread them through the bottom end of the earflap tie. Knot in place and trim the ends evenly.
Repeat to attach the remaining 3 strands to the other earflap tie.
Weave in ends.
Ways to Style Your Handmade Crochet
- Winter outfit accessory: Pair the hat with a coordinating scarf, mittens, or a solid-colored coat.
- Handmade gift: Choose Color A based on the recipient’s favorite palette and use the contrasting Color B for a personalized accent.
- Seasonal photo prop: The earflaps, buttons, and pompom create strong visual details for cold-weather portraits.
- Coordinated accessories: Use the hat as inspiration for another small crocheted accessory in matching colors. Floral color planning can also be a useful source of inspiration, such as these crochet bell flower designs.
- Color-focused set: Make multiple hats using the available Color A options for a coordinated family or group look.
Caring for Your Crochet Project
Handle the finished hat gently because the buttons, pompom, ties, and fringe are attached components. For routine care, shake out loose dust and use gentle spot cleaning when needed. Avoid excessive heat, which may affect the yarn’s shape and the attached decorative elements.
Store the hat clean and completely dry. Lay it flat or place it in a breathable storage container rather than compressing the pompom or folding the forehead flap sharply. Keep it away from hooks or rough surfaces that could catch the fringe.
When cleaning the hat, follow the yarn manufacturer’s care instructions for the specific yarn. Test any cleaning method on a discreet area first, and reshape the crown and flap while the hat is drying if necessary.
Tips for Better Results
- Secure the adjustable ring firmly. After Round 1, pull the tail gently but firmly so the center closes without distorting the first stitches.
- Mark the beginning of joined rounds. The rounds are joined with a slip stitch, so a removable marker can help you identify the first hdc.
- Count after every increase round. The crown should have 10, 20, 30, 40, and then 45 (50, 50) stitches as indicated, with 55 stitches after the Large-only Round 6.
- Remember that ch 2 counts as an hdc. This applies throughout the earflap rows and affects the stated stitch counts.
- Keep the right side facing correctly. The earflaps and forehead flap depend on working from the specified side and skipping the correct stitches.
- Sew buttons through both layers. The button-placement instruction specifies working through both the forehead flap and the hat so the flap stays securely turned up.
- Make the pompom dense enough for its position. More wraps around the cardboard create a fuller pompom, while trimming helps produce an even shape.
- Finish the fringe last. Attach and trim the fringe after the ties are complete so the strands hang evenly.
Color and Styling Variations
The approved pattern already offers three Color A choices: 930 Garden, 940 Volcano, and 952 Stained Glass. Keep Color B as the contrasting 920 Sandy B for the stated design, or use the color relationship as inspiration for an optional palette adjustment.
For a softer look, choose a muted main color with a light contrast. For a bolder winter accessory, pair the most colorful Color A option with the supplied sandy accent. You can also coordinate the buttons with either the main color or the forehead flap.
These are optional styling ideas and do not change the approved stitch instructions. If you substitute yarn or change the hook size, the hat’s texture, fit, dimensions, and yarn requirements may change, so compare your work against the pattern’s stitch counts as you crochet.
For additional handmade color inspiration, a cheerful crochet daffodil bouquet can suggest bright spring combinations, while a floral petal pillow project offers ideas for coordinating soft accent colors.
Frequently Asked Questions
Is this crochet aviator hat suitable for beginners?
The pattern uses adjustable rings, joined rounds, half double crochet, single crochet, slip stitches, increases, and simple shaping. Beginners who are comfortable counting stitches and following row-by-row instructions may enjoy it, especially with the special techniques reviewed first.
What hook size does the pattern use?
Use a Susan Bates® 6.5 mm [US K-10.5] crochet hook.
Which yarn colors are required?
Use RED HEART® Medley™ in Color A: 930 Garden, 940 Volcano, or 952 Stained Glass, and Color B: 920 Sandy B. The quantity is 1 (1, 2) ball(s) of Color A and 1 (1, 1) ball of Color B.
How many buttons are needed?
The pattern requires two ¾-inch (19 mm) or 1-inch (25 mm) buttons. Sew one button in each upper corner of the turned-up forehead flap.
How is the pompom attached?
Make one pompom with Color B, tie it with a 12-inch (30.5 cm) length of Color B, and use the ends of that center tie to attach the pompom through Round 1.
How are the earflap ties finished?
The edging round creates each earflap tie with ch 11, followed by sc in the second chain from the hook and in each chain across. Fringe is then attached to the bottom of each tie.
Can the colors be changed?
Yes, color changes are an optional styling choice. Keep the approved pattern instructions unchanged, and remember that different yarns or hook sizes may affect the finished texture, fit, dimensions, and yarn requirements.
How should the completed hat be stored?
Store it clean and dry in a breathable space. Avoid crushing the pompom, sharply folding the forehead flap, or placing heavy items on the fringe and ties.
Conclusion
This Crochet Chic Aviator Hats Pattern combines practical warmth with colorful, expressive details. The shaped earflaps, buttoned forehead flap, ties, fringe, and pompom make the finished hat especially suitable for gifts or coordinated winter accessories. For another version of the design, compare the Red Heart Chic Aviator Hats pattern with this baby-and-adult aviator hat pattern for additional inspiration.


