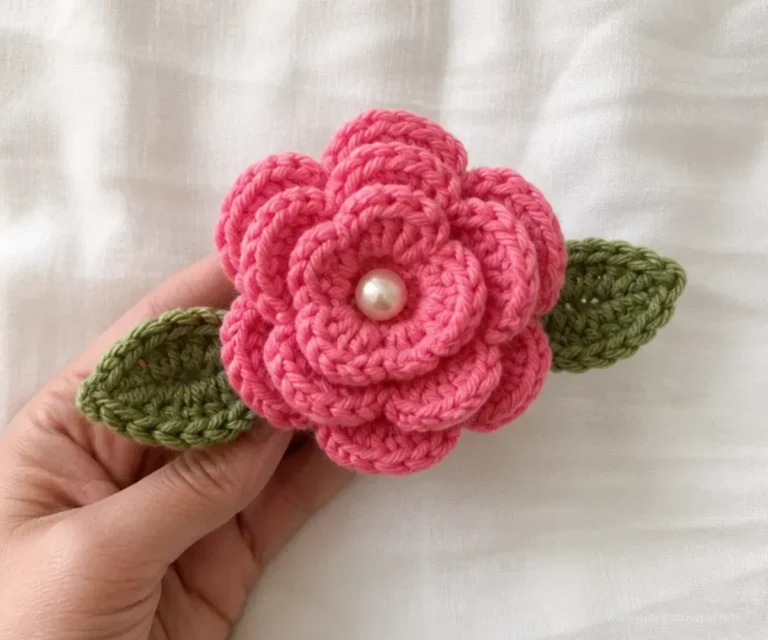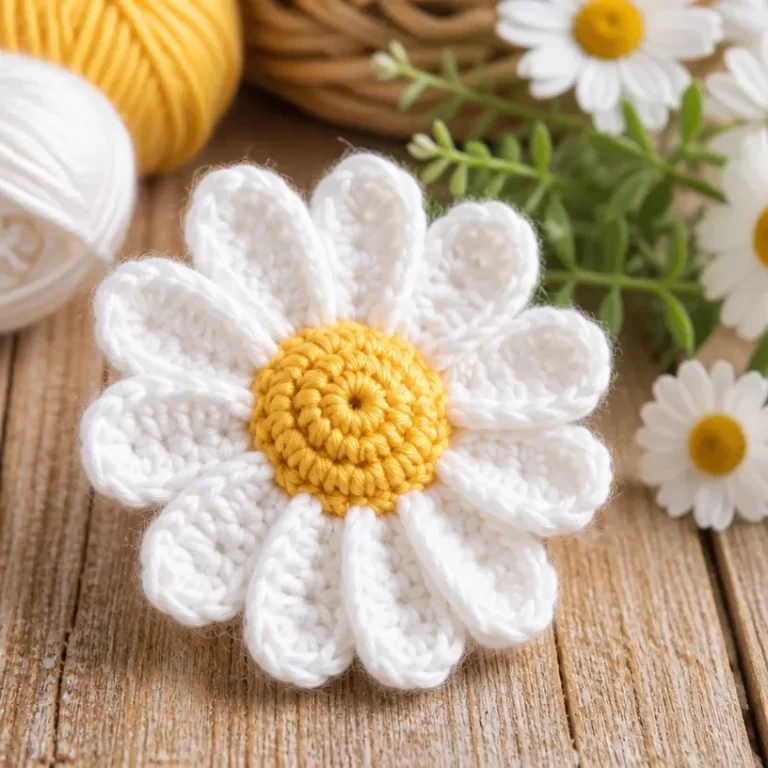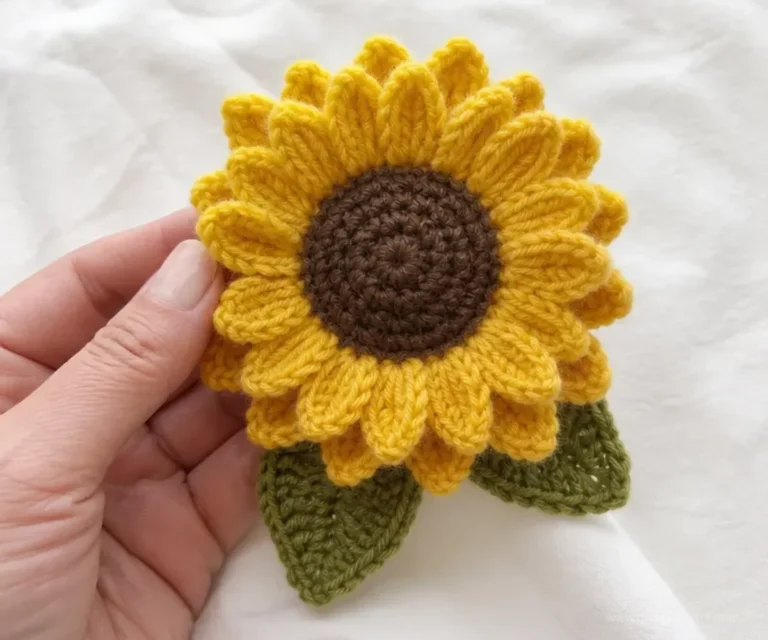

The Crochet Felted Clematis Pin Pattern creates a dimensional floral accessory with softly overlapping petals, a contrasting center, and two leafy accents. Made in passionfruit, thyme, and cream-toned yarn, it can brighten a jacket, bag, hat, or gift package. The project is especially appealing to crocheters who enjoy botanical details, picots, and simple felted construction. For another floral project to enjoy alongside it, try these beginner-friendly crochet red roses.
Why You’ll Love This Crochet Project
![Crochet felted clematis pin with passionfruit petals and green leaves] You may also find Crochet Bear Ornament Pattern Easy Diy Christmas Ornament useful.
- It makes a wearable flower. The finished clematis can become a decorative brooch for clothing, bags, scarves, or hats.
- It practices shaping. The petal rounds use chains, slip stitches, half double crochet, double crochet, and picots to create a pointed floral outline.
- It includes useful finishing techniques. Felting, blocking, overlapping, pinning, and stitching all contribute to the final structure.
- It uses a small number of components. You will make one flower, two leaves, and one circular backing before assembly.
- It has gift potential. A handmade flower pin makes a thoughtful accessory or small botanical gift.
Crochet Mimi Tip: Keep the petals slightly loose while crocheting. Felting will firm the fabric, and overly tight stitches can make the points less flexible during shaping.
Pattern Overview
This crochet felted clematis pin is assembled from a flower center, two rounds of petals, two leaves, and a circular backing. The flower center is crocheted first in Color C with the smaller hook. Color A forms the petals and backing, while Color B creates the leaves and is also used to stitch the leaves to the flower.
The construction sequence is:
- Crochet the flower center.
- Work the two petal rounds.
- Crochet two leaves.
- Make the four-round backing.
- Felt the pieces separately in pillowcases.
- Shape and dry the petals and leaves.
- Stitch the leaves and backing to the flower.
- Sew on the bar pin.
The pattern uses US crochet terminology. The important abbreviations are:
- ch: chain
- sc: single crochet
- hdc: half double crochet
- dc: double crochet
- sl st: slip stitch
- yo: yarn over
Materials and Tools
- Color A: 2925 Passionfruit, 1 ball
- Color B: 2640 Thyme, 1 ball
- Color C: 2205 Little Lamb, 1 ball
- 8 mm [US L-11] crochet hook
- 6 mm [US J-10] crochet hook
- Sharp yarn needle
- 1 ½” bar pin
- Straight pins
The 6 mm hook is used for the flower center. The 8 mm hook is used for the petals, leaves, and backing. Straight pins are useful for positioning the overlapping petals and holding the components during assembly.
Step-by-Step Crochet Instructions
Special Abbreviations and Technical Notes
2-Chain Picot (2-ch-picot):
Ch 2, insert hook in front loop (horizontal bar) of the sc just made and in the left strand (vertical bar) of the same st, yo and pull through all three loops.
3-Chain Picot (3-ch-picot):
Ch 3, insert hook in front loop (horizontal bar) of the dc just made and in the left strand (vertical bar) of the same st, yo and pull through all three loops.
Joining and leaf construction:
Join rounds with a slip stitch. The leaf is made by working around both sides of the starting chain, keeping the right side facing.
Clematis Flower Center
With C and the 6 mm hook, ch 2.
[sc into second ch from the hook, 2-ch-picot] 8 times.
Join to the first sc and fasten off 8 2-ch picots.
Petals
Round 1
Working into the back loops of the flower center with the 8 mm hook:
Join A in the back loop of a sc.
Slip st into sc.
[Ch 5, slip st in back hump of second ch from the hook and in back hump of next 3 ch, slip st into next sc] 7 times.
Ch 5, slip st in back hump of second ch from the hook and in back hump of next 3 ch.
Slip st into first slip st.
Total: 8 ch-5 petals.
Round 2
Work into the back loops of the ch-5 petals:
[Slip st into the first chain of the petal, sc in the next st, hdc in the next st, dc in the next st, (3 dc, 3-ch-picot, 3 dc) in the back loop of the turning chain at tip of petal, dc in the first slip st, hdc in the next st, sc in the next st, slip st in the next st, slip st into the slip st between the petals] 8 times.
Total: 8 petals.
Fasten off and weave in the ends.
The first petal round creates the foundation loops, while the second round builds height toward each tip. Work carefully into the back loops so the petal texture remains defined after felting.
Leaves
Make 2.
Center Vein
With B and the 8 mm hook, ch 6.
Working into the back hump of the chains:
- Slip st in the second ch from the hook.
- Slip st in next 4 ch.
- Ch 1 5 slip st.
Round 1
Starting on the opposite side and working into the back loops of the center vein:
- Slip st in the first ch.
- Sc in next ch.
- Hdc in next ch.
- Dc in next 2 ch.
- (3 dc, 3-ch-picot, 3 dc) in back loop of turning ch at tip of leaf.
Working down the slip-stitch side:
- Dc in next 2 slip st.
- Hdc in next slip st.
- Sc in next slip st.
- Slip st in last slip st.
- Join.
Fasten off and weave in the ends.
The leaf is worked around both sides of the center vein. Keep the right side facing as you move around the chain so the leaf remains oriented correctly.
Backing
Use A and the 8 mm hook.
Round 1
Ch 2.
6 sc in second ch from the hook.
Join to first sc 6 sc.
Round 2
Ch 1.
2 sc in each sc.
Join to first sc 12 sc.
Round 3
Ch 1.
2 sc in first sc, sc in next sc.
[2 sc in next sc, sc in next sc] 5 times.
Join to first sc 18 sc.
Round 4
Ch 1.
2 sc in first sc, sc in next 2 sc.
[2 sc in next sc, sc in next 2 sc] 5 times.
Join to first sc 24 sc.
Fasten off and weave in the ends.
Felting
Before assembling the flower, put the pieces into pillowcases and tie closed.
Place them in a washing machine with hot water and a small amount of detergent. Check during the wash cycle regularly until the desired amount of felting is achieved.
Rinse out the soap and squeeze out excess water.
Slightly overlap the clematis petals, pin into place, and let dry. Block the remaining pieces into desired shapes and let dry.
Felting changes the texture and helps the components hold their shape, so monitor the pieces rather than leaving them unchecked for the entire cycle.
Assembly
Arrange two leaves on the back of the flower. Pin them into place and stitch them to the clematis with B.
Place the backing on the clematis over the leaves. Pin and stitch it into place with A.
Sew the bar pin onto the back.
Finishing
Fasten off and weave in the ends:
- After the petals are completed.
- After the leaves are completed, for each leaf.
- After the backing is completed.
Complete the felting and drying/blocking as specified above. Pin and stitch the assembly as specified above. Sew the bar pin onto the back.
Finished Project Ideas
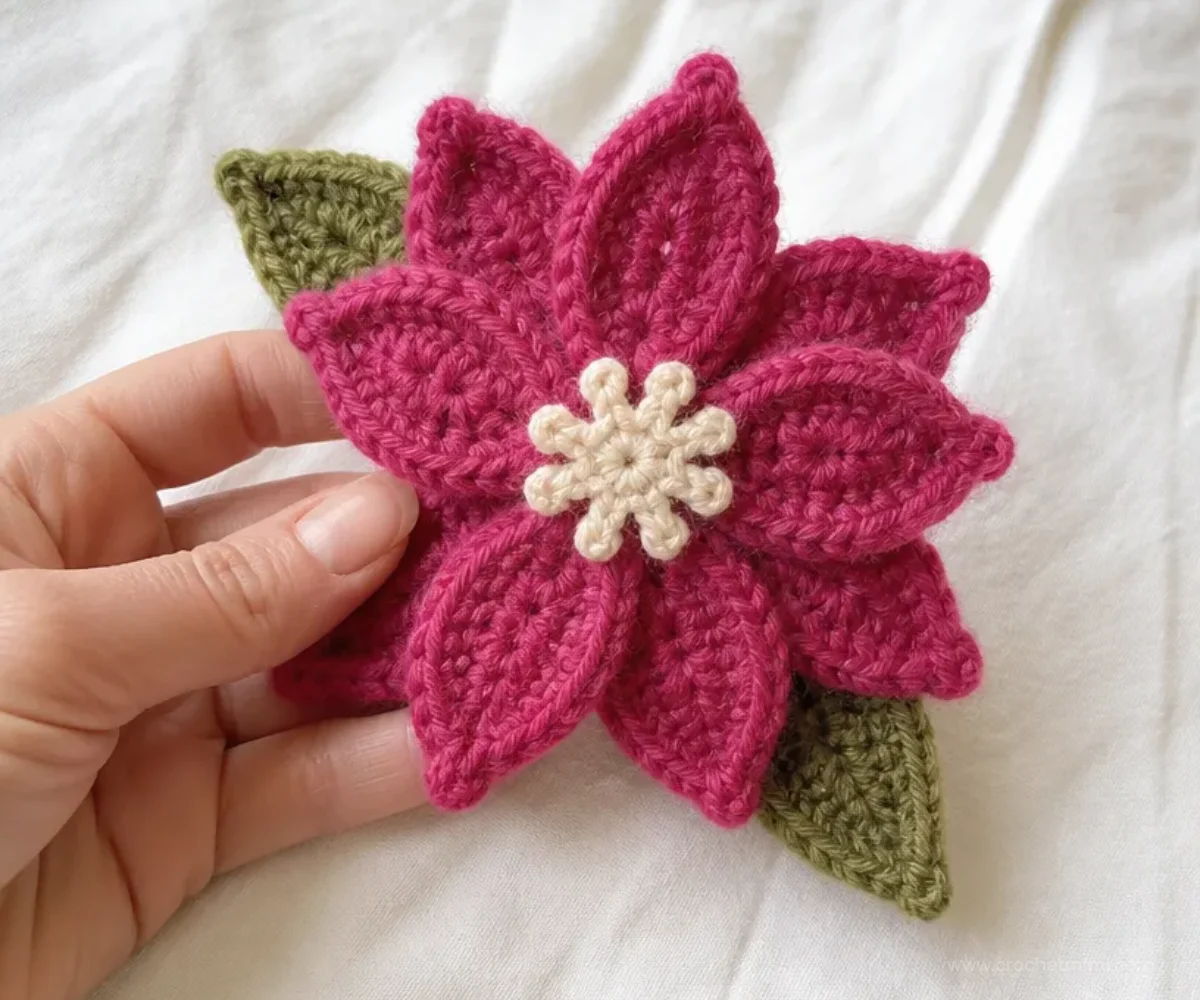
- Wear it on a jacket or cardigan: Position the pin near a lapel or shoulder for a bright floral accent.
- Decorate a hat: Attach it to a crocheted, felted, or fabric hat, making sure the bar pin is securely fastened.
- Use it on a handbag: A clematis pin can add color to a neutral tote or purse.
- Create a botanical gift: Pair the pin with a handmade card, wrapped gift, or small accessory.
- Build a floral collection: Combine the clematis with other crocheted flowers in coordinating colors. A floral project such as this blooming bouquet crochet blanket can also inspire a larger botanical color scheme.
- Make seasonal versions: Passionfruit petals feel bright and summery, while deeper jewel tones or soft pastels can create a different mood.
Caring for Your Crochet Project
Keep the finished pin dry and protect it from heavy friction, since the felted petals and picots may catch on rough surfaces. For routine care, gently dust the flower with a soft, dry cloth or use a soft brush.
Avoid soaking the assembled pin. The backing, bar pin, stitched joins, and felted flower are best protected with careful spot cleaning only. If a small area needs attention, use a barely damp cloth and blot rather than rubbing.
Store the pin flat or in a shallow box so the petals are not crushed. Keep it away from excessive heat, which may distort the blocked shapes. Before wearing it, check that the bar pin remains securely stitched to the backing.
Helpful Crochet Tips
- Track the petal count. Round 1 must create 8 ch-5 petals, and Round 2 must finish with 8 petals.
- Check the working loop. The center and petals use different hook sizes, so switch hooks exactly where directed.
- Respect loop placement. The pattern specifies back loops for the petal rounds and backing construction, and back humps for the leaf center vein.
- Use the correct picot technique. The 2-chain picot is made from the sc, while the 3-chain picot is made from the dc. The insertion points are different.
- Keep the leaf right side facing. Work around both sides of the starting chain rather than turning the piece over.
- Join rounds with slip stitches. This keeps the component construction consistent and preserves the stated stitch counts.
- Inspect the felted pieces during washing. Stop when the desired amount of felting is reached instead of relying on a fixed cycle.
- Pin before stitching. Arrange the leaves and backing first, then stitch only after the placement looks balanced.
- Secure all ends. Weave in the ends after the petals, each leaf, and the backing before final assembly.
- Recheck the bar pin. Stitch it firmly to the backing so the finished accessory stays attached during wear.
For another accessory-focused project, this chic crochet aviator hat pattern offers a different way to think about coordinating handmade wearables.
Color and Styling Variations
The approved pattern uses Passionfruit for the petals, Thyme for the leaves, and Little Lamb for the center. Optional color changes can personalize the flower without changing its construction.
- Replace Passionfruit with a soft pink, lavender, coral, or deep plum for a different clematis-inspired palette.
- Keep Thyme for natural-looking leaves, or choose a darker green for stronger contrast.
- Use a pale center for a clean, light look, or select a warmer neutral if your yarn choices allow.
- Make several pins in related colors and wear them individually or as a small cluster.
- Coordinate the flower with a bouquet, scarf, hat, or bag by repeating one of the petal colors elsewhere.
- Pair the pin with a round crochet accessory such as a beginner-friendly mandala crochet doily when creating a handmade gift set.
If substituting yarn, remember that fiber content and thickness can affect how the fabric felts, the final texture, and the shape of the petals. Changing hook size can also alter the size and firmness of each component, so treat substitutions as optional experimentation rather than part of the approved instructions.
Frequently Asked Questions
Is this crochet felted clematis pin suitable for a beginner?
It includes accessible stitches, but beginners should be comfortable with slip stitches, working into specific loops, picots, joining rounds, and following repeated instructions. Felting and assembly add extra finishing steps.
How many leaves does the pattern include?
Make 2 leaves. Each leaf begins with a six-chain center vein and is worked around both sides of that foundation.
Which hook makes the flower center?
The flower center is made with Color C and the 6 mm [US J-10] hook. The petals, leaves, and backing use the 8 mm [US L-11] hook as directed.
Can the colors be changed?
Yes. Color changes are optional, and the pattern can be adapted to suit clothing, seasonal displays, or a gift recipient. Keep track of the roles of Colors A, B, and C when following the instructions.
Why are the petals felted before assembly?
Felting firms the crocheted fabric and helps the petals and leaves hold shaped forms. The pattern specifically directs you to felt the pieces before arranging and stitching them together.
How should the petals be shaped?
After felting, slightly overlap the clematis petals, pin them into place, and let them dry. Block the remaining pieces into desired shapes and let them dry.
How is the bar pin attached?
After the leaves and backing have been stitched to the flower, sew the 1 ½” bar pin onto the back.
Can the finished flower be machine washed?
The pattern specifies a washing-machine step for felting the separate pieces before assembly. For the completed pin, avoid routine machine washing or soaking because of the bar pin, stitched layers, and shaped felted components.
Could the flower be used without the bar pin?
The approved finishing method is to sew on the bar pin. If you choose another display method, treat that as an optional adaptation and make sure the attachment supports the weight and shape of the felted flower.
Conclusion
This crochet felted clematis pin combines colorful petals, picot details, leafy shaping, and practical felting into a distinctive handmade accessory. It can be worn, gifted, or coordinated with other crochet flowers and botanical décor. For more crochet inspiration, explore this collection of pretty crochet flower patterns or this Qwilfish amigurumi crochet pattern for a playful change of pace.