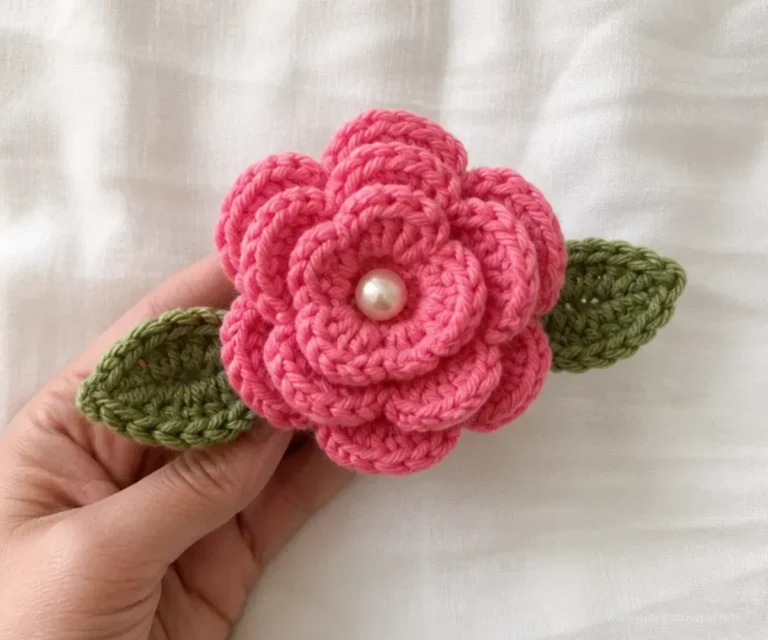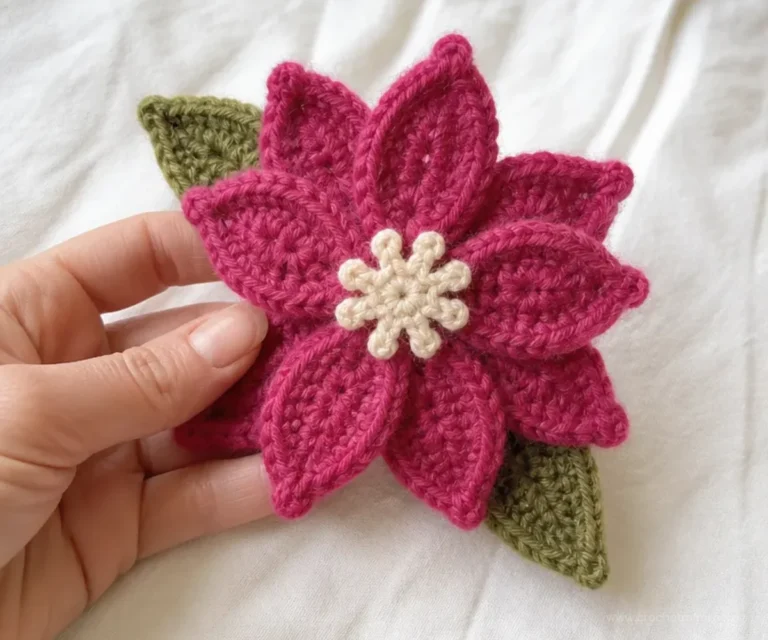
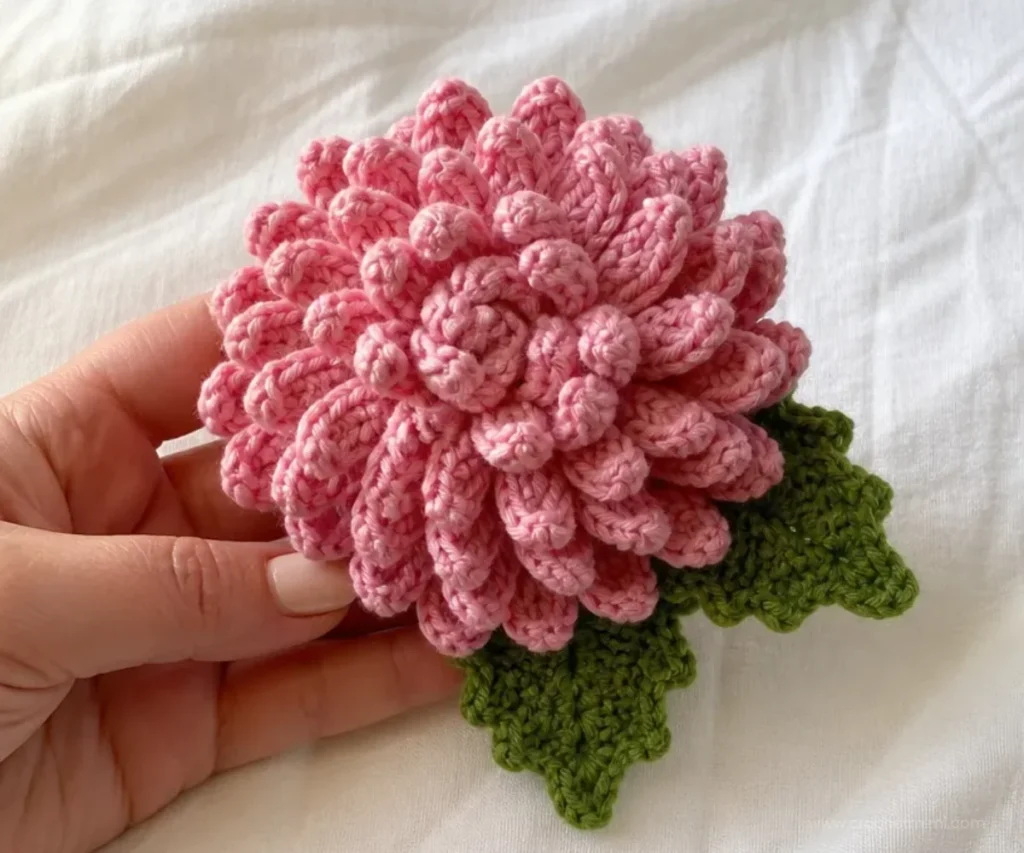
This Crochet Felted Chrysanthemum Pin Pattern creates a textured flower brooch with layered petals, two leaves, a felted finish, and a bar-pin backing. The finished chrysanthemum makes a thoughtful handmade gift, an accent for a coat or bag, or a small botanical decoration. Crocheters who enjoy dimensional flowers and shaping techniques may also like these beginner-friendly crochet roses as part of a larger floral collection.
Why You’ll Love This Crochet Project
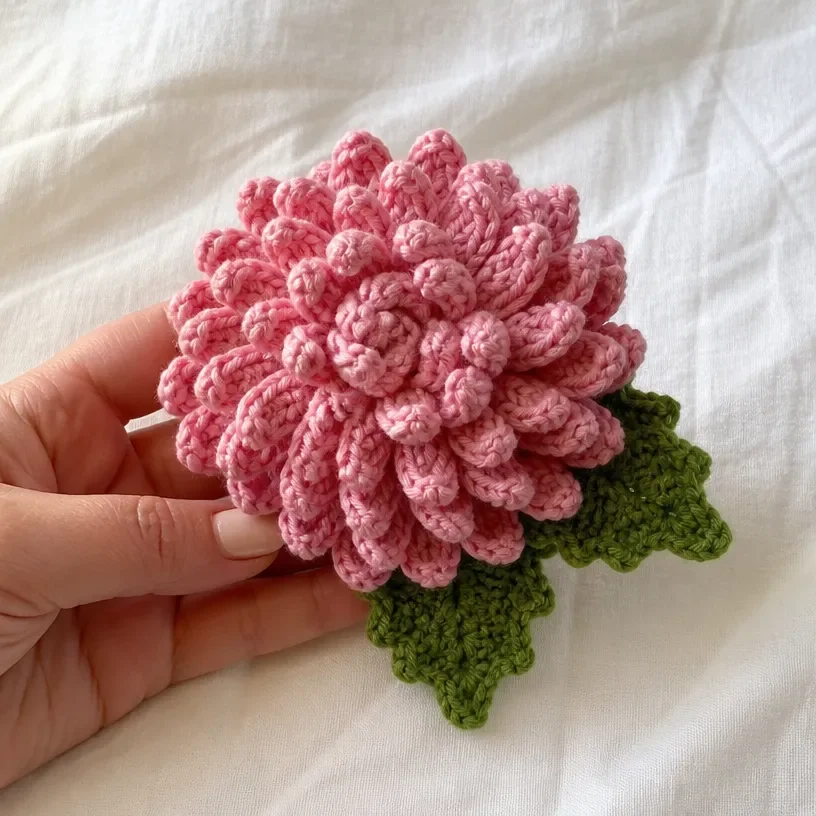
- Layered floral texture: Four rounds of petals build a full chrysanthemum shape with a richly ruffled appearance.
- A useful handmade accessory: Once the bar pin is attached, the flower can decorate clothing, handbags, scarves, or gift wrapping.
- Practice with front and back loops: The pattern develops control over loop placement, an important skill for shaped crochet.
- A distinctive felted finish: Washing the wool pieces creates a denser fabric and helps the petals hold their curved form.
- Small-scale creative project: The flower, leaves, and backing are manageable components that can be made separately before assembly.
Crochet Mimi Tip: Keep the flower rounds clearly separated as you work. The petals are made from front loops, while the following increase rounds are worked behind them, so careful placement is essential.
Pattern Overview
The project includes one chrysanthemum flower, two leaves, one circular backing, and a 1½-inch bar pin. The flower is worked in rounds with Color A and grows from 6 center stitches to 24 petals. The leaves are made individually, the backing is crocheted in Color C, and all pieces are felted before assembly.
The construction sequence is:
- Crochet the flower in Color A.
- Crochet two leaves to match Color B.
- Crochet the circular backing in Color C.
- Felt the pieces in pillowcases.
- Shape and dry the flower and block the remaining pieces.
- Stitch the leaves and backing to the flower.
- Sew the bar pin onto the back.
The supplied pattern uses the following terminology:
- 3-ch-picot: Ch 3, insert hook in front loop the horizontal bar of the dc just made and in the left strand the vertical bar of the same stitch, yo and pull through all three loops.
- A, B, C: Color A, Color B, Color C, and so on.
- ch: Chain.
- dc: Double crochet.
- hdc: Half double crochet.
- sc: Single crochet.
- st(s): Stitch(es).
- yo: Yarn over.
- [ ]: Work the directions in brackets the number of times specified.
For another project featuring careful round construction and decorative texture, see this beginner-friendly mandala crochet doily pattern.
Materials and Tools
- Yarn: Stitch Nation by Debbie Stoller™ Full o’ Sheep™
- Color A: 1 ball, 2701 Cupcake
- Color B: 1 ball, 2640 Thyme
- Crochet hook: 8 mm (US L-11)
- Sharp yarn needle: For weaving in ends and stitching the components together
- 1½-inch bar pin: For turning the finished flower into a brooch
- Straight pins: For securing petals during shaping and holding pieces in place during assembly
The pattern identifies Color A for the flower and Color B for stitching the leaves. The leaves are made to match Color B. The backing is specified as Color C in the instructions, although a separate Color C yarn is not listed in the supplied materials; follow the pattern’s color designation when preparing the backing.
Step-by-Step Crochet Instructions
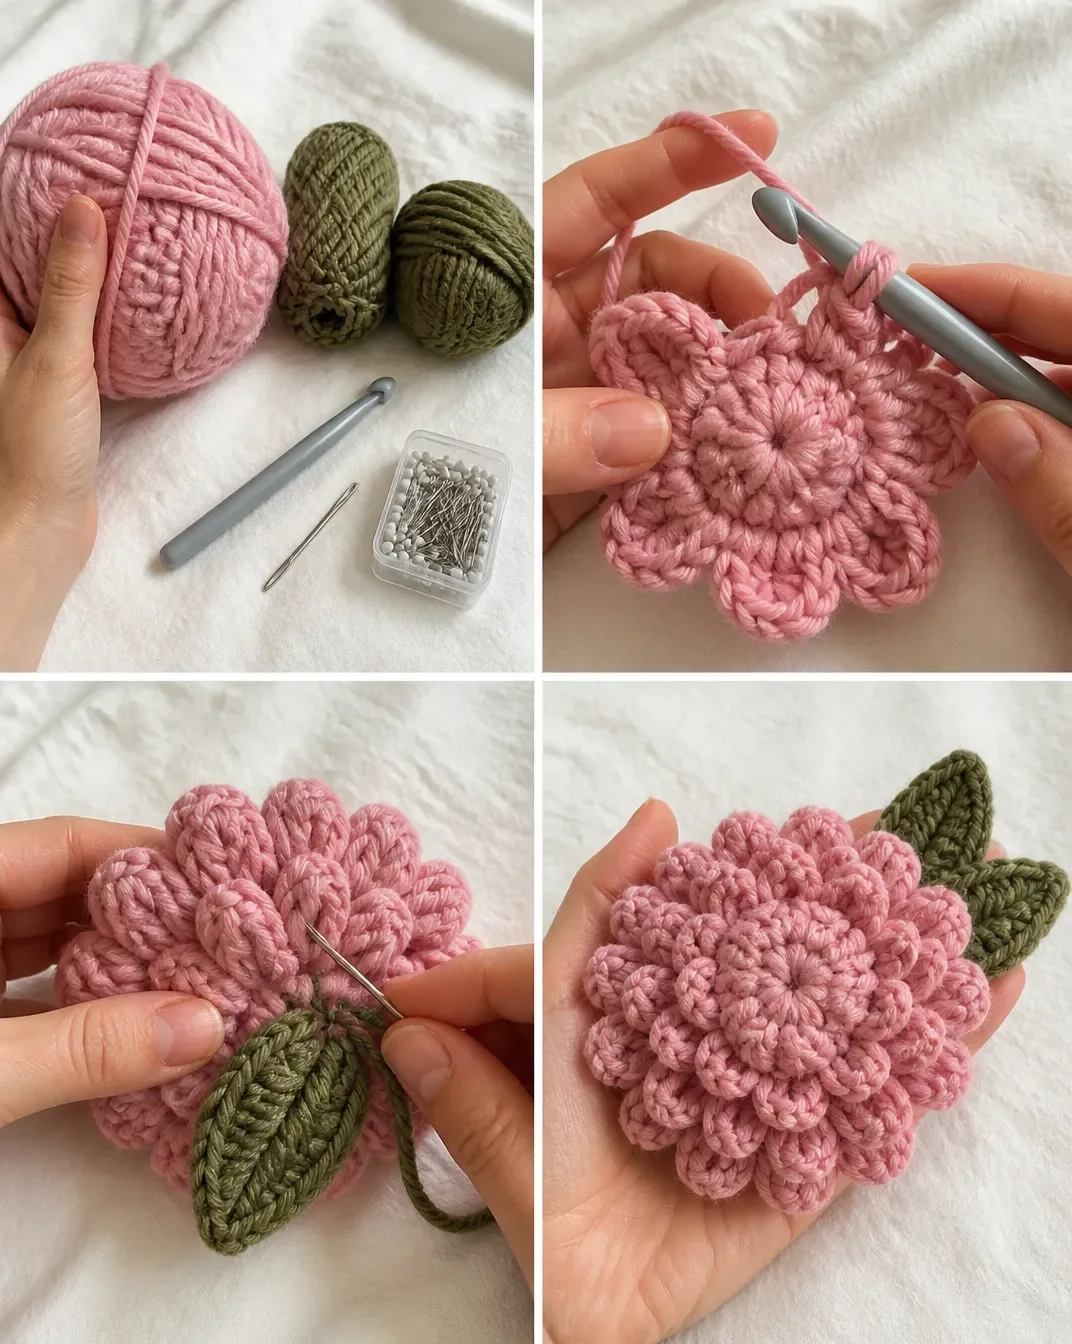
Flower Chrysanthemum
The flower is worked in rounds using Color A.
Round 1
With A, ch 2, 6 sc in second ch from the hook; join to first sc – 6 sc.
Round 2 First Row of Petals
Working in the front loops only of the previous round:
Slip st into first sc,
[ch 4, working in the back humps of the chain, sc in second ch from the hook and the next 2 ch, slip st in front loop of next sc] 5 times;
ch 4, working in the back humps of the chain, sc in second ch from the hook and the next 2 ch, slip st into back loop of first sc – 6 petals.
Round 3
Working behind the petals and in the back loops only of round 1:
ch 1,
2 sc in each sc in the round;
join to first sc – 12 sc.
Round 4 Second Row of Petals
Working in the front loops only of the previous round:
Slip st into first sc,
[ch 5, working in the back humps of the chain, sc in second ch from the hook and the next 3 ch, slip st in front loop of next sc] 11 times;
ch 5, working in the back humps of the chain, sc in second ch from the hook and the next 3 ch, slip st into back loop of first sc – 12 petals.
Round 5
Working behind the petals and in the back loops only of round 3:
ch 1,
[2 sc in next sc, sc in next sc] 6 times;
join to first sc – 18 sc.
Round 6 Third Row of Petals
Working in the front loops only of the previous round:
Slip st into first sc,
[ch 5, working in the back hump of the chain sts, sc in second ch from the hook and the next 3 ch, slip st in next sc] 17 times;
ch 5, working in the back hump of the chain, sc in second ch from the hook and the next 3 ch, slip st into back loop of first sc – 18 petals.
Round 7
Working behind the petals and in the back loops only of round 5:
ch 1,
[2 sc in next sc, sc in next 2 sc] 6 times;
join to first sc – 24 sc.
Round 8 Fourth Row of Petals
Working into both loops of round 7:
[ch 6, sc in the back hump of the second ch from the hook and the next 4 ch, slip st in next sc] 23 times;
ch 6, sc in the back hump of the second ch from the hook and the next 4 ch, join to first petal – 24 petals.
Fasten off. Weave in ends.
Leaves Make 2
Make two leaves. The color is not specified directly for the leaves; follow the pattern’s color usage. Because the leaves are stitched during assembly with B, make them to match B.
Round 1
Ch 2, 7 sc in second ch from the hook; do not join; turn.
Round 2
ch 1,
(hdc, dc) in first sc;
ch 2, (sc, hdc, dc) in next sc;
ch 2, (sc, hdc) in next sc;
(2 dc, 3-ch-picot, dc) in next sc;
(hdc, sc) in next sc;
ch 2, (dc, hdc, sc) in next sc;
ch 2, (dc, hdc) in next sc;
ch 1, slip st into same sc.
Fasten off. Weave in ends.
Backing
The backing is made in Color C.
Round 1
With C, ch 2, 6 sc in second ch from the hook; join to first sc – 6 sc.
Round 2
Ch 1, 2 sc in each sc; join to first sc – 12 sc.
Round 3
Ch 1, [2 sc in next sc, sc in next sc] 6 times; join to first sc – 18 sc.
Round 4
Ch 1, [2 sc in next sc, sc in next 2 sc] 6 times; join to first sc – 24 sc.
Fasten off. Weave in ends.
Felting
Before assembling the flower, put the pieces into pillowcases and tie them closed. Place them in a washing machine with hot water and a small amount of detergent.
Check regularly during the wash cycle until the desired amount of felting is achieved. Rinse out the soap and squeeze out excess water.
To shape the flower, curve the petals inward, shaping them toward the center. Pin or tie the petals in place and let them dry. Block the remaining pieces into desired shapes and let them dry.
Felting changes the fabric’s density and appearance, so monitor the pieces rather than leaving them unattended for the entire wash cycle.
Assembly and Finishing
- Arrange the leaves on the back of the flower, pin them into place, and stitch them to the chrysanthemum with B.
- Place the backing on the chrysanthemum over the leaves; pin and stitch it into place with A.
- Sew the bar pin onto the back.
Weave in ends for all pieces the flower, leaves, and backing as specified. After felting and shaping, let the flower dry; block the remaining pieces into their desired shapes and let them dry. Sew the bar pin onto the back during assembly.
Creative Ways to Use Your Finished Crochet
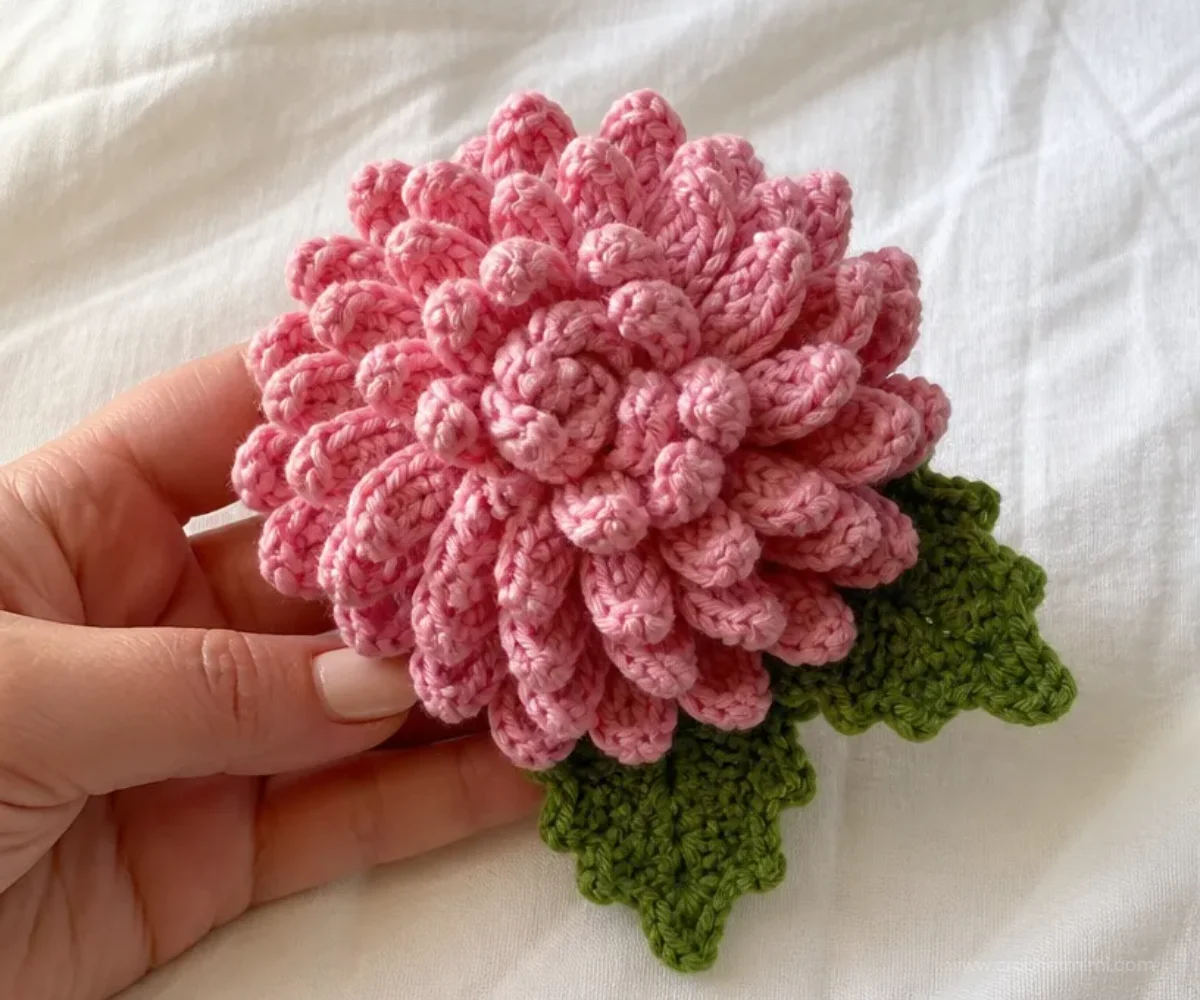
- Wear it as a brooch: Pin the chrysanthemum to a jacket, cardigan, scarf, or handbag.
- Create a floral accessory set: Make several flowers in coordinated colors for different outfits or gifts.
- Decorate wrapped presents: Secure the brooch to ribbon or fabric wrapping so the decoration becomes part of the gift.
- Add it to a seasonal display: Place finished pins near a small vase, basket, or tabletop arrangement.
- Build a handmade flower collection: Pair the chrysanthemum with other crochet blooms, such as a blooming bouquet crochet design, for a broader floral theme.
- Use it as a textile accent: Stitch or pin it onto a fabric-covered board, tote, or decorative cushion where the bar pin can be safely secured.
Caring for Your Crochet Project
The pattern’s felting process uses hot water and detergent, but the finished pin should be handled more gently. After shaping, keep the flower completely dry before storing or wearing it.
Dust the petals with a soft, dry cloth or a gentle brush. If a small spot needs attention, use minimal moisture and avoid soaking the flower, leaves, backing, or bar pin. Press away moisture rather than rubbing the felted surface.
Store the chrysanthemum flat or with the petals supported so they do not become crushed. Keep it away from excessive heat, damp areas, and prolonged direct sunlight. If the petals lose their shape, gently curve them inward again and allow the flower to rest in position while dry.
Tips for Better Results
- Mark the front and back loops mentally as you work. The petal rounds are made in front loops, while the following increase rounds work behind the petals in back loops.
- Count every increase round. The flower should progress from 6 sc to 12, 18, and then 24 sc before the final petal round.
- Work into the back humps of chains. This gives the narrow petals a consistent edge and keeps the chain loops from appearing uneven.
- Check each petal count before moving on. The four petal rounds contain 6, 12, 18, and 24 petals respectively.
- Keep the petal curve consistent during felting. Shape the petals toward the center while they are damp, then pin or tie them until dry.
- Pin before stitching the layers. Secure the leaves first, then position the circular backing over them so the flower remains balanced.
- Use the specified stitching colors. The leaves are stitched with B, while the backing is stitched into place with A.
- Secure the bar pin firmly. Sew through the backing with several strong passes so the pin stays attached during normal use.
A small accessory with a firm felted shape can complement other handmade pieces, including a chic crochet aviator hat for a coordinated cold-weather look.
Color and Styling Variations
The approved instructions should remain unchanged, but you can customize the finished design after understanding the construction:
- Change the flower color: Use a different wool color for Color A to create cream, rust, gold, burgundy, or lavender chrysanthemums. Changing yarn can affect the finished texture and felted appearance.
- Coordinate the leaves: Choose a contrasting or complementary green for Color B. The leaf color also affects the visible stitching used during assembly.
- Create seasonal palettes: Warm reds and oranges suit autumn, while pale shades can work for spring-inspired accessories.
- Make a bouquet-style group: Crochet several pins in related colors and display them together on a fabric board or beside a vase.
- Coordinate with another project: A small crochet flower can share colors with a larger handmade decoration, such as a crochet bear ornament for a seasonal collection.
- Try another yarn carefully: Substituting yarn may change how well the fabric felts, the size of the petals, and the stiffness of the backing. A different hook size can also alter the dimensions and texture, so treat substitutions as optional experiments rather than changes to the approved pattern.
Frequently Asked Questions
Is this crochet chrysanthemum pin suitable for beginners?
It can suit a beginner who is comfortable with basic stitches and ready to practice working into front loops, back loops, and chain back humps. The flower becomes more involved as the petal counts increase, so counting carefully is important.
What hook size does the pattern use?
The pattern uses an 8 mm (US L-11) crochet hook.
Which yarn colors are specified?
The listed yarn is Stitch Nation by Debbie Stoller™ Full o’ Sheep™. Color A is 1 ball of 2701 Cupcake, and Color B is 1 ball of 2640 Thyme. The backing instructions identify Color C.
How many pieces are crocheted?
You crochet one flower, two leaves, and one circular backing. A 1½-inch bar pin is then sewn to the back during assembly.
Can the flower colors be changed?
Yes. Changing Color A, Color B, or the backing color is an optional styling choice. Keep in mind that changing the yarn or color does not change the approved stitch instructions, while changing the yarn type may affect felting, texture, and size.
Why are the petals worked in front loops?
Working in the front loops leaves the remaining loops available for the increase rounds behind the petals. This creates multiple layers and gives the chrysanthemum its full, dimensional shape.
How should the petals be shaped?
After felting, curve the petals inward toward the center. Pin or tie them in position and let the flower dry before completing the assembly.
How is the bar pin attached?
After the leaves and backing are stitched into place, sew the 1½-inch bar pin onto the back of the flower. Use secure stitches through the backing.
Conclusion
This Crochet Felted Chrysanthemum Pin Pattern combines layered petal construction, wool felting, and simple accessory assembly in one distinctive project. For another version of a felted chrysanthemum pin, compare the Red Heart felted chrysanthemum pin pattern. You can also browse lily chrysanthemum inspiration for color and styling ideas before making your own wearable flower.